Coupons - individual discount codes

How to create, assign and send individual discount codes to your customers.
Introduction
Coupons are used quite often in different types on business. Almost every company has a moment of offering some special discount to its user. This is why User.com app now includes such an option as well. You can import your coupons and then integrate them with the CRM activity, email campaigns and pop-ups.
How to start?
First of all we need to create a new promotion which will include the bunch of the coupons/discount codes for our users.
Go to Tools -> Coupons.
Click Start new promotion.
Define these two values:

Promotion ID - equivalent to promotion name.
Promotion description - additional information describing the promotion.
Values of the promotion ID and description do not influence the promotion rules - they need to be defined in your shopping system.
How to import discount codes?
When the promotion is created you can import individual discount codes, which are going to be assigned to your customers.
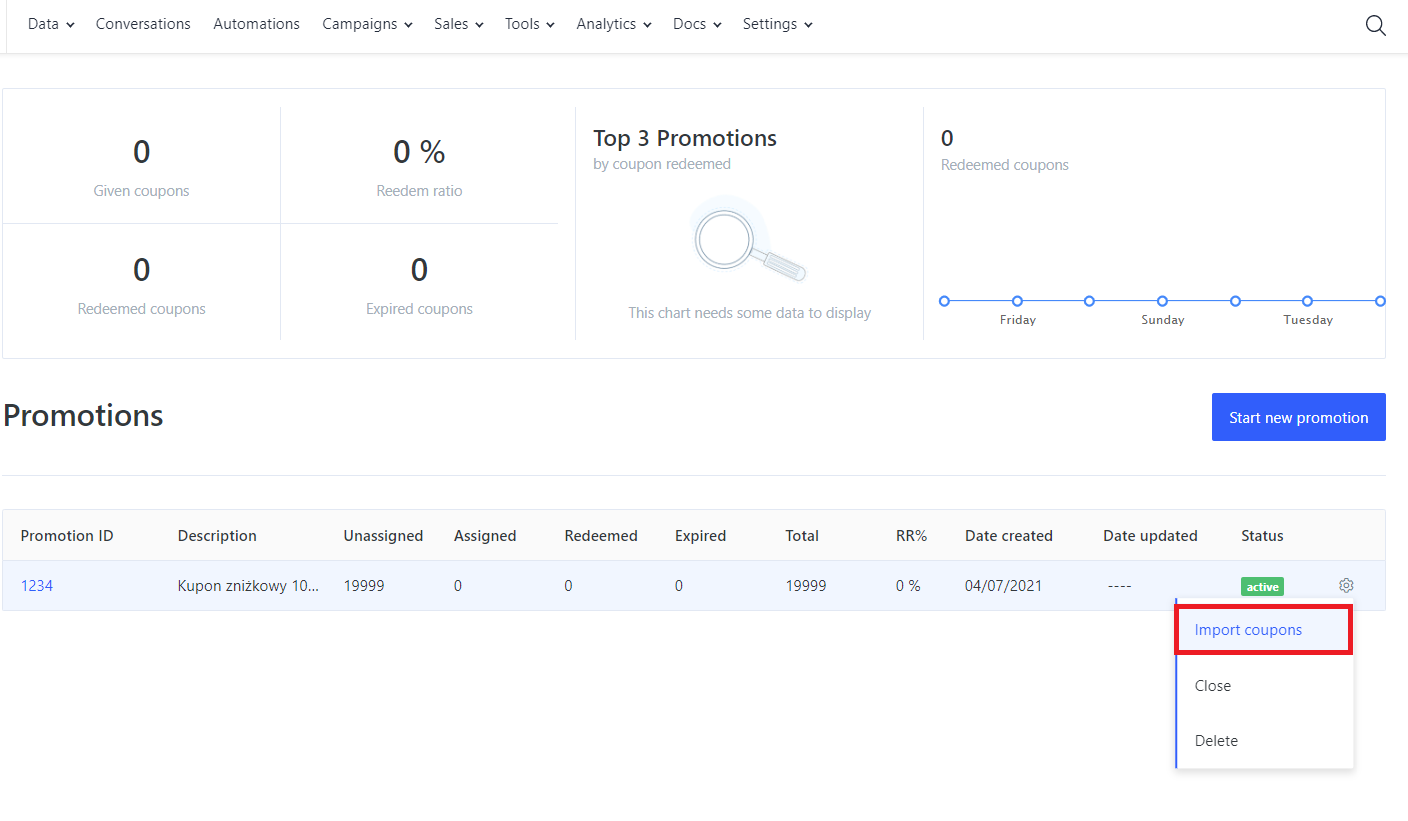
Click on the gear icon to enter the promotion options menu.
Choose Import coupons.
Import the coupons from the CSV file. The file needs to have a header: “code”, with the discount codes below.
Optionally you can add another column: "expires_at", where you put ISO 8601 datetime, with the time until when the code is valid.
After successfully importing the codes you will see them as “Unassigned”.
You can always import additional codes to the existing promotion.
How to assign discount codes?
Now when we have the promotion and the coupons ready, we need to give them to our users. So, we need to manage the assignment.
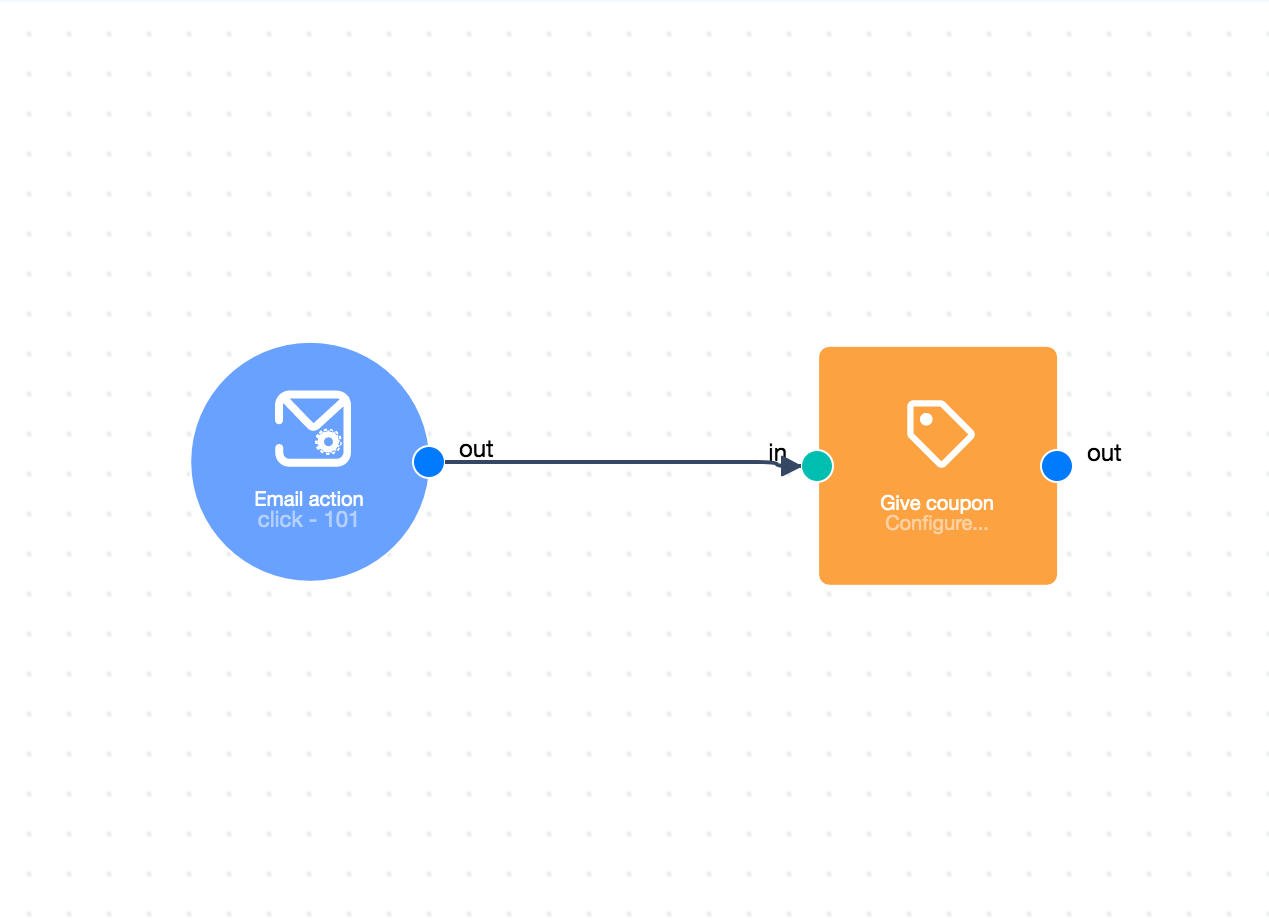
You can assign coupons to your customers using the Automations. You need to apply the “Give coupon” action module.
Example:
After clicking confirmation in newsletter double opt-in email, we assign the coupon to the client:
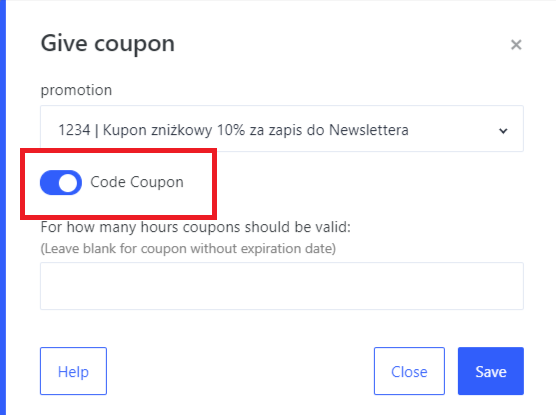
Now you need to configure the “Give coupon” module. In the pop-up menu define what promotion you want to use and switch “Code Coupon” toggle. The
Turn the automation ON and watch the coupons being assigned - you can check how many of them are assigned in the promotion preview (Tools -> Coupons).
How to send coupons?
We can render the code in email / pop-up / html block, using snippet tag.
Change the PROMOTION_CUSTOM_ID to the ID of your promotion (the one you define while creating it). The individual code from that promotion and already assigned to the user, will be rendered in your message.
You can use an automation trigger “Coupon given” to send the code.
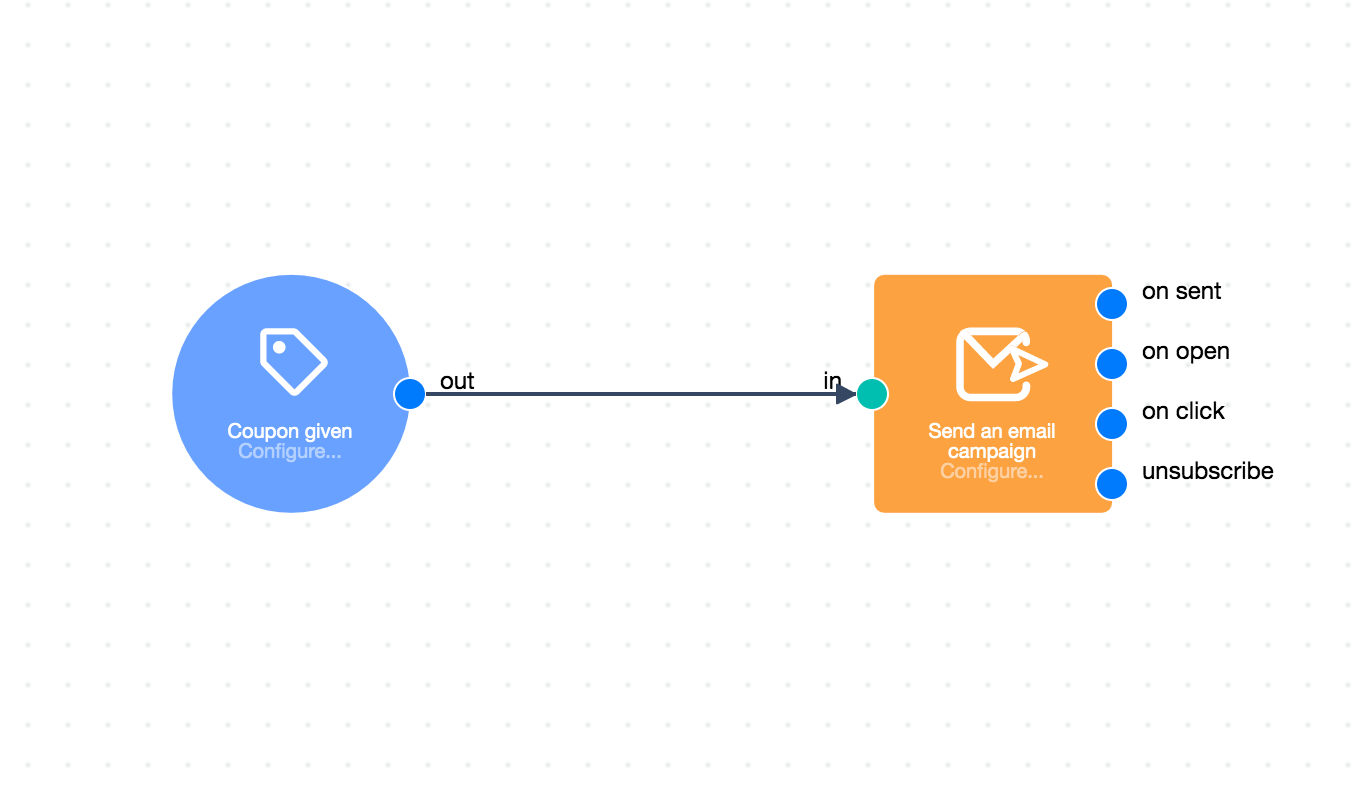
By clicking on the “Coupon given” module you can define which promotion is going to trigger this automation. Using this trigger is advised, as you make sure that you won’t send the email containing a coupon code snippet when there is no coupon assigned to the user.
Coupon expiry date.
As you can see above, we can set the coupon expiration date. This is only for internal use, as this information won’t be passed to your shopping system. We are planning to create direct integrations with various shopping systems, to make you able to set the expiry date for the coupons. For now, you define the time until when the coupon codes are valid in your shopping system and then import them via csv. to User.com.