How to manage your team

Written by Michał Brożyna
Get your coworkers on board in just a few minutes
Introduction
Here you can add new agents to your app, manage their access levels, group them into specific teams with the same access level, and configure assignment rules.
Where to find Team Management
Go to Settings -> Team Management.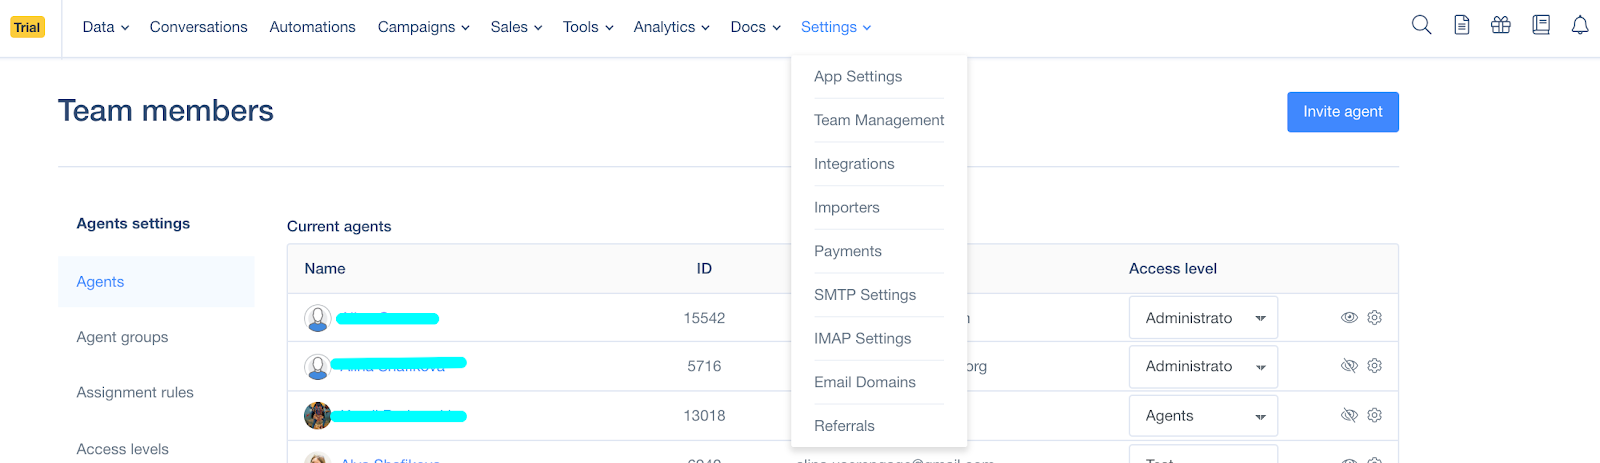
How to use Team Management?
- Invite agent: Under this button, found in the top right corner, you can send invitations to new agents to your User.com app free of charge. Remember that those agents will not have access to all app settings and other administrative sections of your app. (That depends on the permission group you set when sending the invitation). You can change their access settings in the Team Members section Access level.
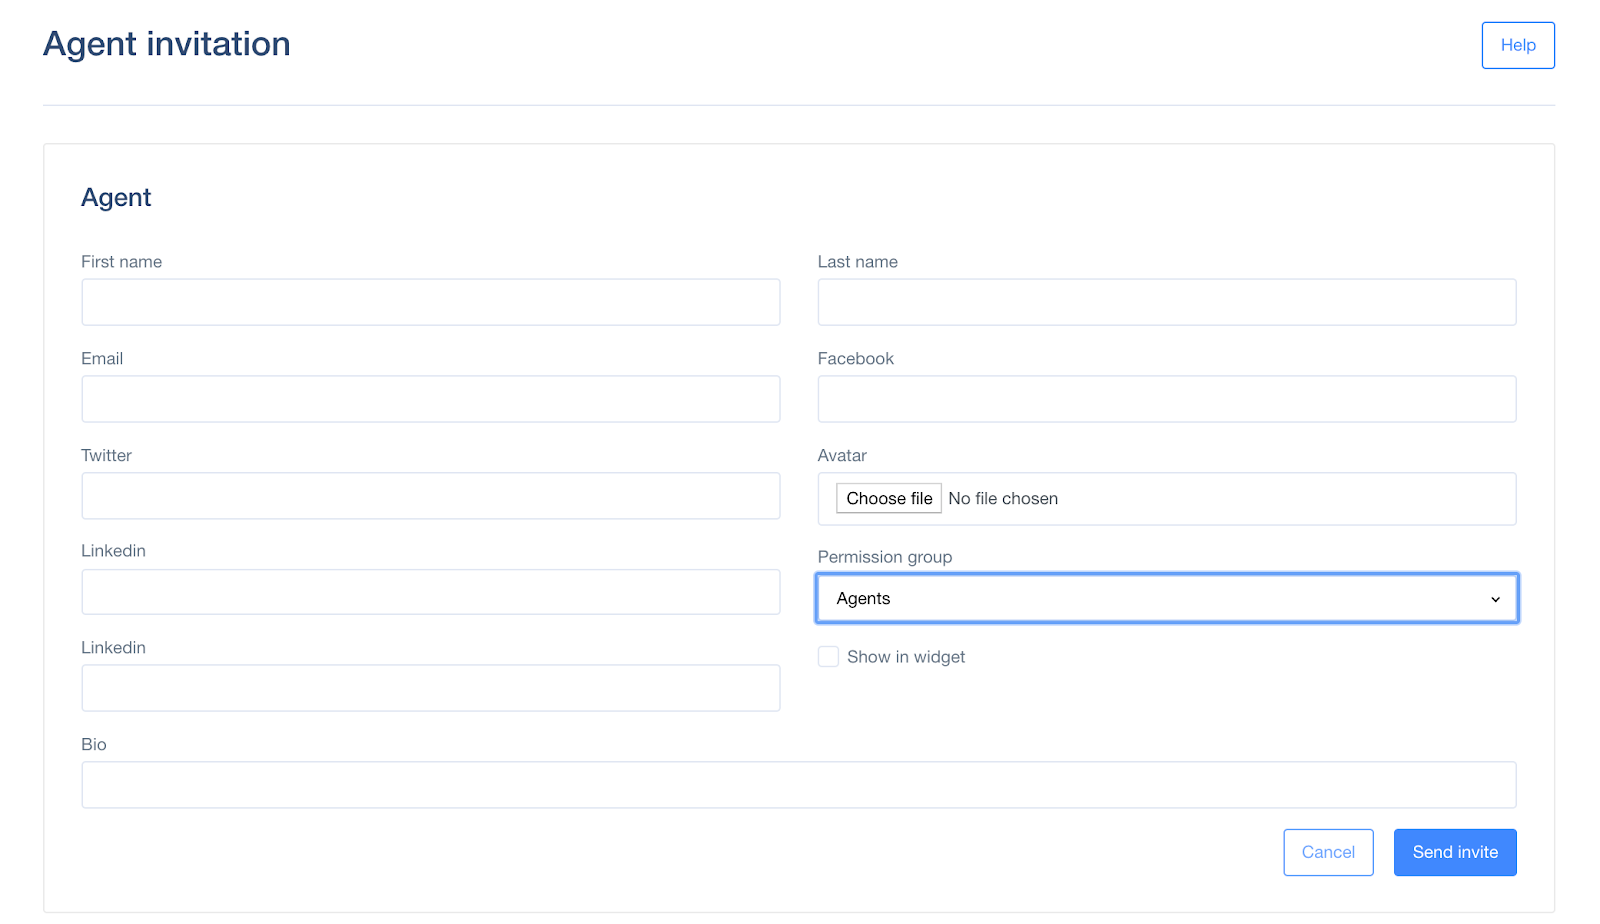
Fill in the fields such as First name, Last name, Email, etc. You can upload an image for your avatar. You can also select which Permission group you want this agent assigned to. After sending the invitation, the new agent will receive an email with the link to activate his or her account.
In the menu on the left, you will find:
- Agents: In this panel, you see their Name, ID, and Email. You can select the Access level, choose if you want this user’s avatar to appear in the chat or not (see the picture below), enable/disable auto-assign which automatically assign agents to Deals and Activities or delete an agent.

- Agent groups: These are the teams of agents. Creating one allows you to restrict access to different app functions to particular departments in your company. For example, you can enable access to automations only to your marketing team while enabling access to CRM only to sales representatives. Agent groups also help you manage chat queries.
- Assignment rules: These specify which agent groups will be assigned to chats of users from a given segment.
- Access levels: Thanks to access levels, you can manage your team members’ access to each section of the app. First, create the Access level then assign groups or particular users to it.