Forms

How to get more data from users easily with embedded forms.
Needs
Collecting customer data is an integral part of any business. Nowadays, when almost all contact between service provider and customer takes place on the Internet, data collection becomes much easier.
At user.com, collecting information about users visiting our website is done in a number of ways. Without any additional modifications, the widget placed on the website is able to track user activity (what page the user was on at a given moment, what he clicked, how he tried to contact, etc.).
However, if we want to have the most complete picture of our potential customers and give more opportunities to contact them or make a purchase, it is possible to use Popups, Webpushes, Mobile Notifications and other tools which you can learn more about here, but we will focus on Forms.
Possibilities
Who among us hasn't interacted with a form on a website? Whether it was a simple box to enter an email address to receive marketing campaigns, or elaborate forms to sign up for a service or complete a purchase - it's hard to find a website these days without one.
Seeing this need, we have provided a ready-made, easy to use form builder that can be visually modified and combined with any user attribute, regardless of whether it is a standard attribute present in the application at the time of its creation or an attribute that we added during our work with user.com.
Example of usage
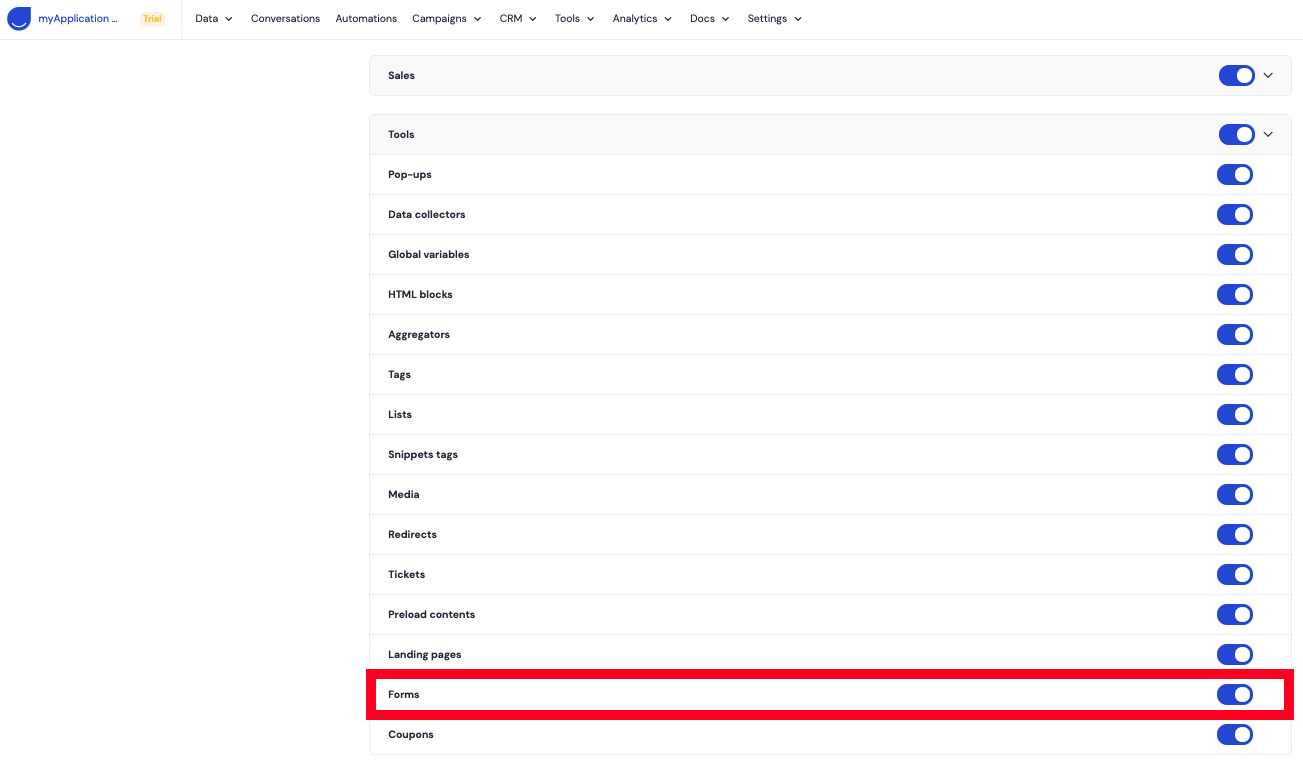
First, make sure that the Forms module is visible in your application. To do this go to Settings > App personalization > Tools, select the toggle next to the Forms and save your changes by clicking Save changes.
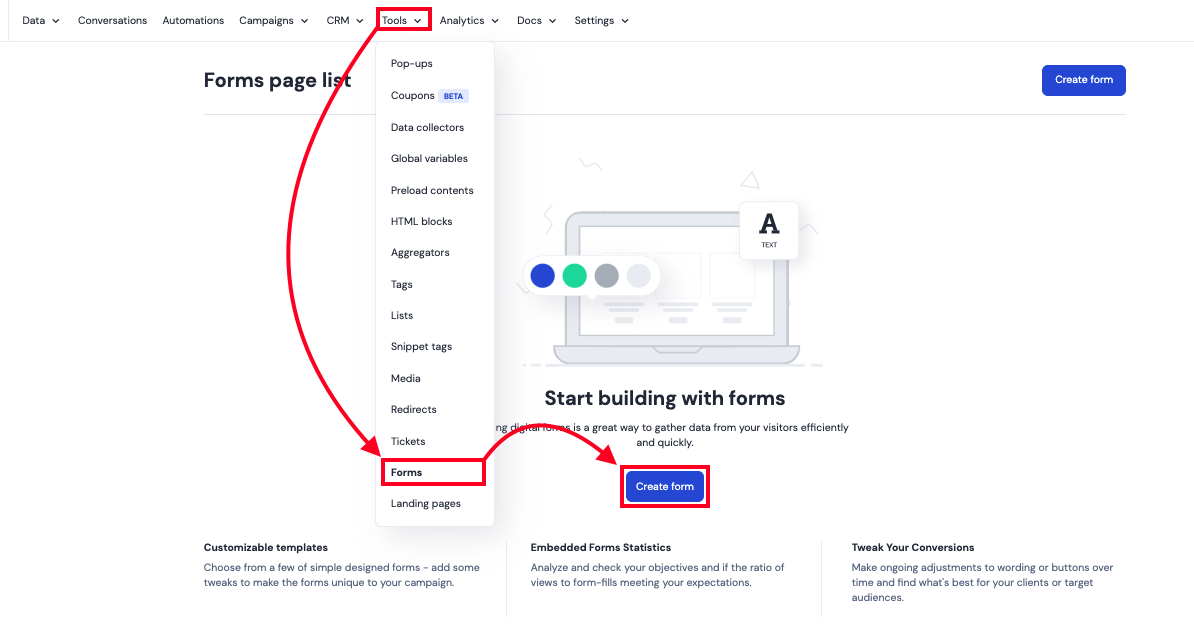
Next, go to Tools > Forms and create your new form by selecting Create form.
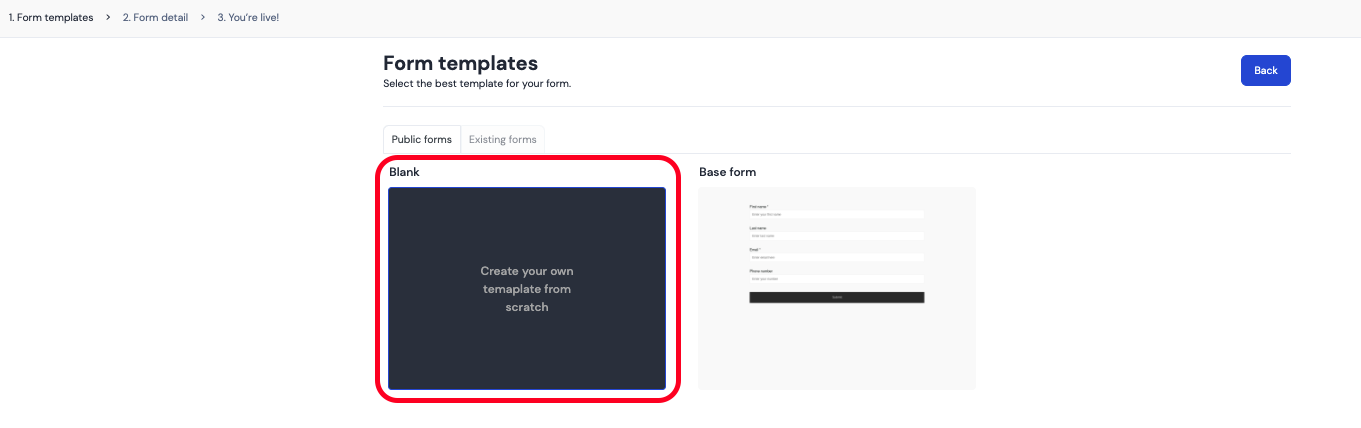
At this point, we are in the first step of creating a form (Form templates), where we can choose whether we want to create our own form from scratch or use one of the previously created templates (Existing forms).
Assuming that we are using the module for the first time, we should choose the option of creating a form from scratch Public forms > Blank.
We will be taken to the second step, which is Editing page.
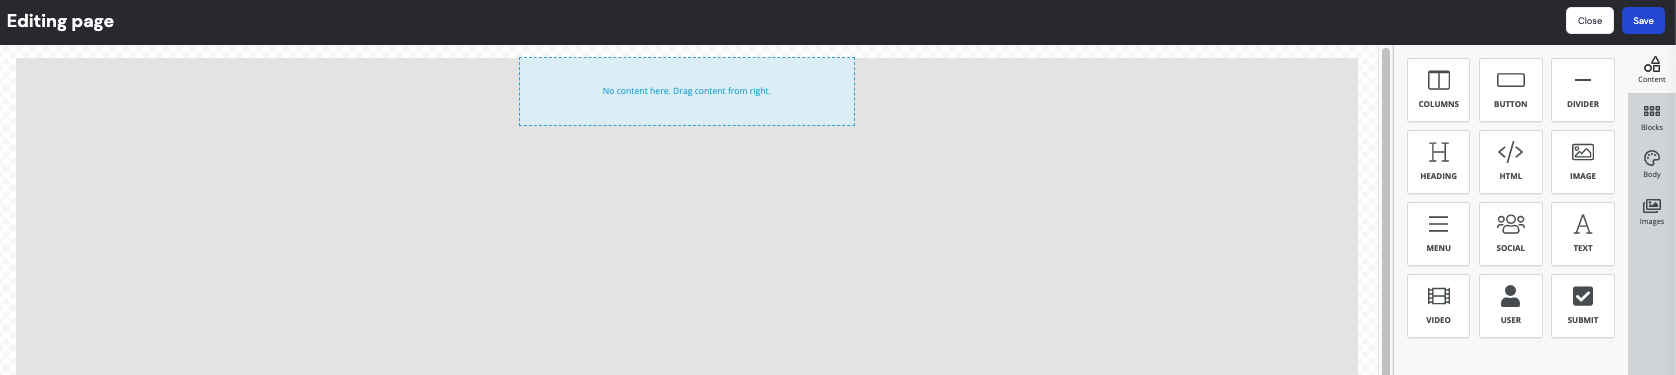
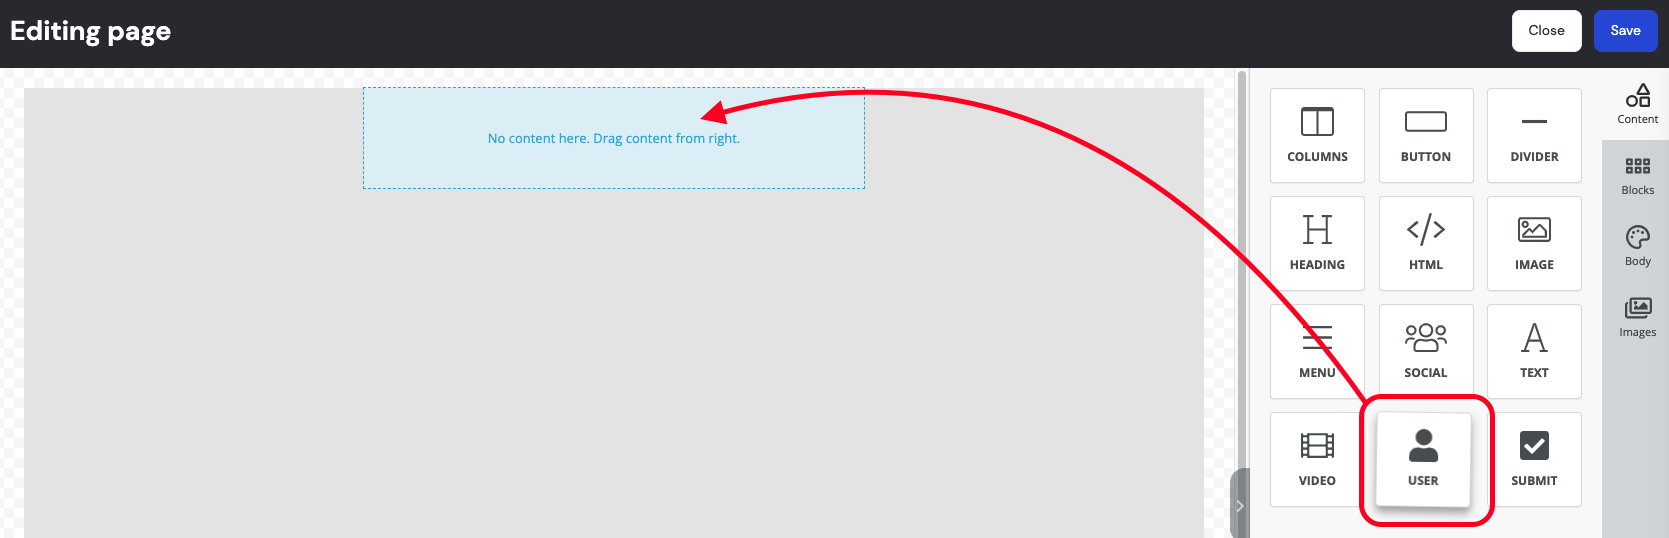
As expected, we have an empty form in front of us. To be able to proceed we need to place at least one USER module and only one SUBMIT module.
The USER module will function as a text input (String), checkbox (Bool), date picker (date/datetime) or dropdown (fixed choice), depending on the type of attribute we assign to it.
After adding the USER module as an element of the form, we have to choose which attribute to use.
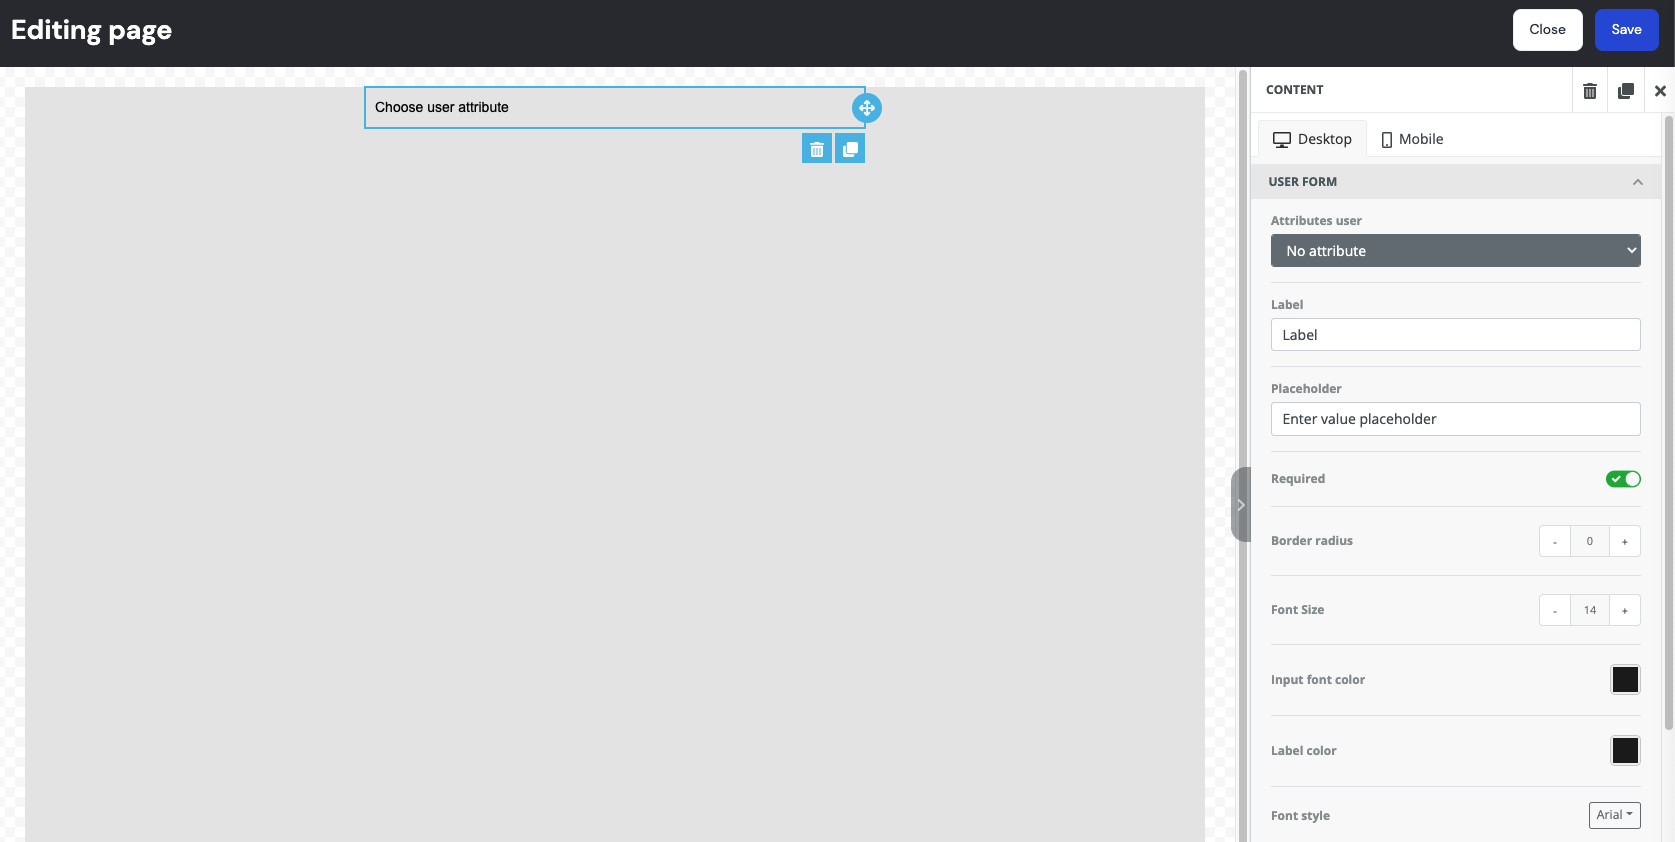
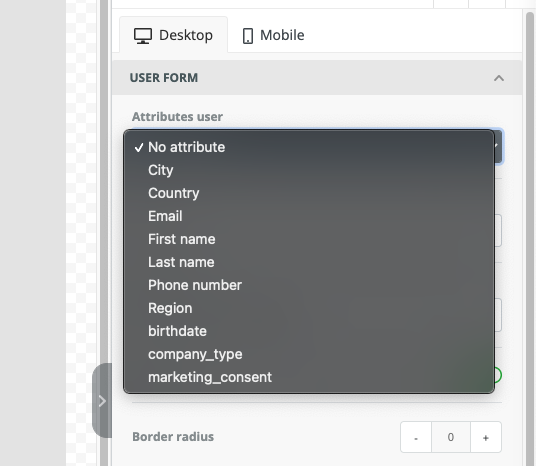
As we have already mentioned, the choice of the attribute, or more precisely its type, will determine how the element will look like in the form:
- text input (String)
- checkbox (Bool)
- date picker (date/datetime)
- dropdown (fixed choice)


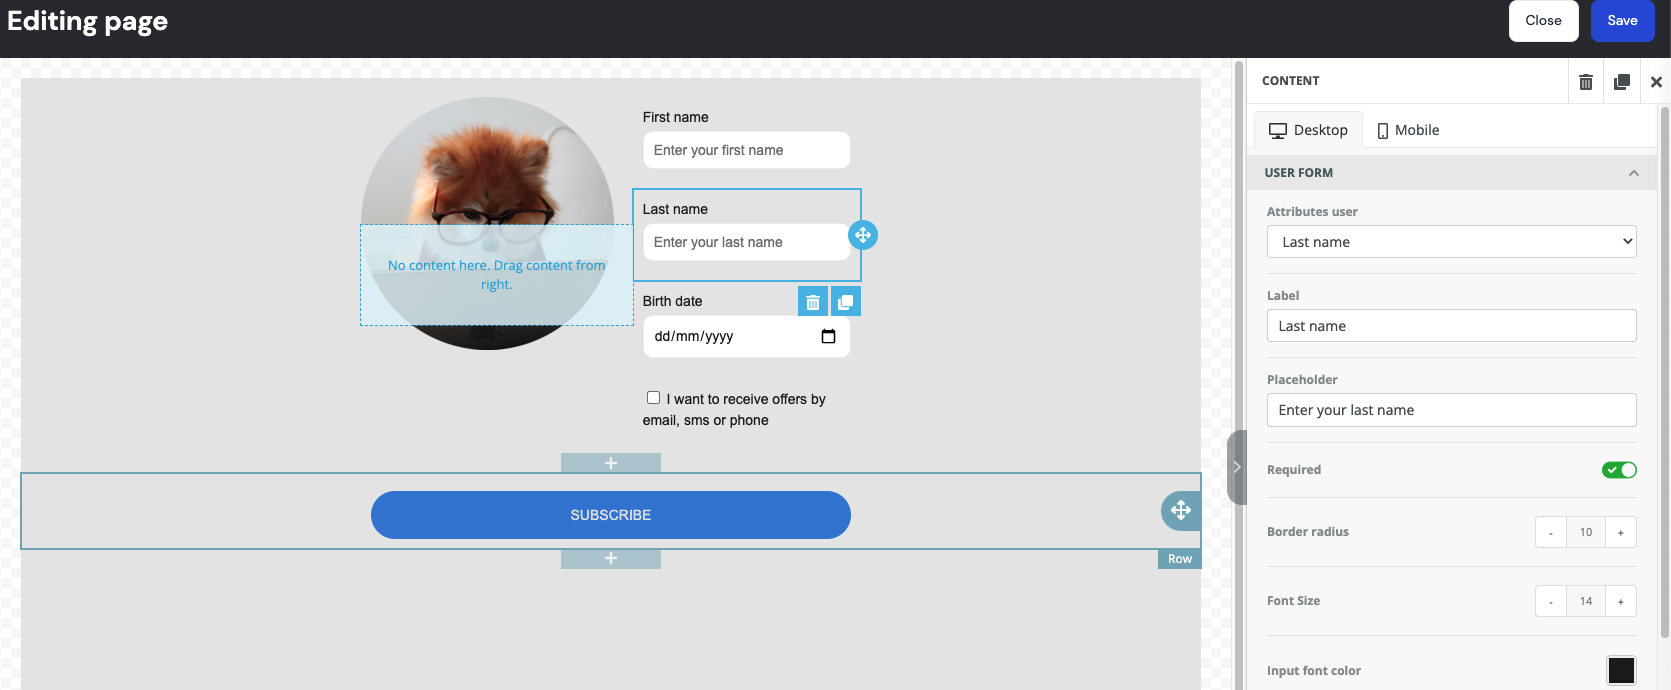
After selecting the attributes and adding the Submit button, we can visually modify our content to best fit our website.
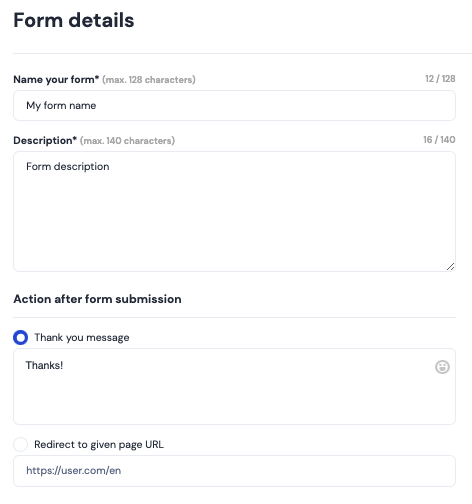
Next, we only need to specify the name and description of our form, which will be used only by the agents in the application, as well as choose what should happen after the form is filled out - whether it should be a Thank you message with the content of our choice or maybe we want to redirect the user to a page whose path we'll specify in the Redirect to given page URL input.
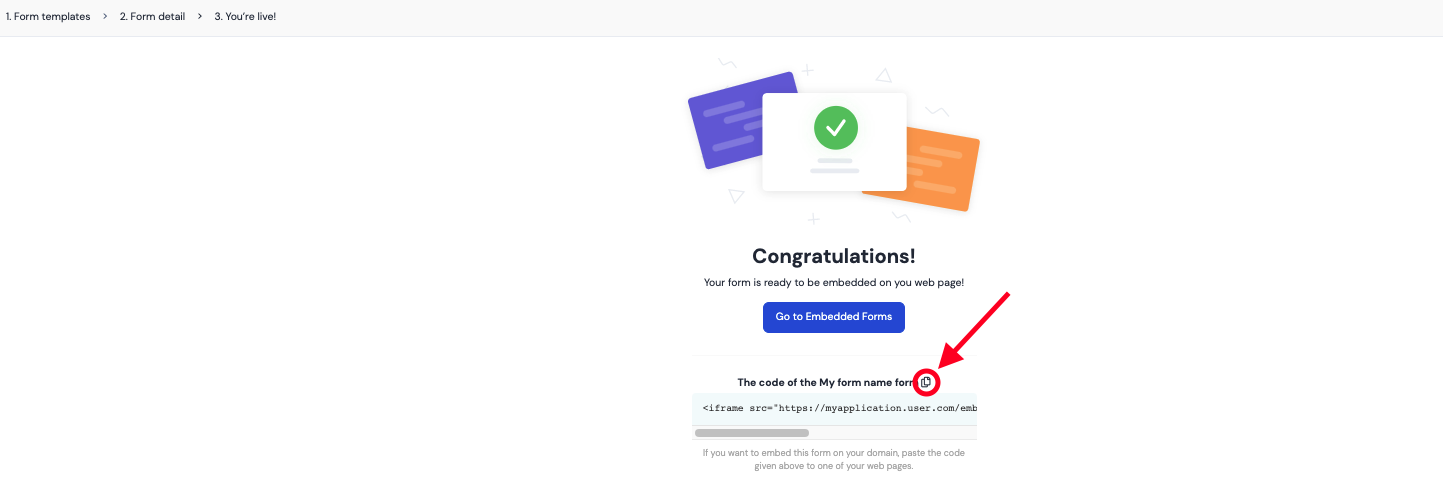
After clicking Publish, all we have to do is copy the HTML element and place it on the page as we see fit.
Now every time the form is filled in, it will change the value of the user's attributes according to what the user filled in. Additionally, each time the form is filled out, an event will be triggered which will contain all the information about which form was filled out and with what values - thanks to this we will be able to see more precisely when, how and with which form users submitted their data.