How to create a WhatsApp campaign

Learn how to create and send targeted WhatsApp campaigns from your User.com application.
With the WhatsApp integration in User.com, you can easily send targeted campaigns directly to your users through pre-approved template messages. The campaign creation process is similar to what you may know from email or SMS campaigns in User.com, but here, the content must follow specific WhatsApp guidelines and use approved templates.
How to Create a WhatsApp Campaign
Creating a WhatsApp campaign in User.com is a straightforward process designed to help you deliver messages efficiently while staying compliant with WhatsApp’s messaging policies.
Please guide to Campaigns > What's app section. Here you will find a "Create new campaign +" button in top right corner of the panel.
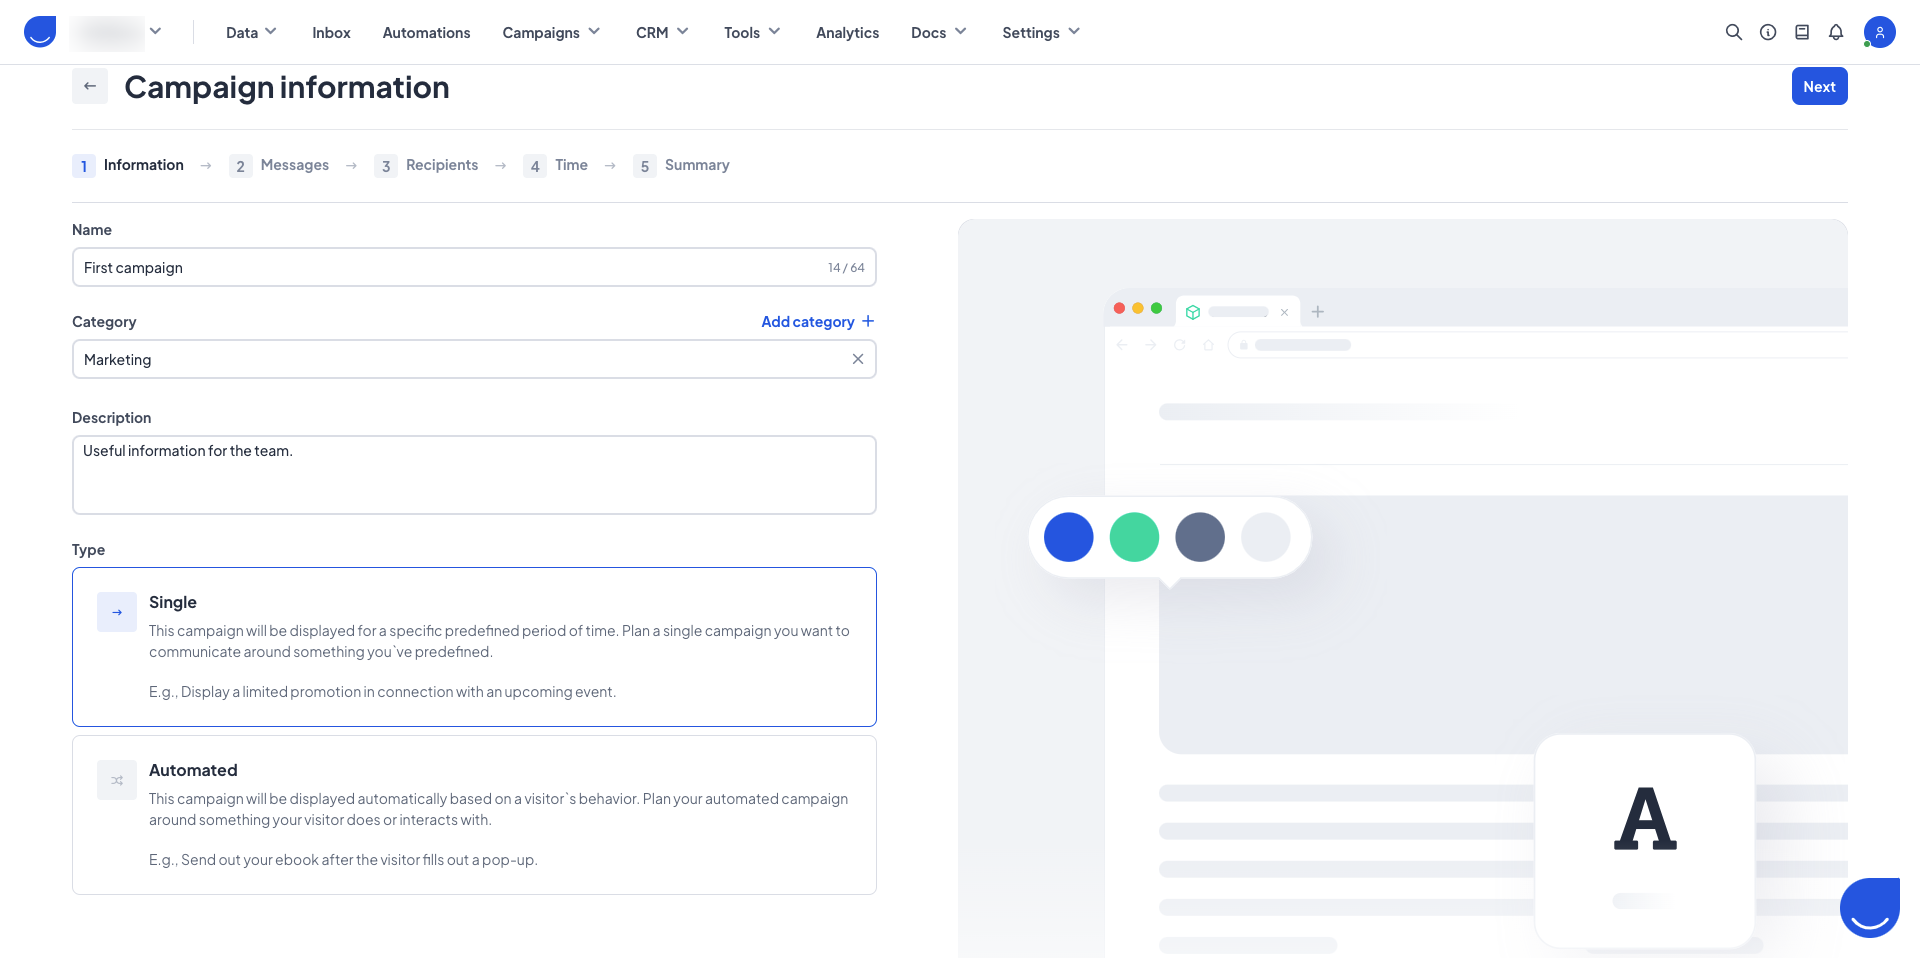
1. Information
O the first step of the process you need to decide on:
Name: The name of the campaign suitable to general naming rules of your team.
Category: You can assign the campaign to a specific category for the convenience of the future work with the application.
Description: Additional details about the campaign useful for the team.
Type: Campaigns are divided into single (one-time delivery) and automated (the ones used in automations) groups. The configuration steps differ depending on the type of the campaign.
2. Messages
Next select the template message that will be used in the campaign. We highly recommend choosing a predefined template that has already been approved by WhatsApp — this ensures a smooth launch without delays.

Once you click on "Message templates" button you will be redirected to the WhatsApp messages templates list where you can pick one of the valid approved templates.

If you decide to create a new message template during this step, you should stay in the Message editor. Here you can create a new item for the campaign.
Please, check the following article to learn all the details and conditions of successful WhatsApp message template creation.
After submitting the template, you’ll need to wait for WhatsApp’s approval. Once the status becomes “Approved”, the message can be used in the campaign.

You have two options available:
"Refresh approval status": You can wait a bit and try this option. WhatsApp usually approves templates within seconds ( in rare cases, it may take several minutes or hours).
"Go to campaign list": This button will redirects you to the list of the campaigns. Your current campaign will stay in a draft mode, meaning you can get back to editing it, once the message template is approved.
If you choose the "Refresh approval status" option and the template gets the "approved" status by this moment, you will see the confirmation message and be able to get back to the campaign creation process. 
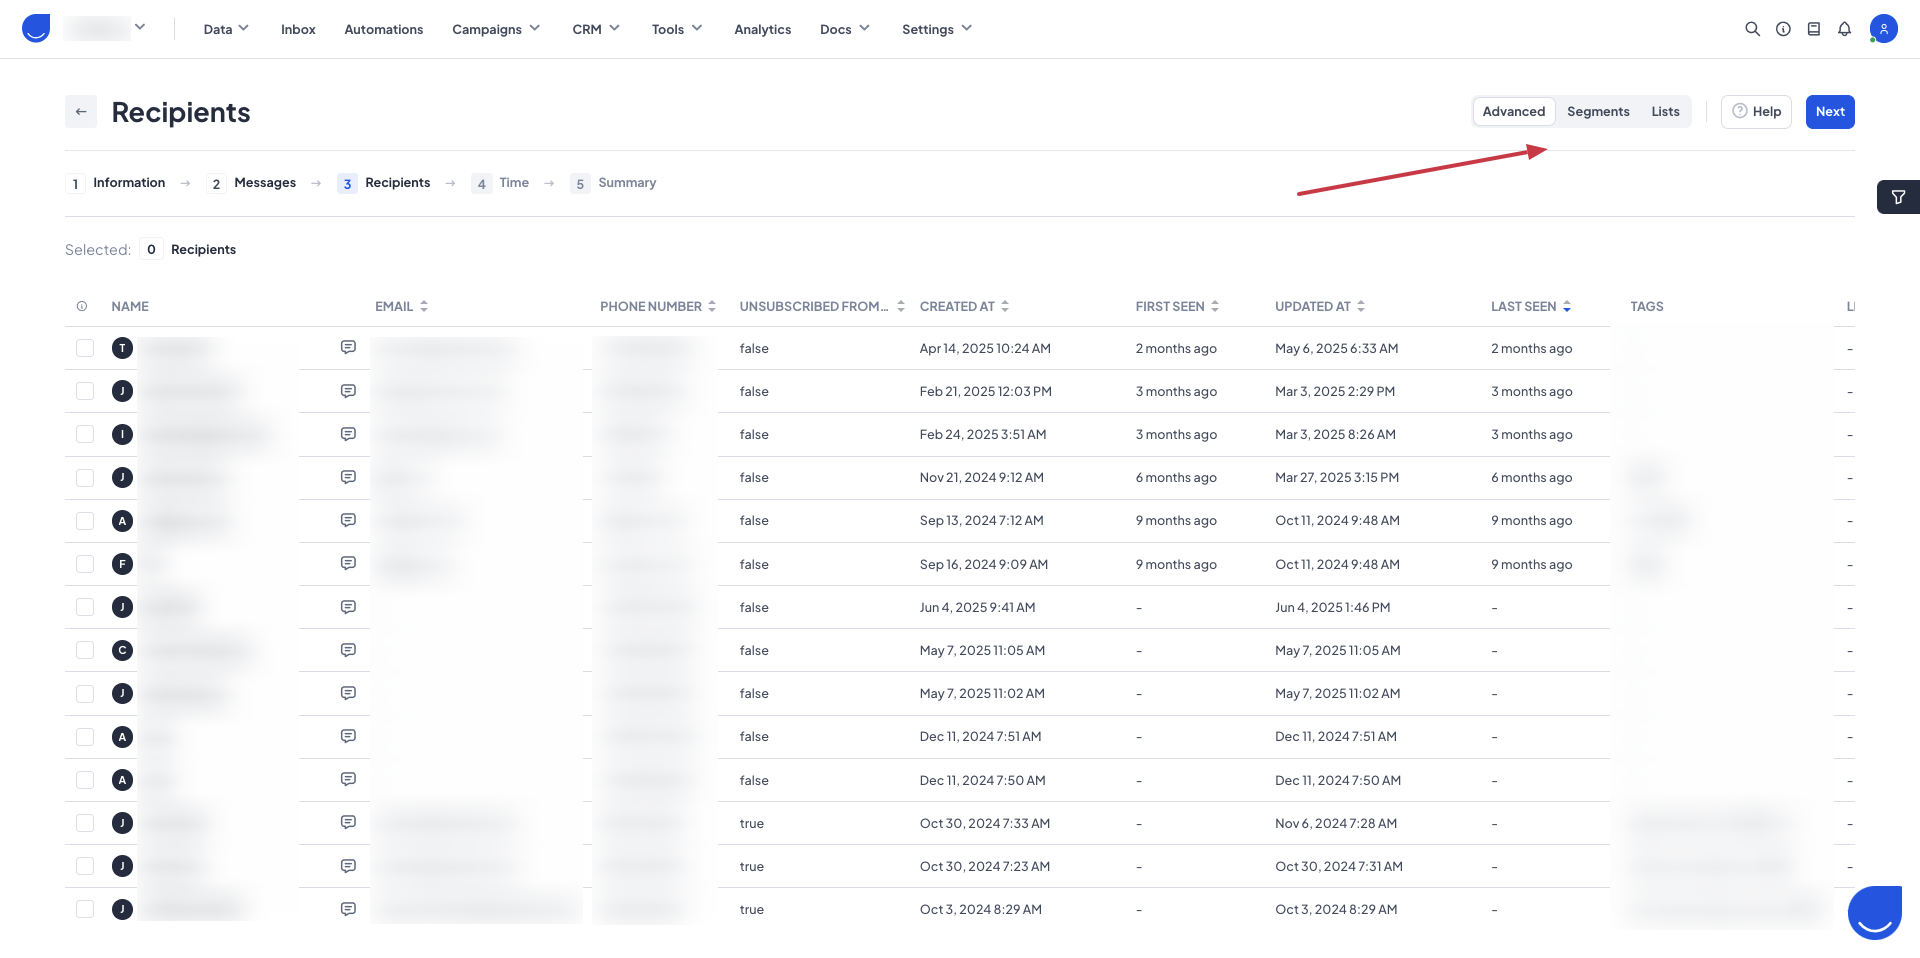
3. Recipients (Single Campaign Only)
After selecting a valid template, you will define the target audience for your single campaign. You can choose a previously created segment, list, or use manual filters to select the recipients that match your campaign goals.
Automated campaigns do not include this step, as their recipients are defined by the automation rules.
Please, remember that there is an attribute "Unsubscribed from WhatsApp", which has a "false" value by default. Once the attribute is updated with the "true" value, the user is automatically removed from the recipients' list.
4. Time (Single Campaign Only)
Next, decide when the campaign should be sent. You can choose “Send Now” to launch it immediately or schedule it for a specific date and time. Scheduling is especially useful for aligning campaign timing with your sales, events, or customer behavior.
Automated campaigns do not include this step, as their delivery time depends on the automation structure.

5. Summary
At the last step, you’ll see a summary of your campaign setup. This includes:
Campaign name
Type (Single/Automated)
Category
Time of delivery (single campaign only)
Target group (single campaign only)
Preview of the message template

You now have two options:
"Publish campaign", making it active and ready to run at the selected time or in a selected automation.
"Save as draft", allowing you to come back and edit or complete the setup later.
NOTE! Once a campaign is published and active, it can no longer be edited. Be sure to review all settings before confirming.