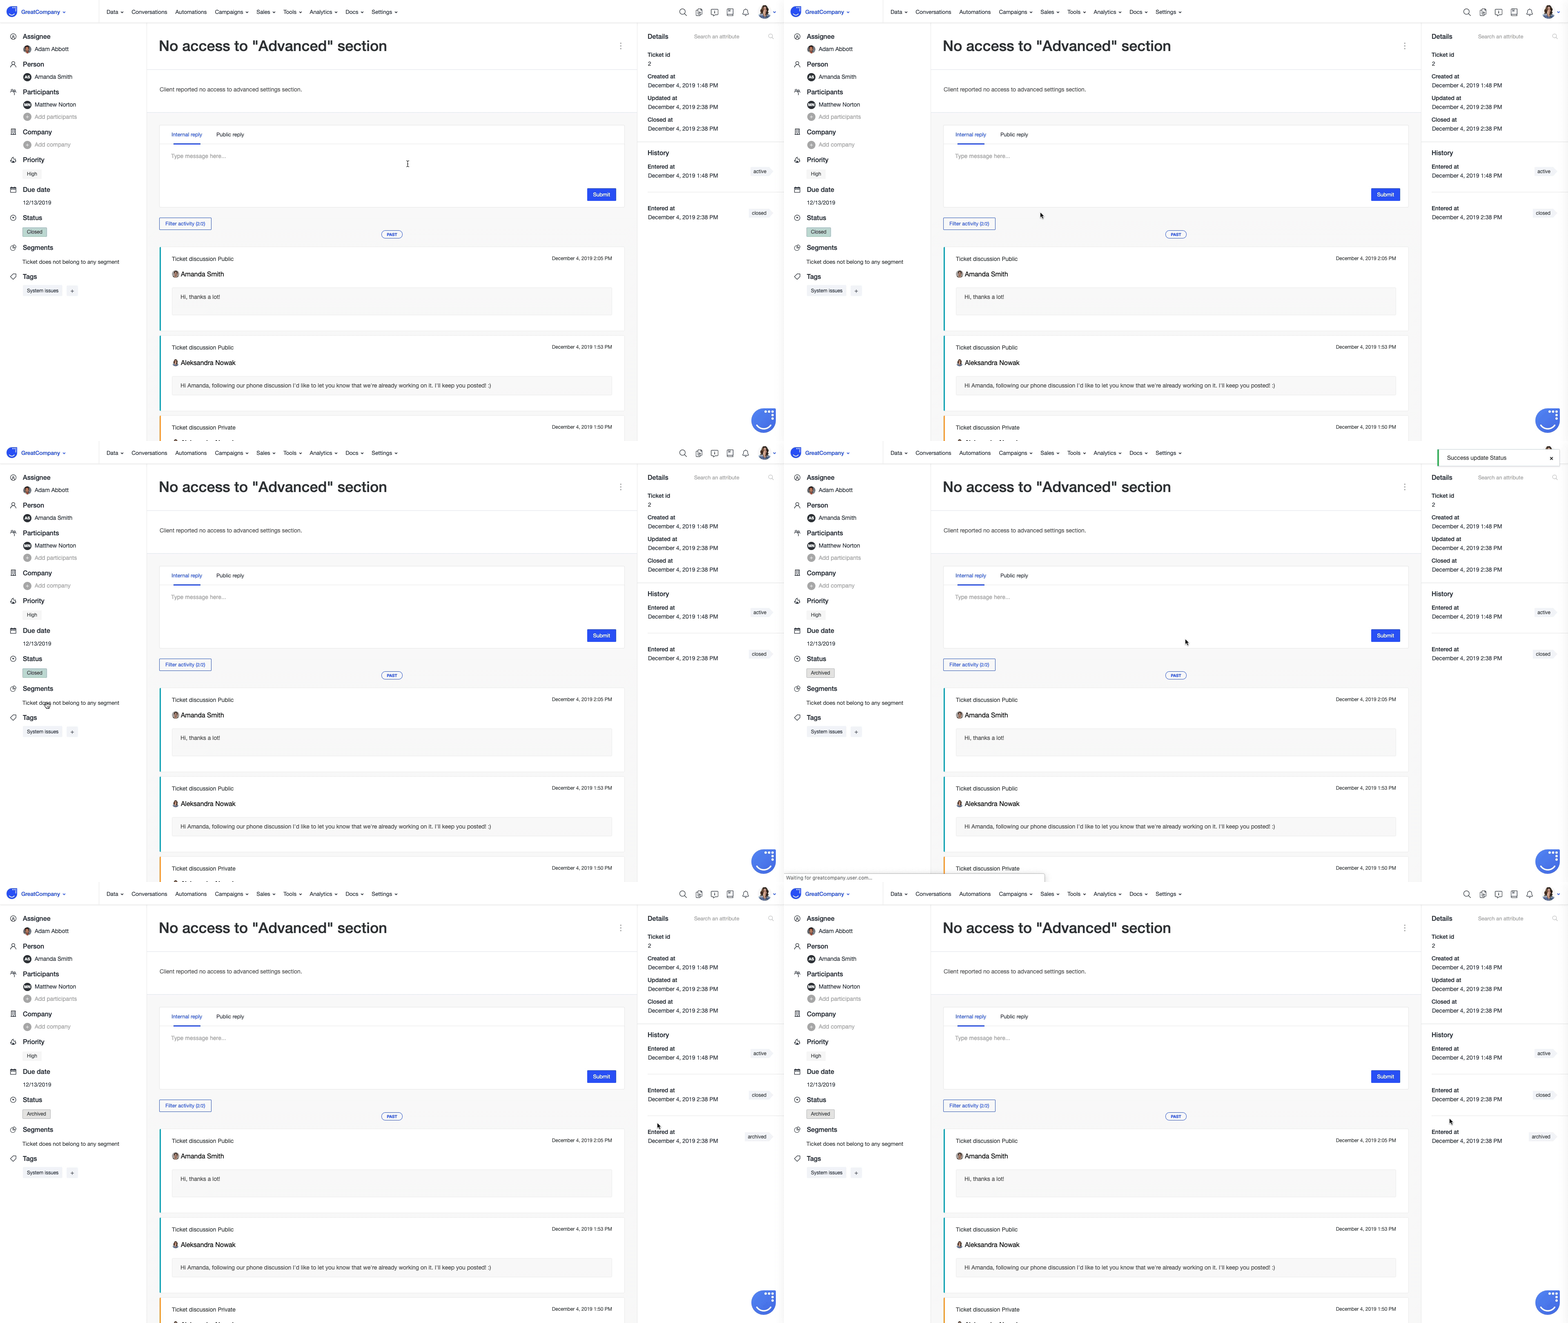
Ticket attributes, details and history
Find out more about the Ticket characteristics
Before you start
There is a set of information pieces by which each Ticket can be described. They have been divided into 3 groups: attributes, details and history.
Getting to know Ticket attributes
Regardless of the way of creating a Ticket, you can always see and edit its attributes by going to Tools -> Tickets and clicking on a given Ticket name.
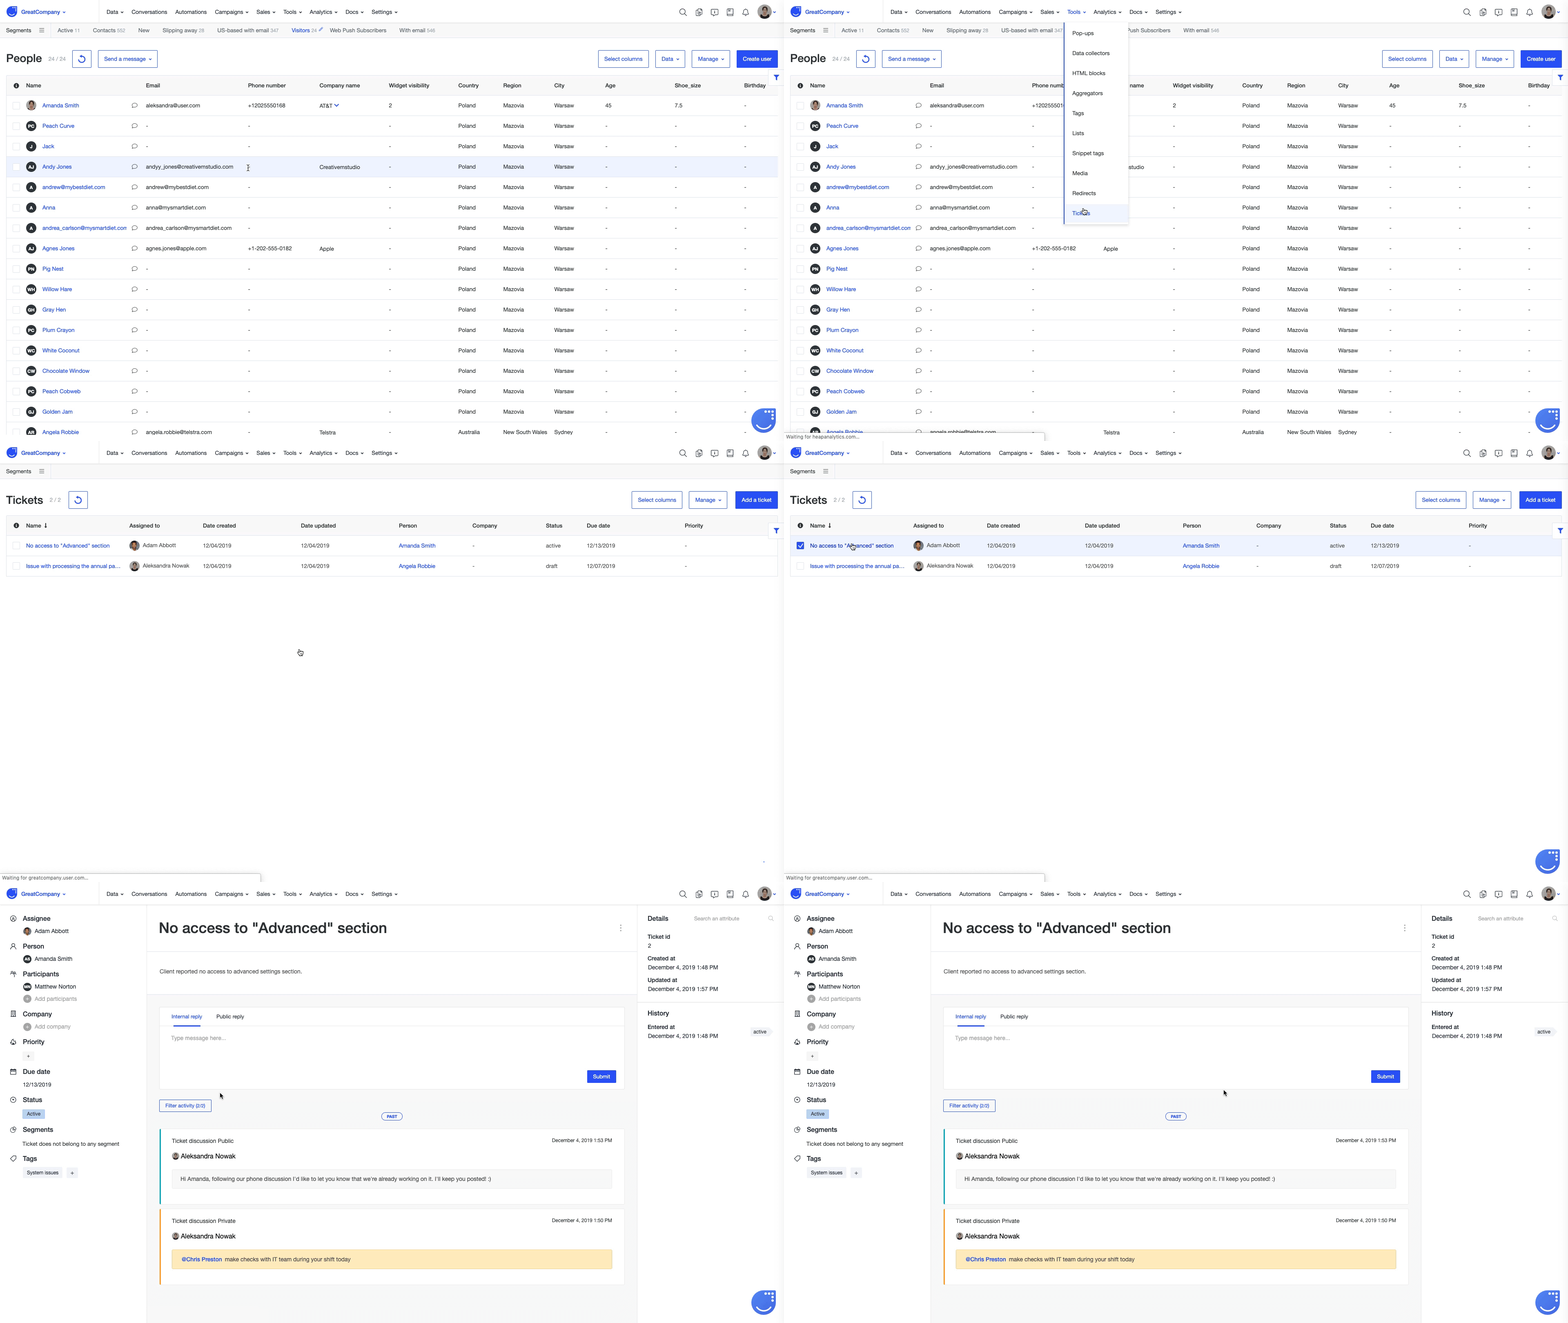
Each ticket can be assigned with a number of attributes which are easily editable on the Ticket’s webpage:
- Assignee - a person from your team involved in any action related to the Ticket and responsible for it
- Person - a user a Ticket is related to
- Participants - all additional people that should be aware of or involved in anything related to a Ticket
- Company - a company related to a Ticket
- Priority - decide whether a Ticket is a Low, Medium or High priority
- Due date - a date by which a deal needs to be resolved, by default it will be set up to an empty field
- Status - you can quickly adjust the status of your Ticket here.
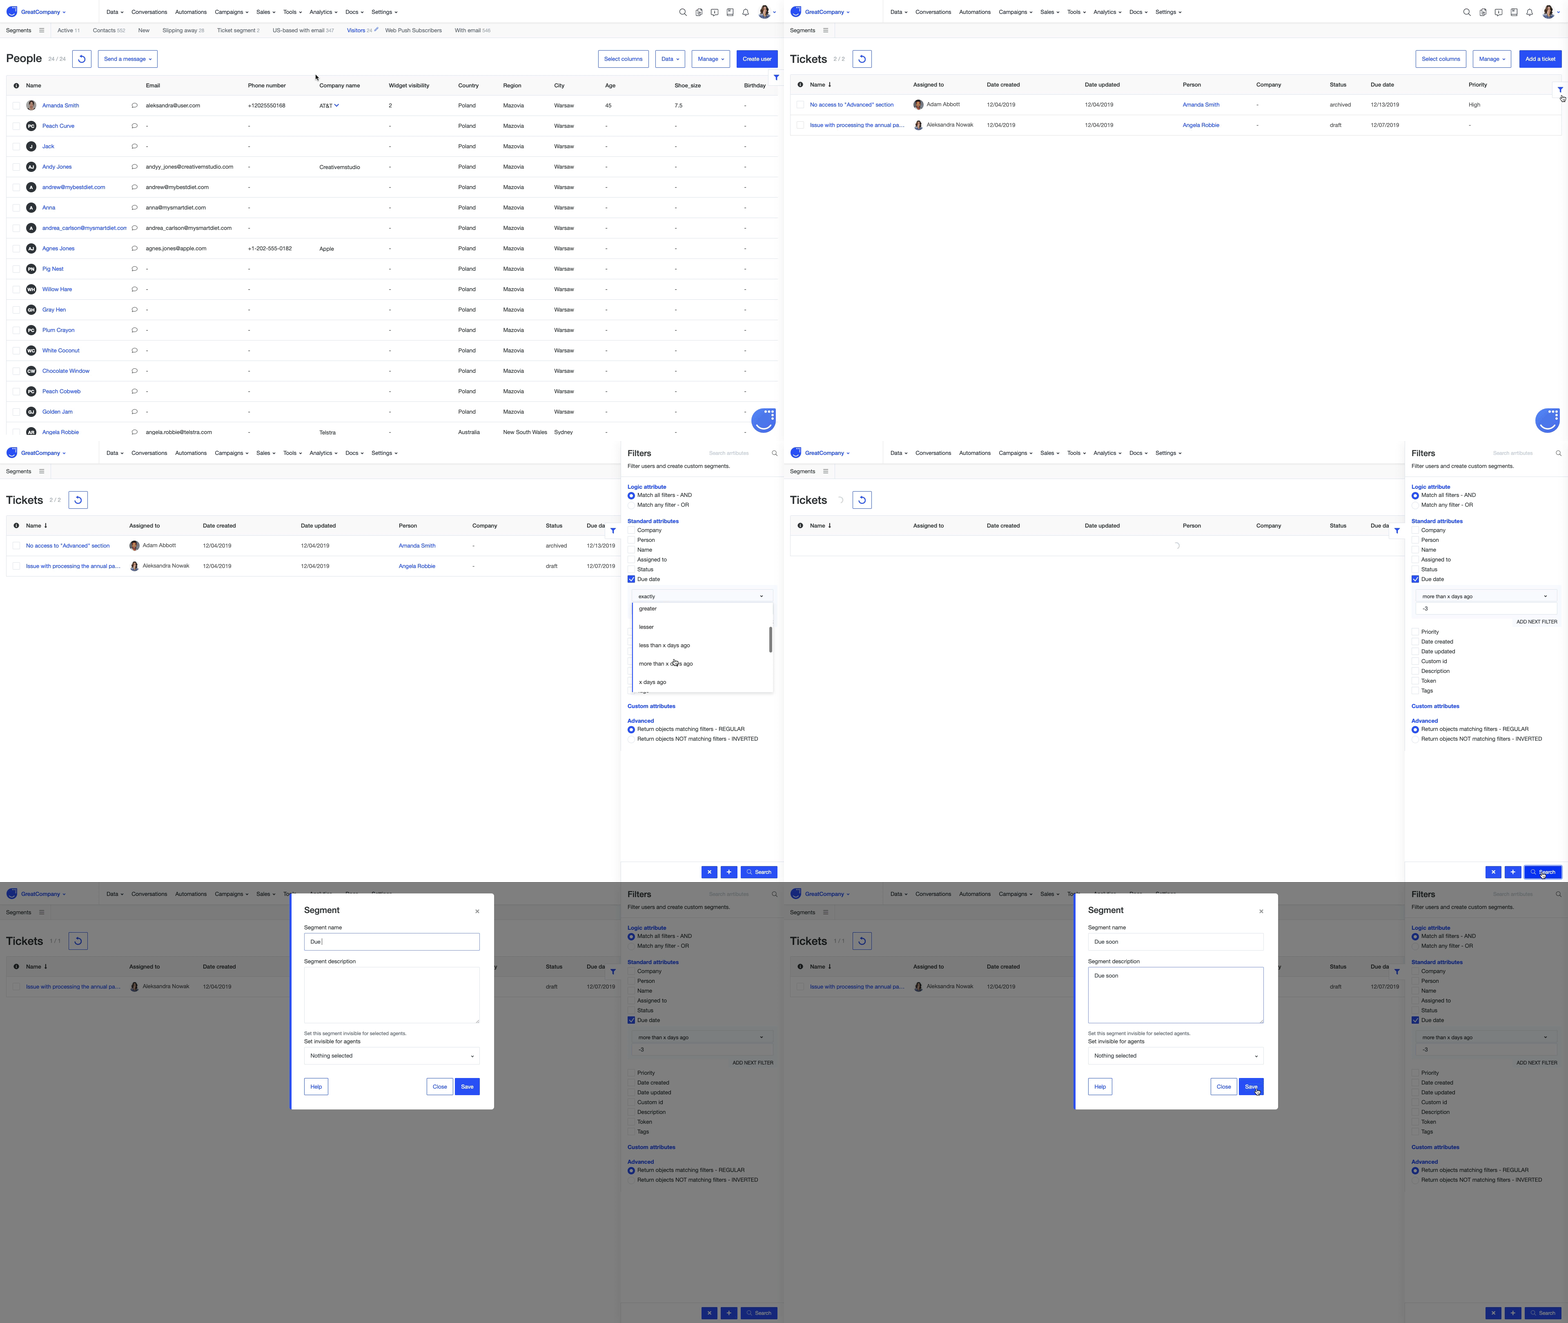
- Segment - to make it easier for your team to navigate between different Tickets you can assign it to one of the Ticket segments. To create a new Ticket segment go to Tools -> Tickets and use filtering section.
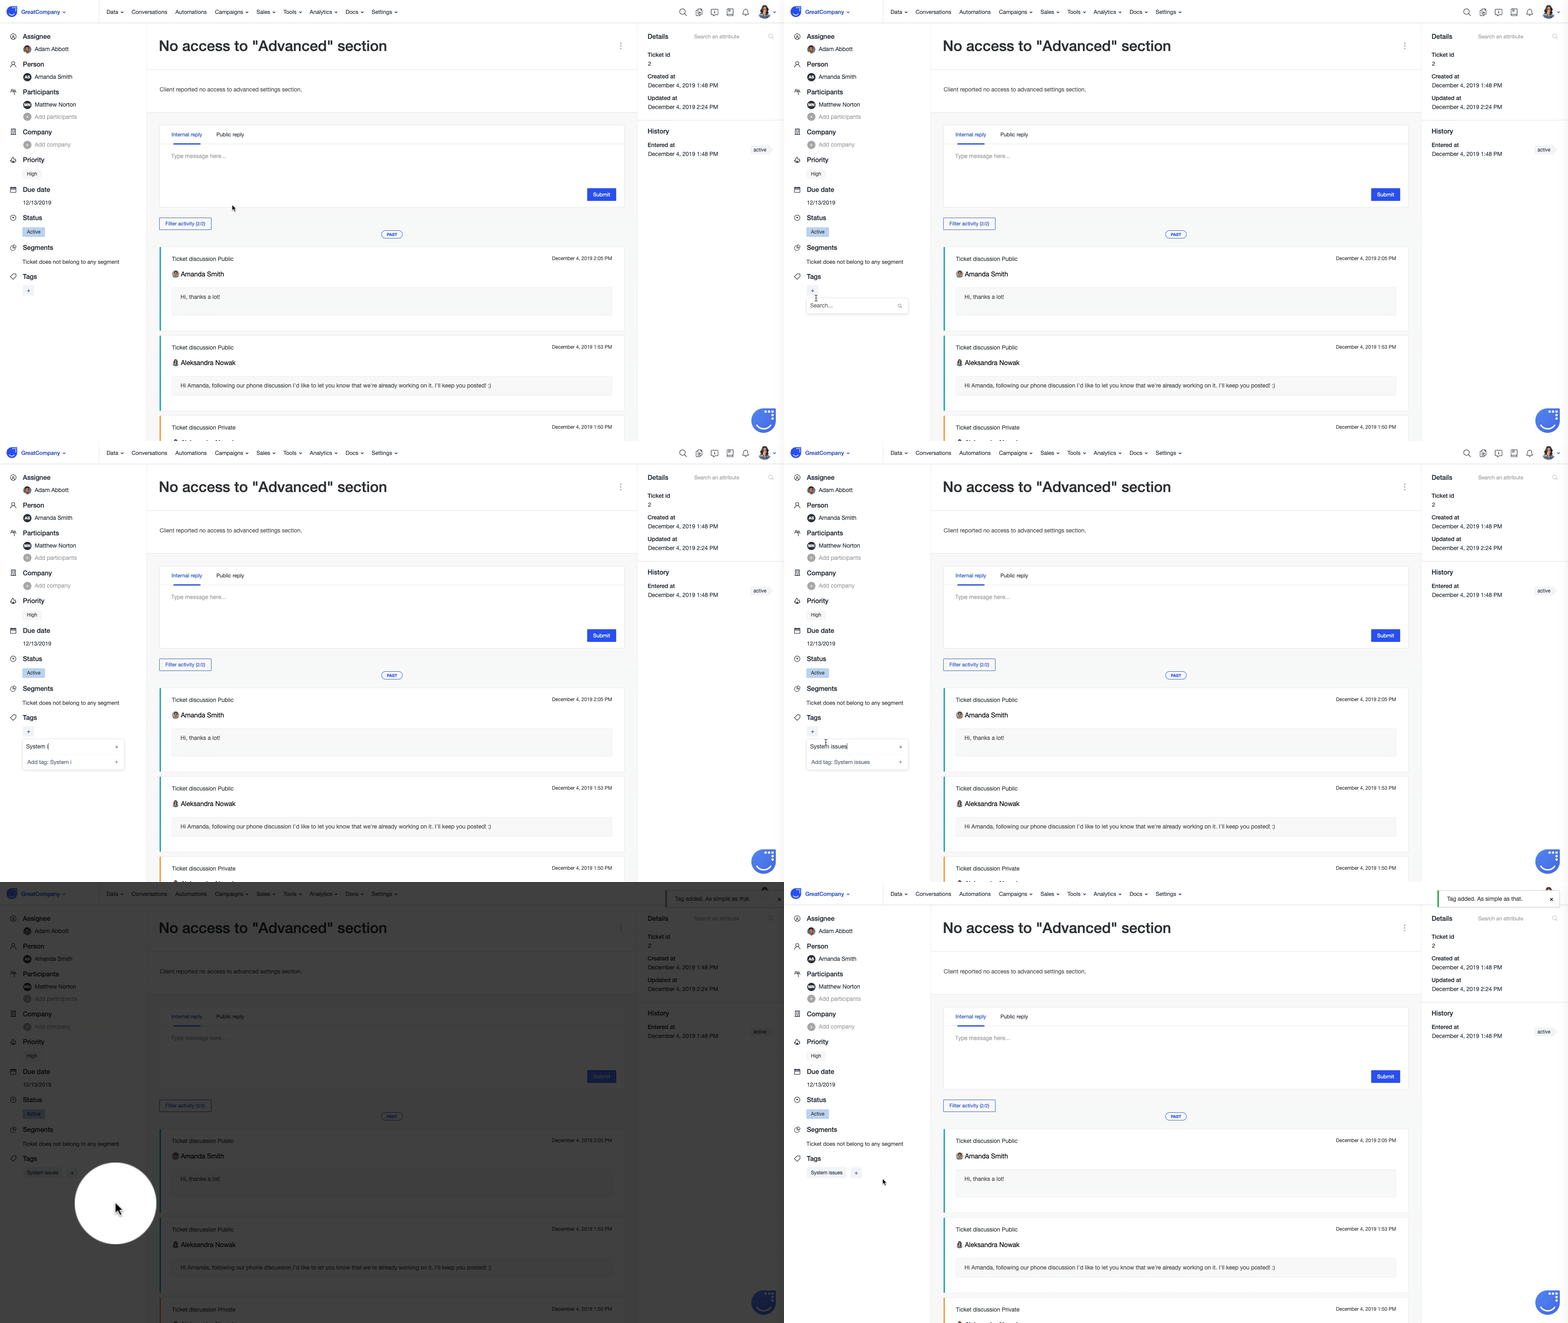
To make navigation through tickets even more intuitive for your support team, you can tag Tickets by customizable tags. To create a new Tag type in its name and click on the +.
Adding new Ticket priorities
We’ve created default categories for Ticket priority, but you can quickly delete them or create new ones. All you need to do is going to Settings -> App settings -> Tickets and select Ticket priority. 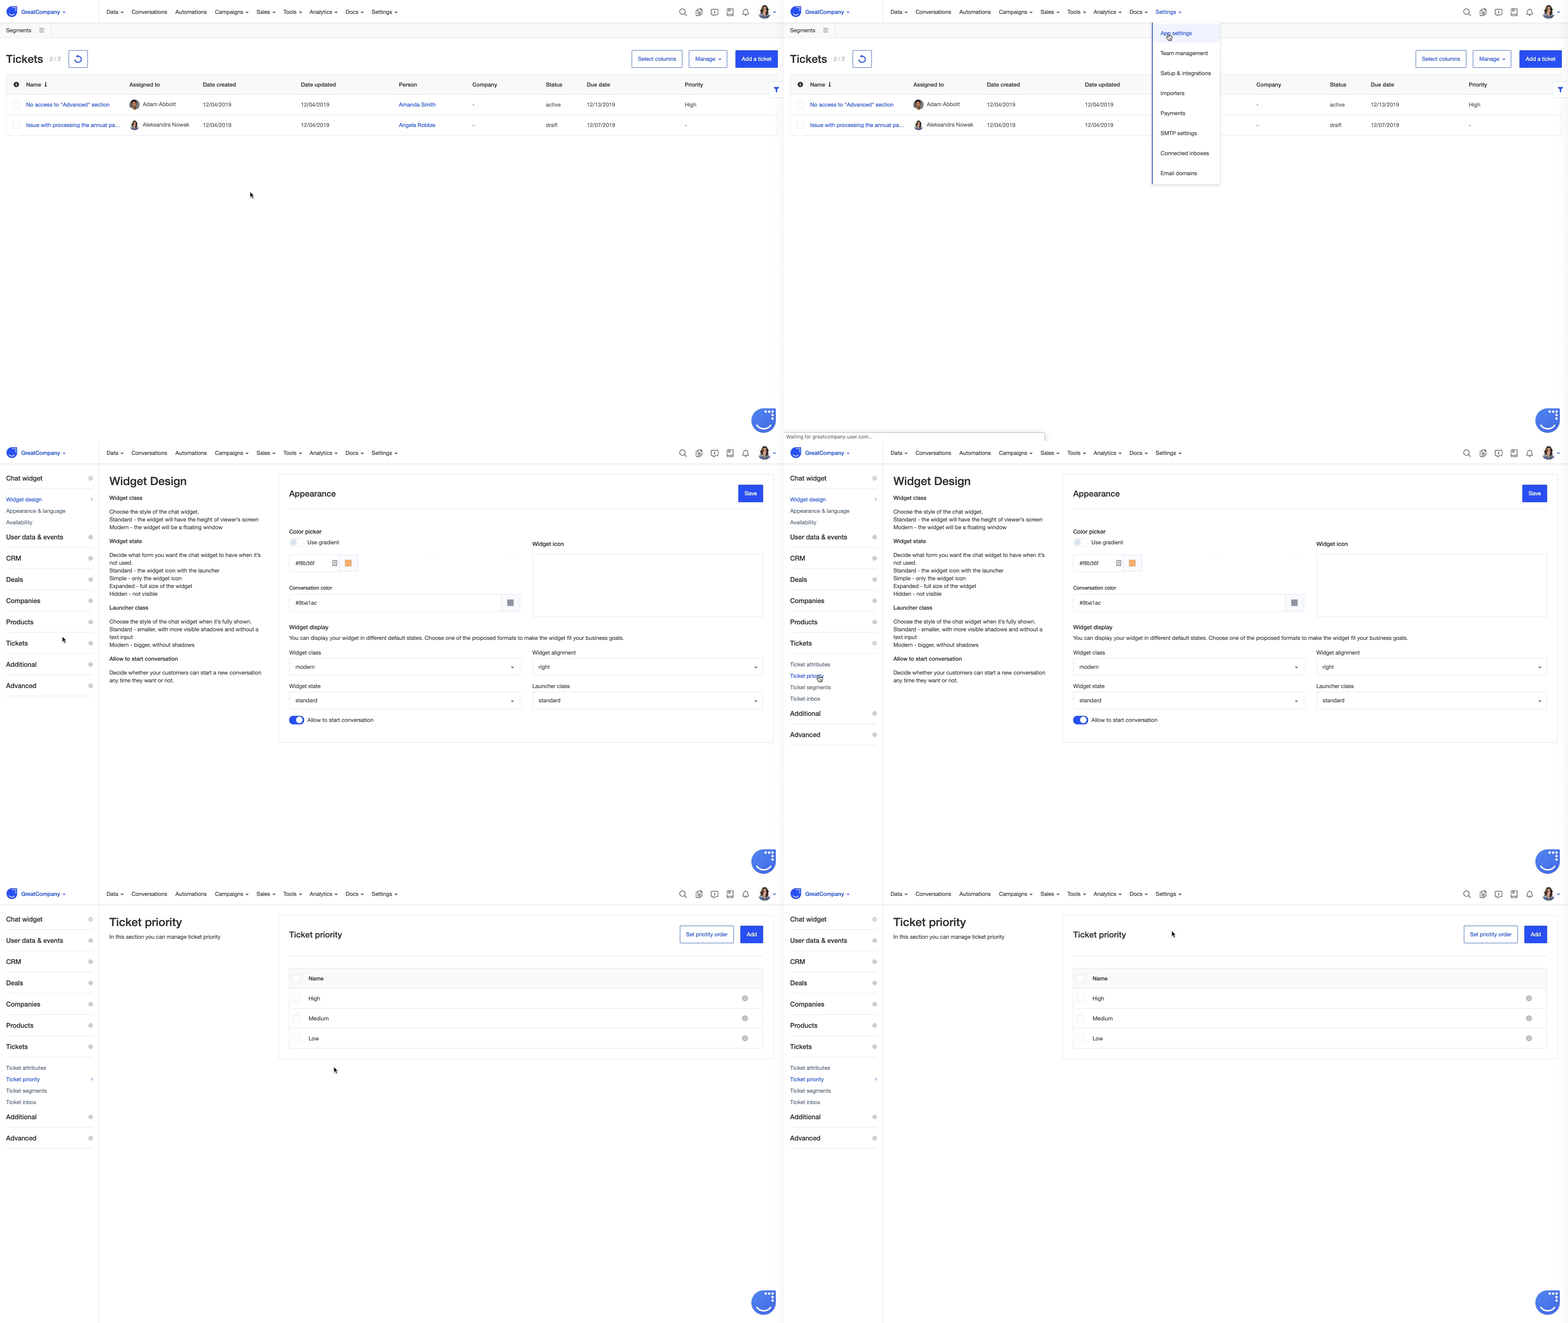
Creating custom attributes
You see a bunch of default Ticket attributes, but you want to add additional ones adjusted to your business needs? No problem!
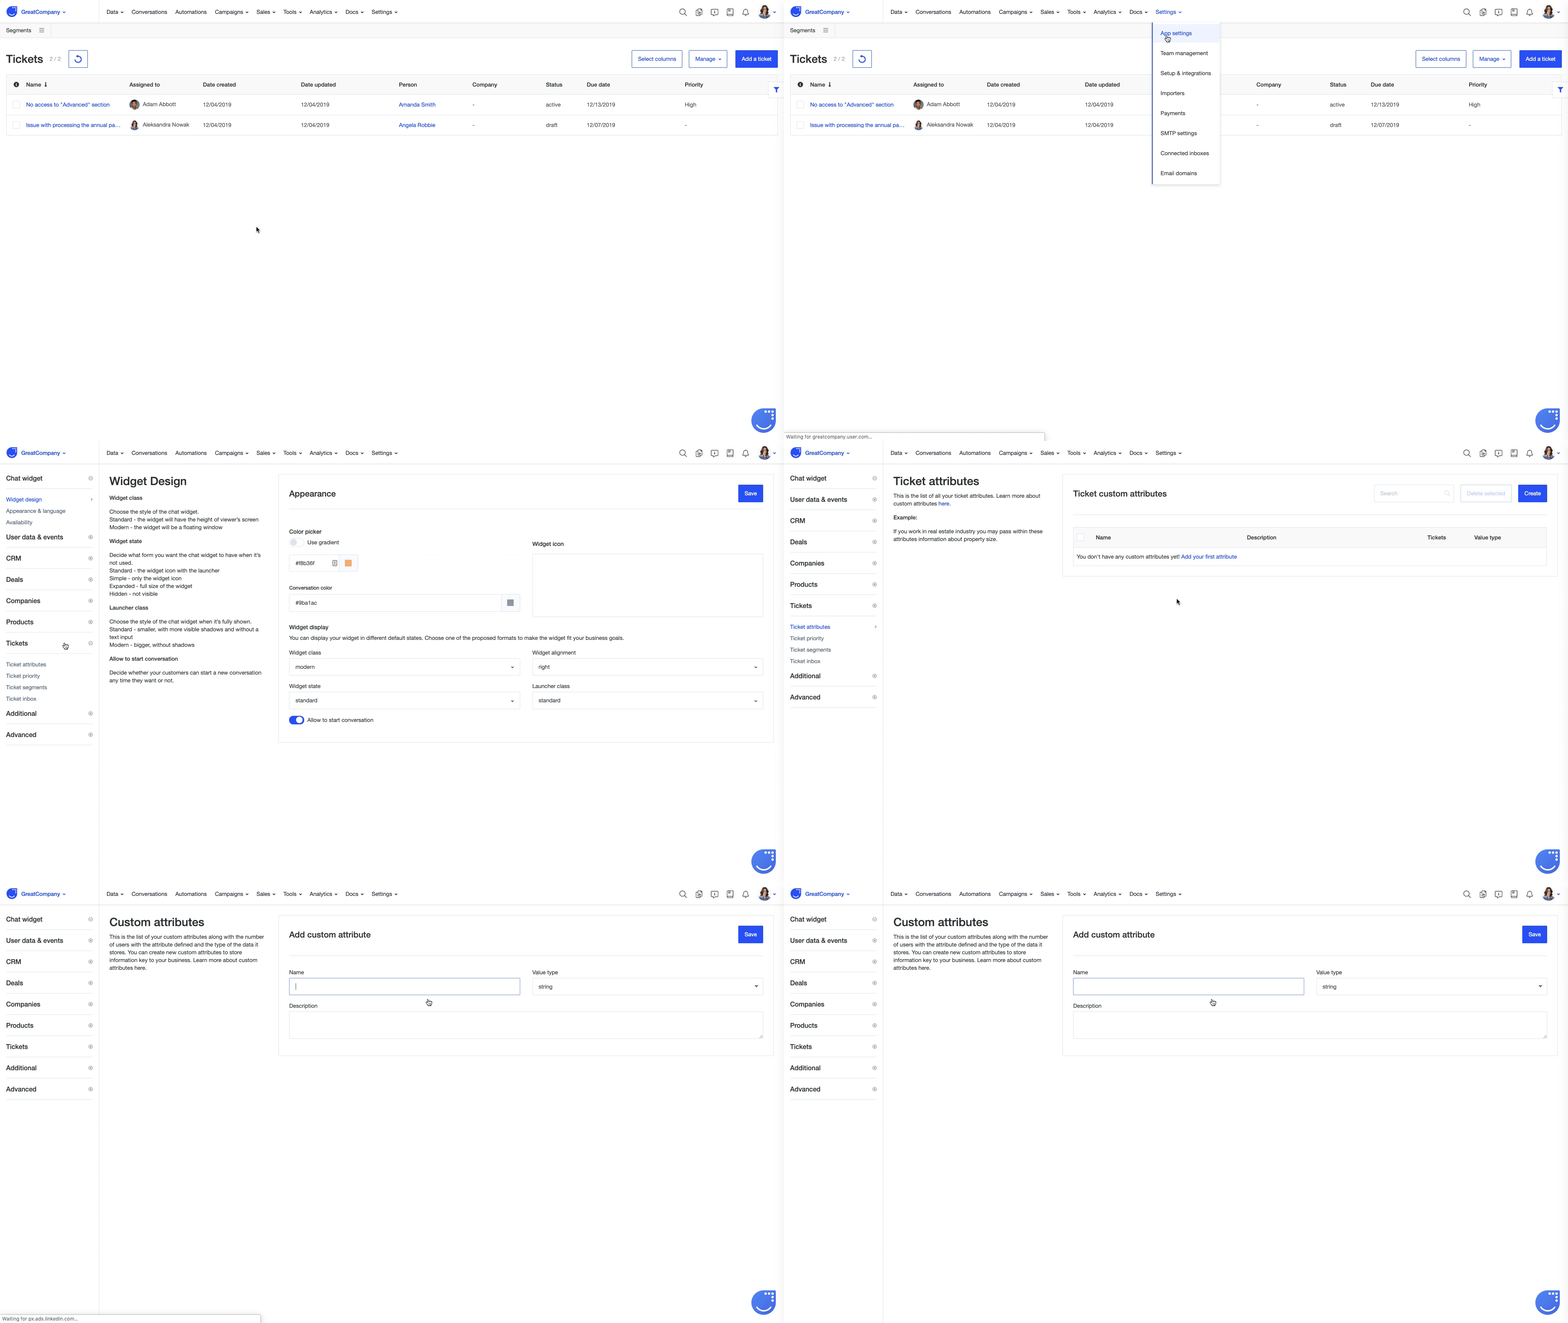
To create a new Ticket attributes go to Settings -> App settings -> Tickets -> Ticket attributes. You can learn the general rules of how to create custom attributes from this article. After saving a new attribute, it will be visible under Custom attributes in the right-hand column.
Ticket details and history
You can check a Ticket ID, a date on which a given Ticket has been created and information about the most recent update to its name in the Ticket details. Each change of a Ticket status will be noted in the Ticket history.
You can see both details and history on the right-hand side of a Ticket webpage.
