3 ways to create a new Ticket
Learn how to create a Ticket
Creating a Ticket manually
If any of your users' lets you know they have a problem, you can create a Ticket manually. Go to the Tools -> Tickets and click on the Add a ticket button in the top right-hand corner. Set up Ticket attributes (no need to fill in all the fields, you can always come back and edit them at any time) and click on Save.
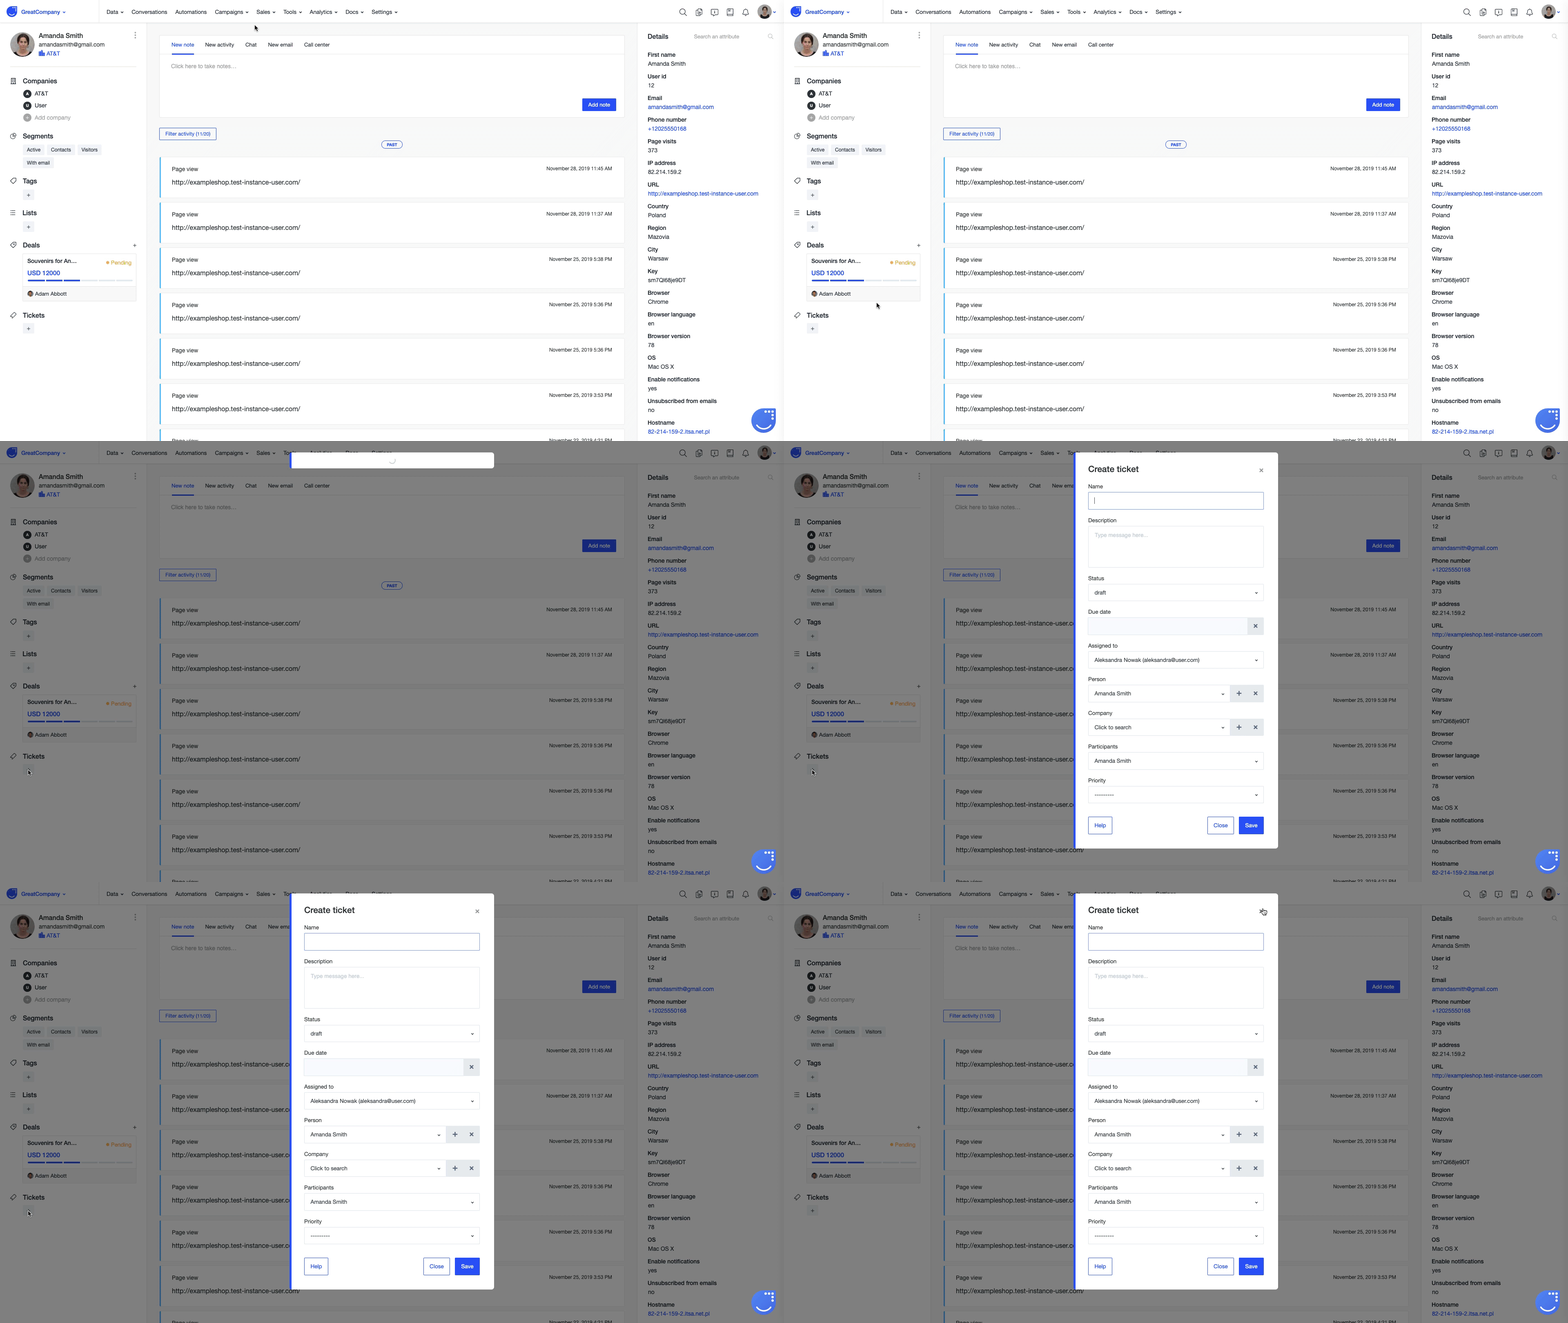
You can also create a Ticket directly from a user’s profile by clicking on the + icon in the Tickets section in the left-hand column.

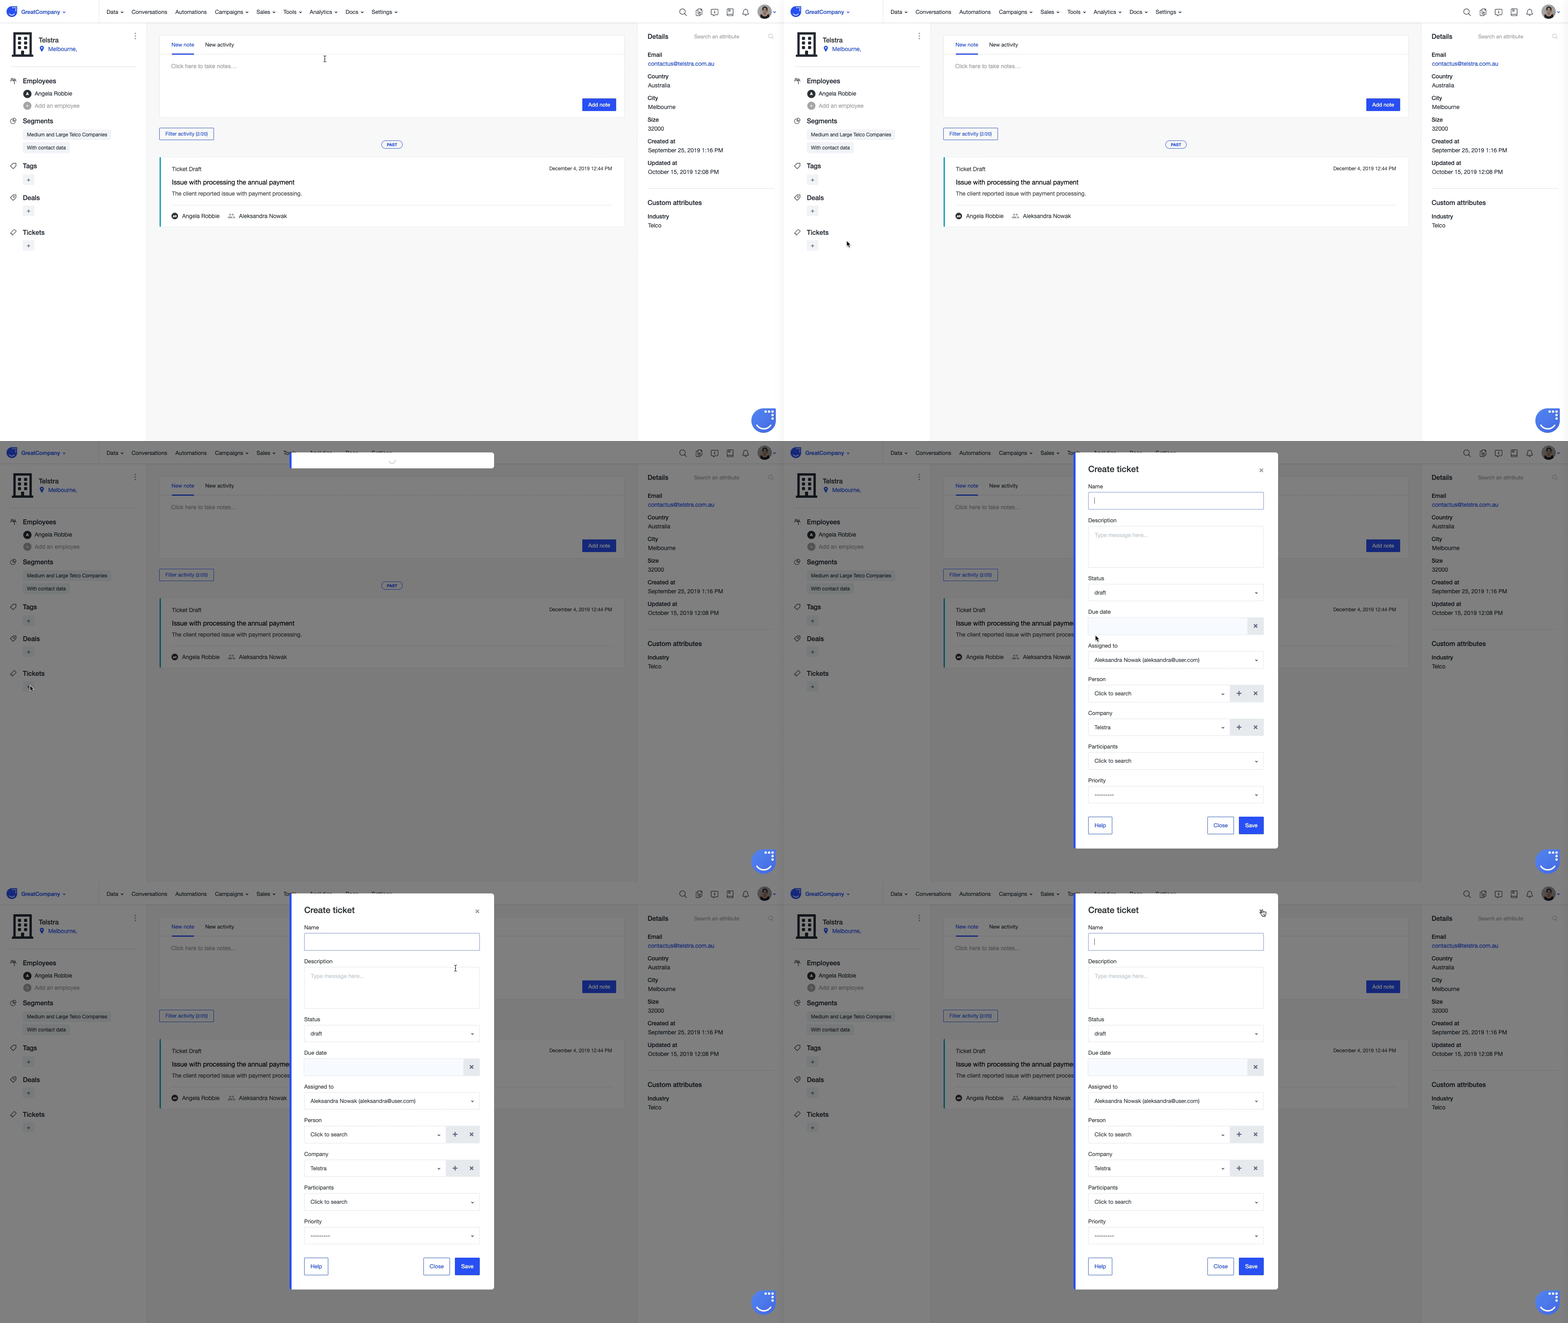
Or similarly, from a company’s webpage.

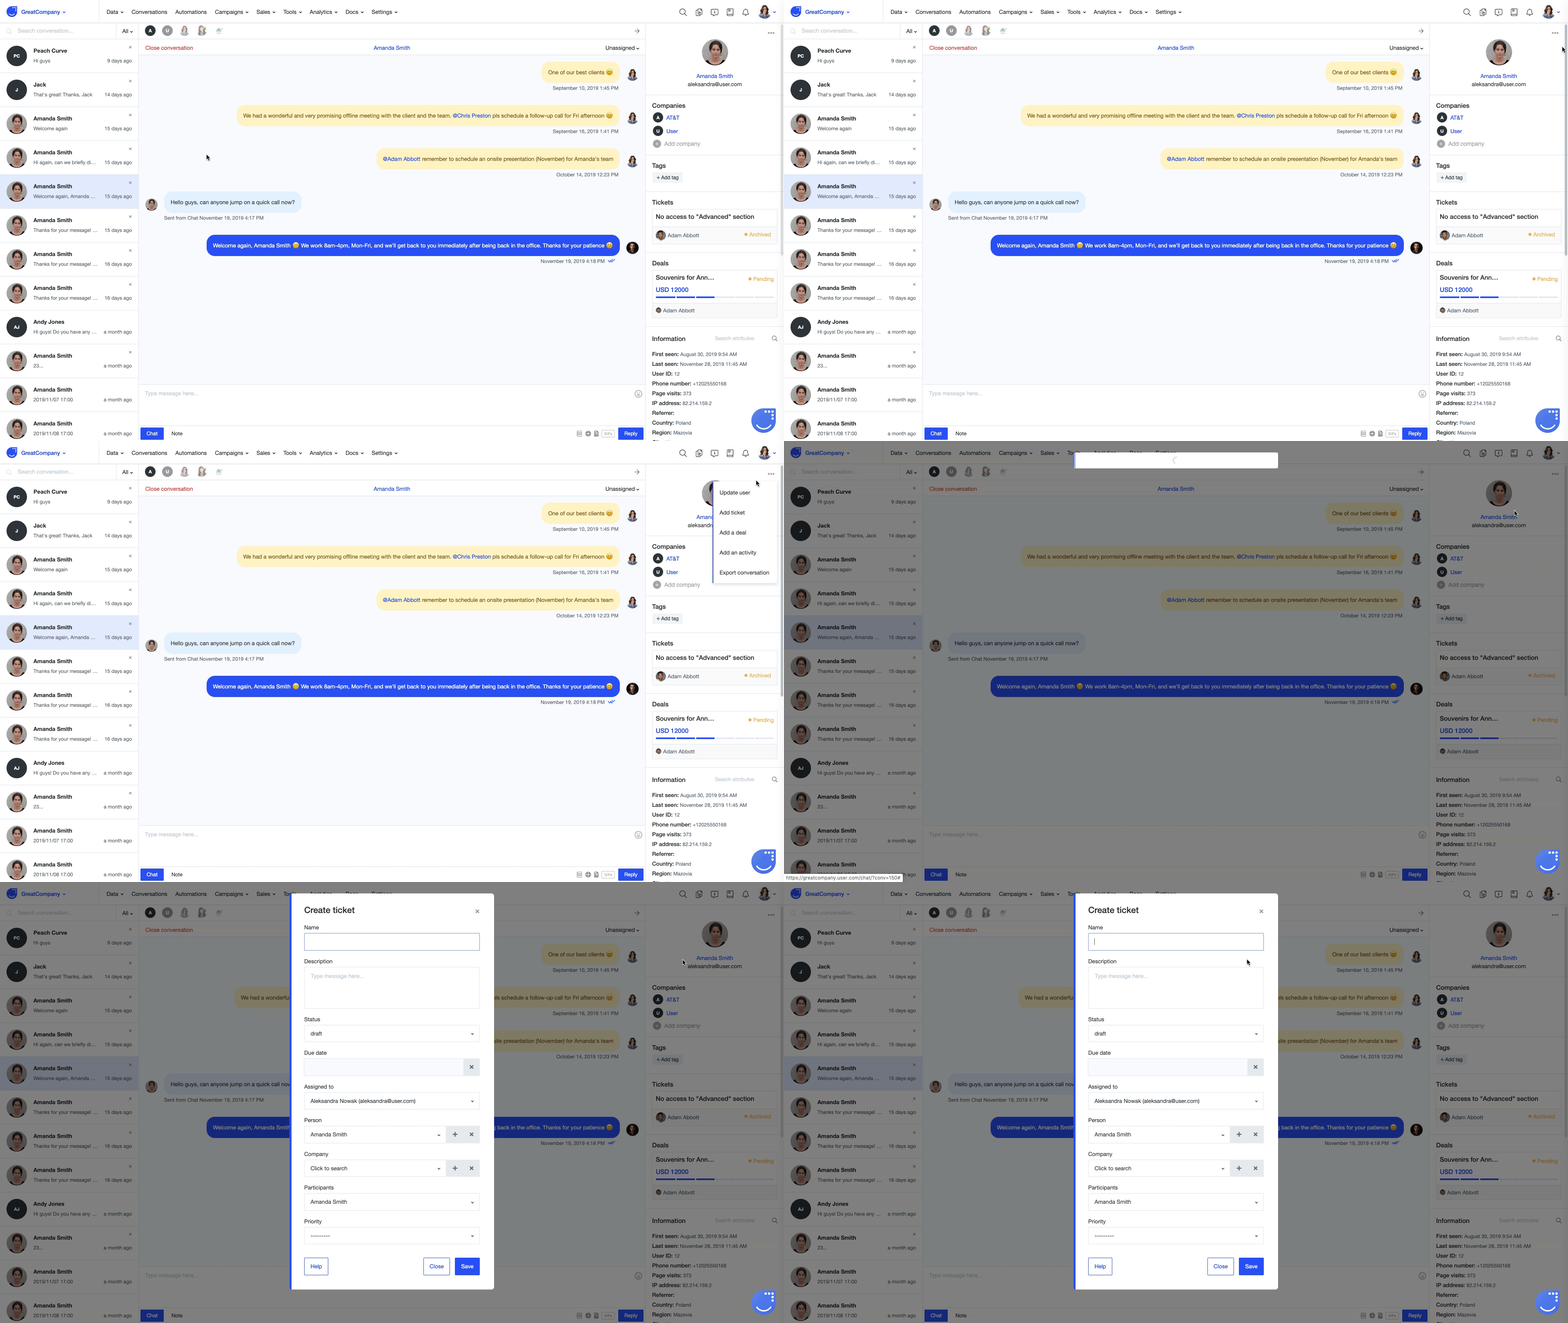
Or directly from the Conversations section, which is very handy when a user reports a problem via chat or email.

By a user sending an email to a dedicated address
You can enable your users to create Tickets themselves by sending an email to the unique email address connected to your Ticketing system.
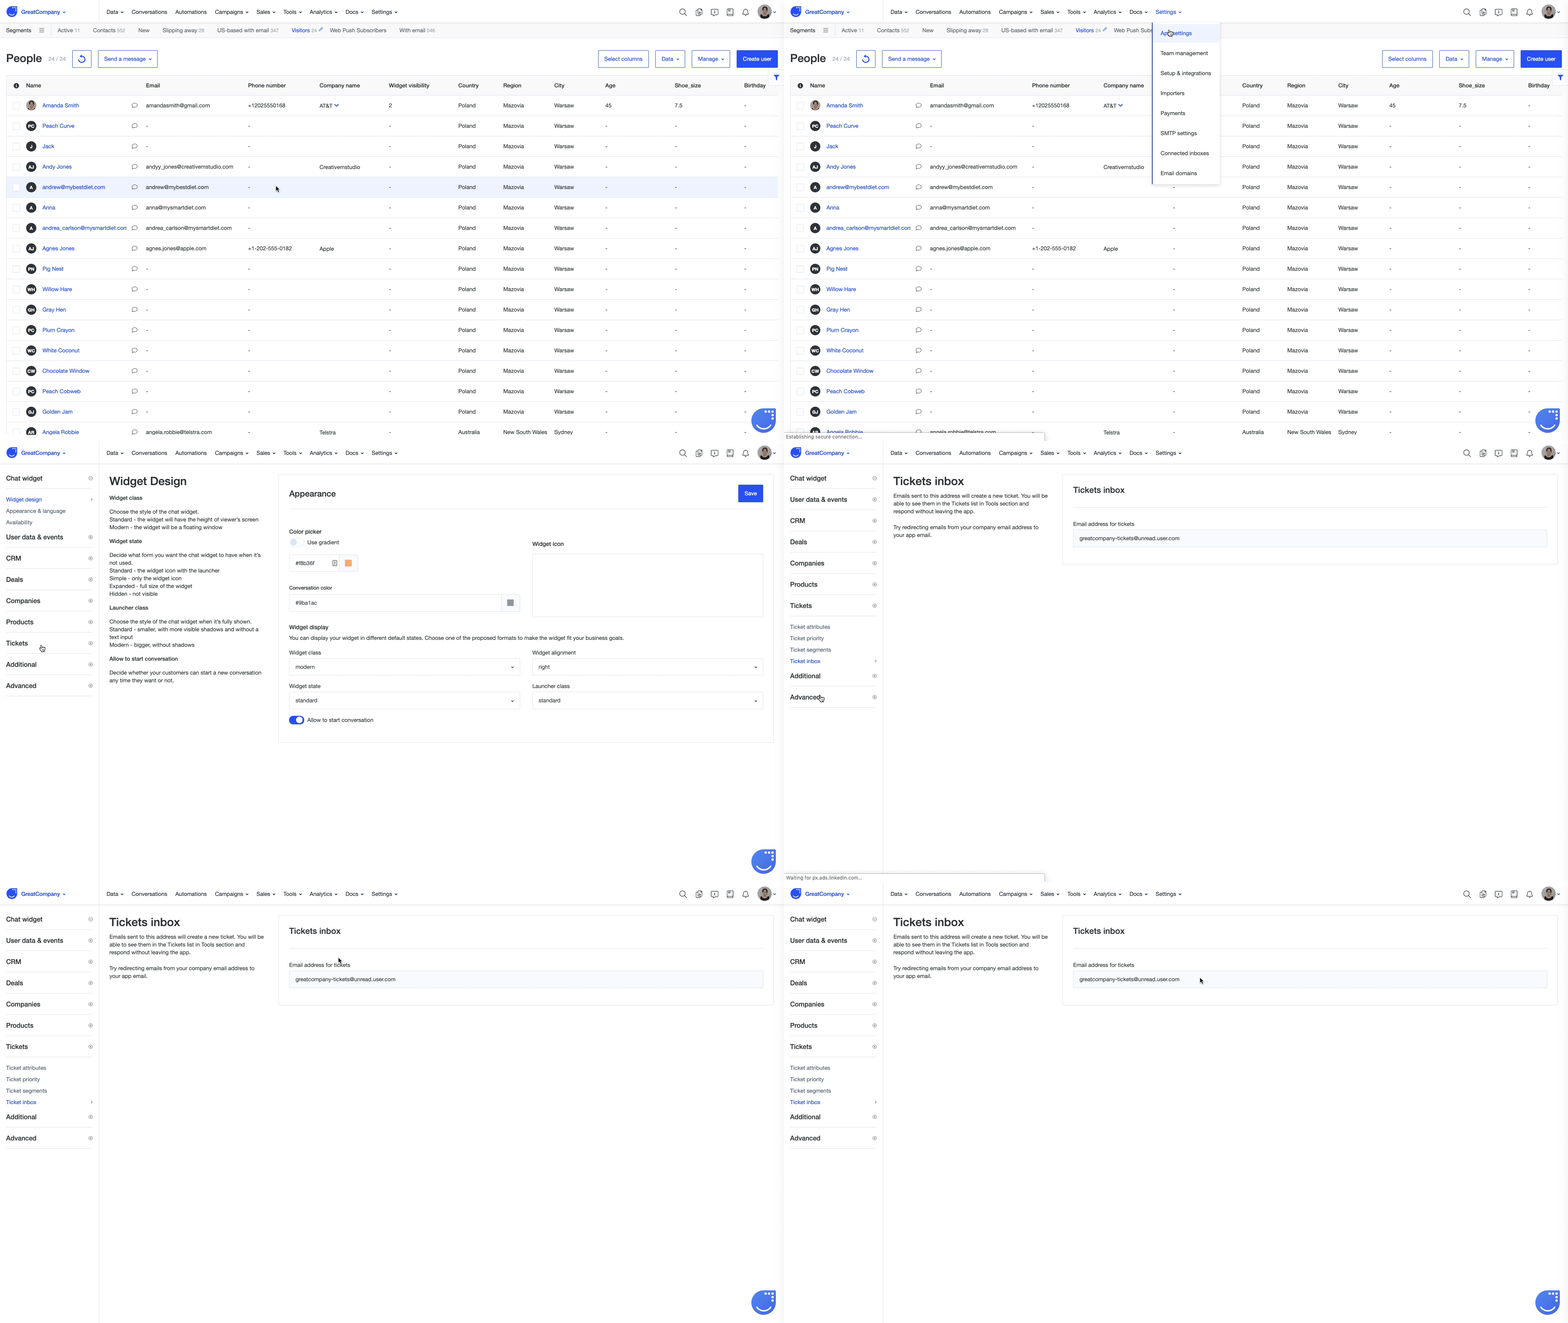
All you need to do is redirecting messages coming to your current support inbox to a custom email address which have been created exclusively for your app and can be used by your users to submit an issue. You can find your exclusive Ticket email address by going to Settings -> App Settings -> Tickets -> Ticket inbox.

Through an automation
Check out how to create a Ticket by using an automation process in this article.
New Ticket notifications
Every time a new Ticket is created, an assignee from your team and a user assigned to it will be notified by emails. Also, your agents will get system notifications.

