Creating a Ticket through automation

Enable your users to submit Tickets through a special form
Find out how to easily create automation process that adds a new Ticket
One of the ways to help your support team save some time is to let automation create a new Ticket instead of adding it manually.
There are different users’ actions (such as reporting an issue in a chat, filling in a support form or clicking on a “Report a problem” button on your website) that could be potential triggers for creating a Ticket.
In this article, we’ll show you how to set up an automation that enables your customers to submit a new Ticket through a support form.
Before you start
If you haven’t had a chance to work with automation yet, let’s first have a quick introduction here. Also, remember to take care of general automation configuration.
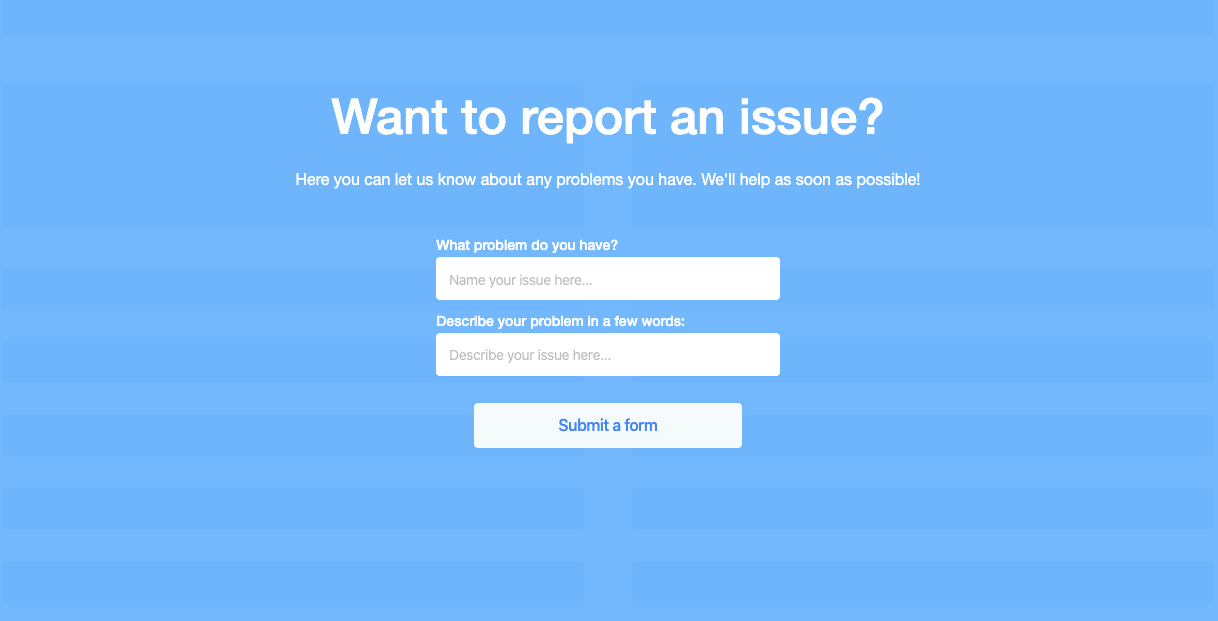
For this automation to work, you need our chat widget installed on your website. You can check how to configure your chat widget here. You also need to have a simple support form available at your website.
Setting up the Automation
Step 1
First, go to Automations and click "Create new".
Step 2
Put together all of the necessary modules. In our example, the automation will be triggered when a user submits a special form on a website. As an automation trigger, we're selecting "Event trigger" module and choosing the event "support_form_submitted". The event is fired with every support form submission.
Step 3
The event "support_form_submitted" has two attributes:
- ticket_title (that stores text from the first form input)
- ticket_description (that stores text from the second form input)
We're adding the module "Create a ticket" and using event snippet tags to copy its title and description from the form submitted by a user. To learn how to render events and their attributes, check out this article.
Step 4
If you want to assign agents to a ticket based on the client's segment automatically, add "Segment" module and select the segment of interest, then update the ticket's attribute "Assigned to" by using the "Update ticket attribute" module. Once ready, click “Save and exit” and specify the name and additional details of your automation.