Module guide: Bot message

Create automated messages and/or questions
What does "Bot message" actually do?
Chatbot lets you send automatic responses to your website users, based on the users’ questions and given answers. You can set different types of messages depending on which page the website visitor currently is (for example, you can encourage your pricing page visitors to contact the sales team), and you can also pictures and videos inside the message to make the content more attractive.
How to use it
Configuring "Bot messages" is much easier than you think. Go to "Automations" -> "Create automation". In the Drag & drop menu on the right side, scroll down to the green section, Chatbot. Drag and drop the first icon, "Bot message" into the field. Now, click on the icon to open it.
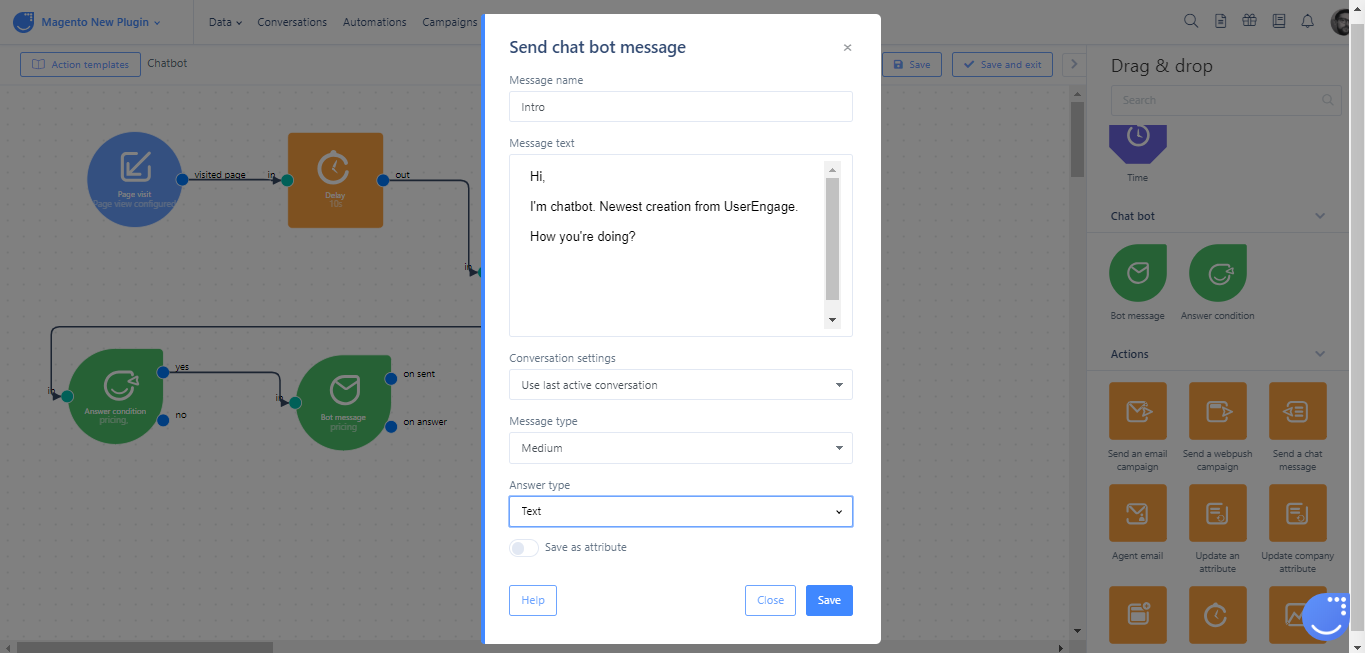
Message name - Here you can give your message a name. It will come in handy when using the ‘Answer Condition’ module. It will be helpful later on when you have created a set of messages.
Message text - Write the message you want your chatbot to send.
Conversation settings - Choose whether to create a new conversation or continue the one that is already started. Be careful with this field, though! If you have an “Incoming message” trigger, it’s better to use "last active conversation" so as not to mislead your user.
Message type - Decide how your message will be presented. The possible options are:
- Micro - A simple red circle on the widget icon indicating the number of unread messages, like in the picture below.

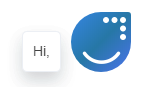
- Small - A prompt with a message and the agent’s picture located where the widget is.
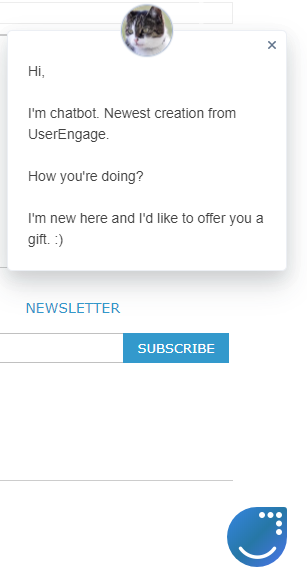
- Medium - A message pop-up appearing on the left or right side of your browser’s screen.
- Big - A large message pop-up appearing in the centre of your screen.
Answer type - This defines what type of input Chatbot will expect. Remember, answers provided to Chatbot must be in a specific format according to their type.
- Text - example: "just a regular text line"
- Fixed choices - example: English/Polish/Russian/Spanish; you can predefine them here
- Email - “samplemail@userengage.com”
- Date - example: 2016-08-03
- Date and time - example (ISO 8601 format): 2016-08-03 12:00:00+00:00
- Integer - example: 23
- Float - example: 4.313
You can also check "Save as attribute" if you want the receiver’s answer to update a selected attribute. For example, if you select "date" as the answer type, select the "save as attribute" option and match it with your custom birthday attribute. After the user provides you with his or her details, their profile will be automatically updated.
Case study
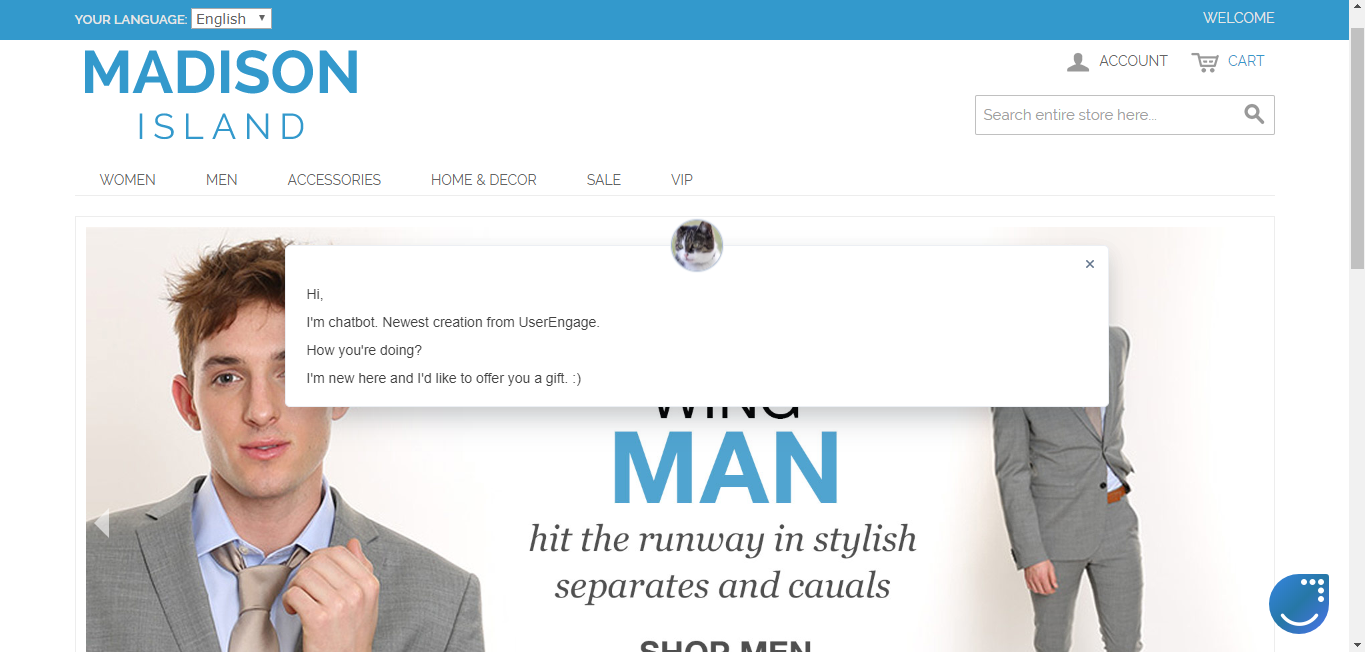
With chatbot module, you can set up a bot as a lead generation tool that will ask visitors for their email addresses while welcoming them. Let's do it here:
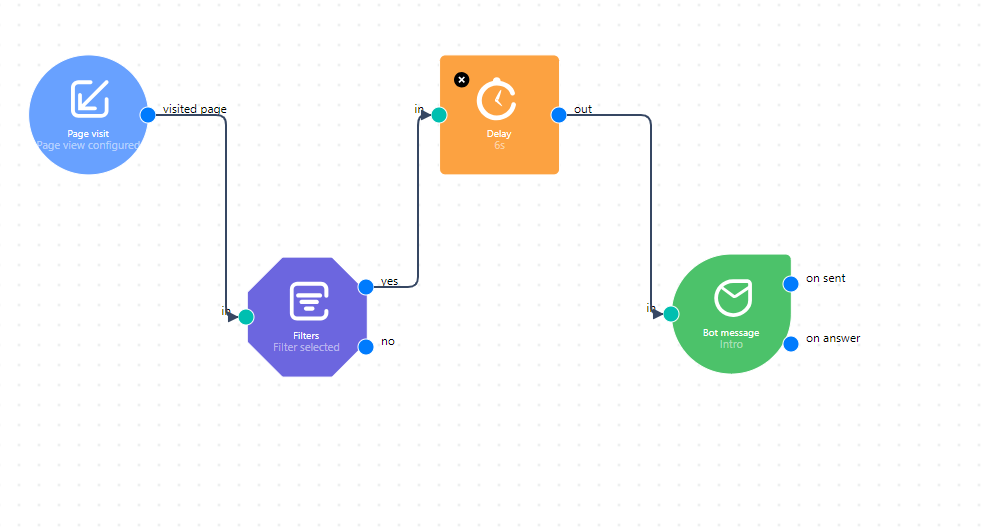
You want every new user who visits the page to get a welcoming message and three options to choose from. One of them will be a mail prompt. To achieve this, set up a basic trigger for every visitor.
- Use Page Visit and add the main page with a "contains" condition, so that users who enter child pages would also receive this message.
- Set the Filters. Set the email to "is unknown" and page views to "lesser than 2" if you'd like to show a welcoming message to newcomers only.
- Use the Delay action to wait for a given page to load and create a moment of suspense, for example, 7 seconds.
- Now, configure Bot Message to show three fixed-choice questions.
When you enter the page, you should see something like this: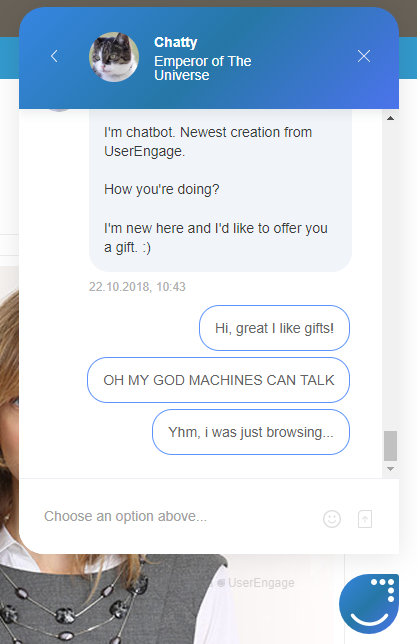
There you go! You’ve just created your first bot! Don’t stop here. Think with what the chatbot could help you and configure it to do it. Maybe you’d like your customers to book a meeting via User.com or ask users about their experience on your website? It's all up to you, the options are endless!