How to send web push campaigns?

What web push notifications are, how to set them up, and how to send push campaigns
What are web push notifications?
Web push notifications are the pop-up messages you can send to your users once they subscribe to them.
It’s an useful communication channel since you won’t be spamming your recipient’s inbox and you won't spend time on remarketing campaigns. One of the advantages is that even if the recipients are offline at the moment you send the campaign, they will still get the notification later.
What a push notification looks like
A standard push notification consists of an icon, title, and subtitle. (Its length is limited by the user’s browser and your website’s URL).
Below, you can see what such a notification may look like in Google Chrome and Firefox on Windows.
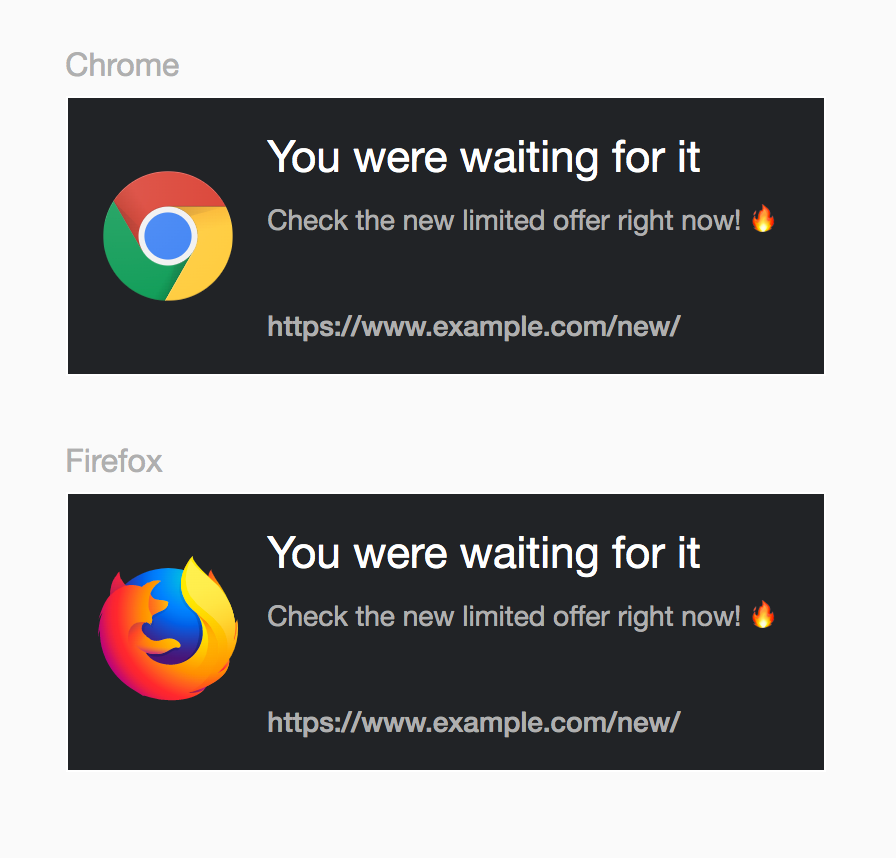
Your push notifications may look different depending on your or the user's browser and the OS of the device.
How to create web push notifications
Web push messages are sent in campaigns similar to emails and SMS. So, you need to create the campaign that will include the notification. Let's go through this process.
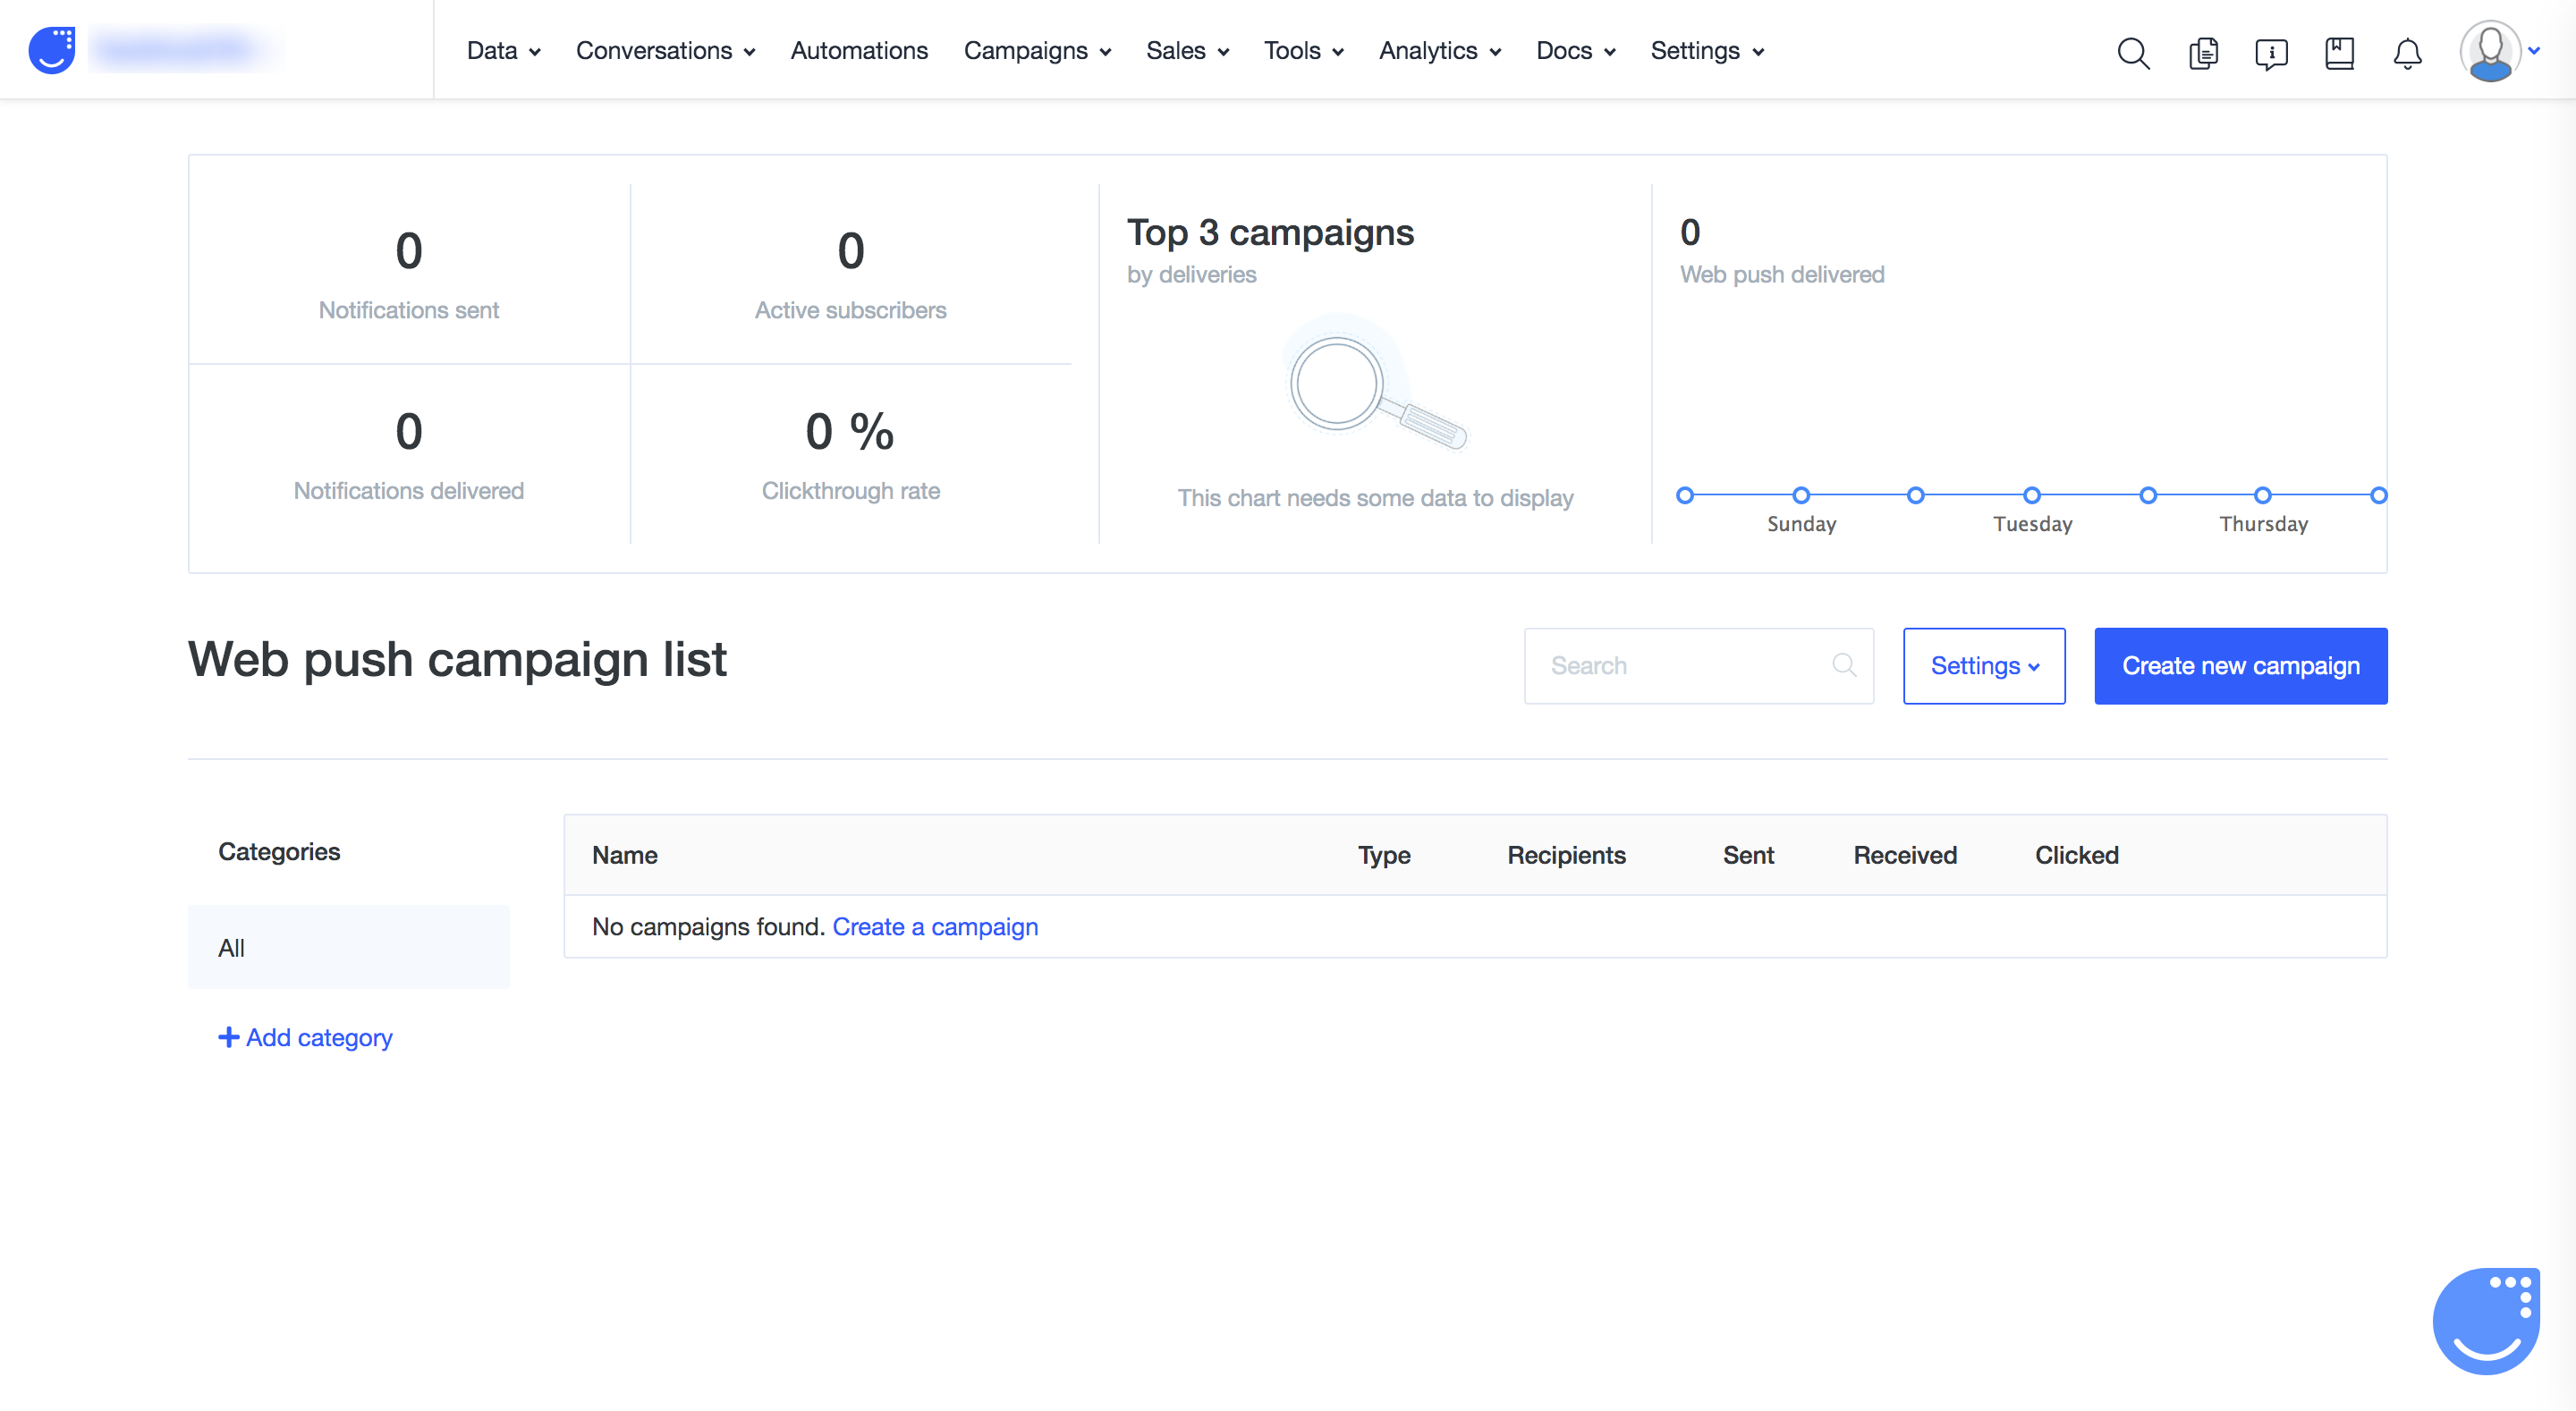
Please, enter Campaigns > Web push section. There you should have the web push prompt configured. If you haven't set the web push problem yet, please, check this article and follow it first.
So, when you are ready with the web push prompt configuration enter the Web push campaign page and click "Create new campaign"
The whole process of the web push campaign creation consists of 5 steps.
Step 1: Campaign Information
First step of the campaign creation includes general information about the upcoming delivery.
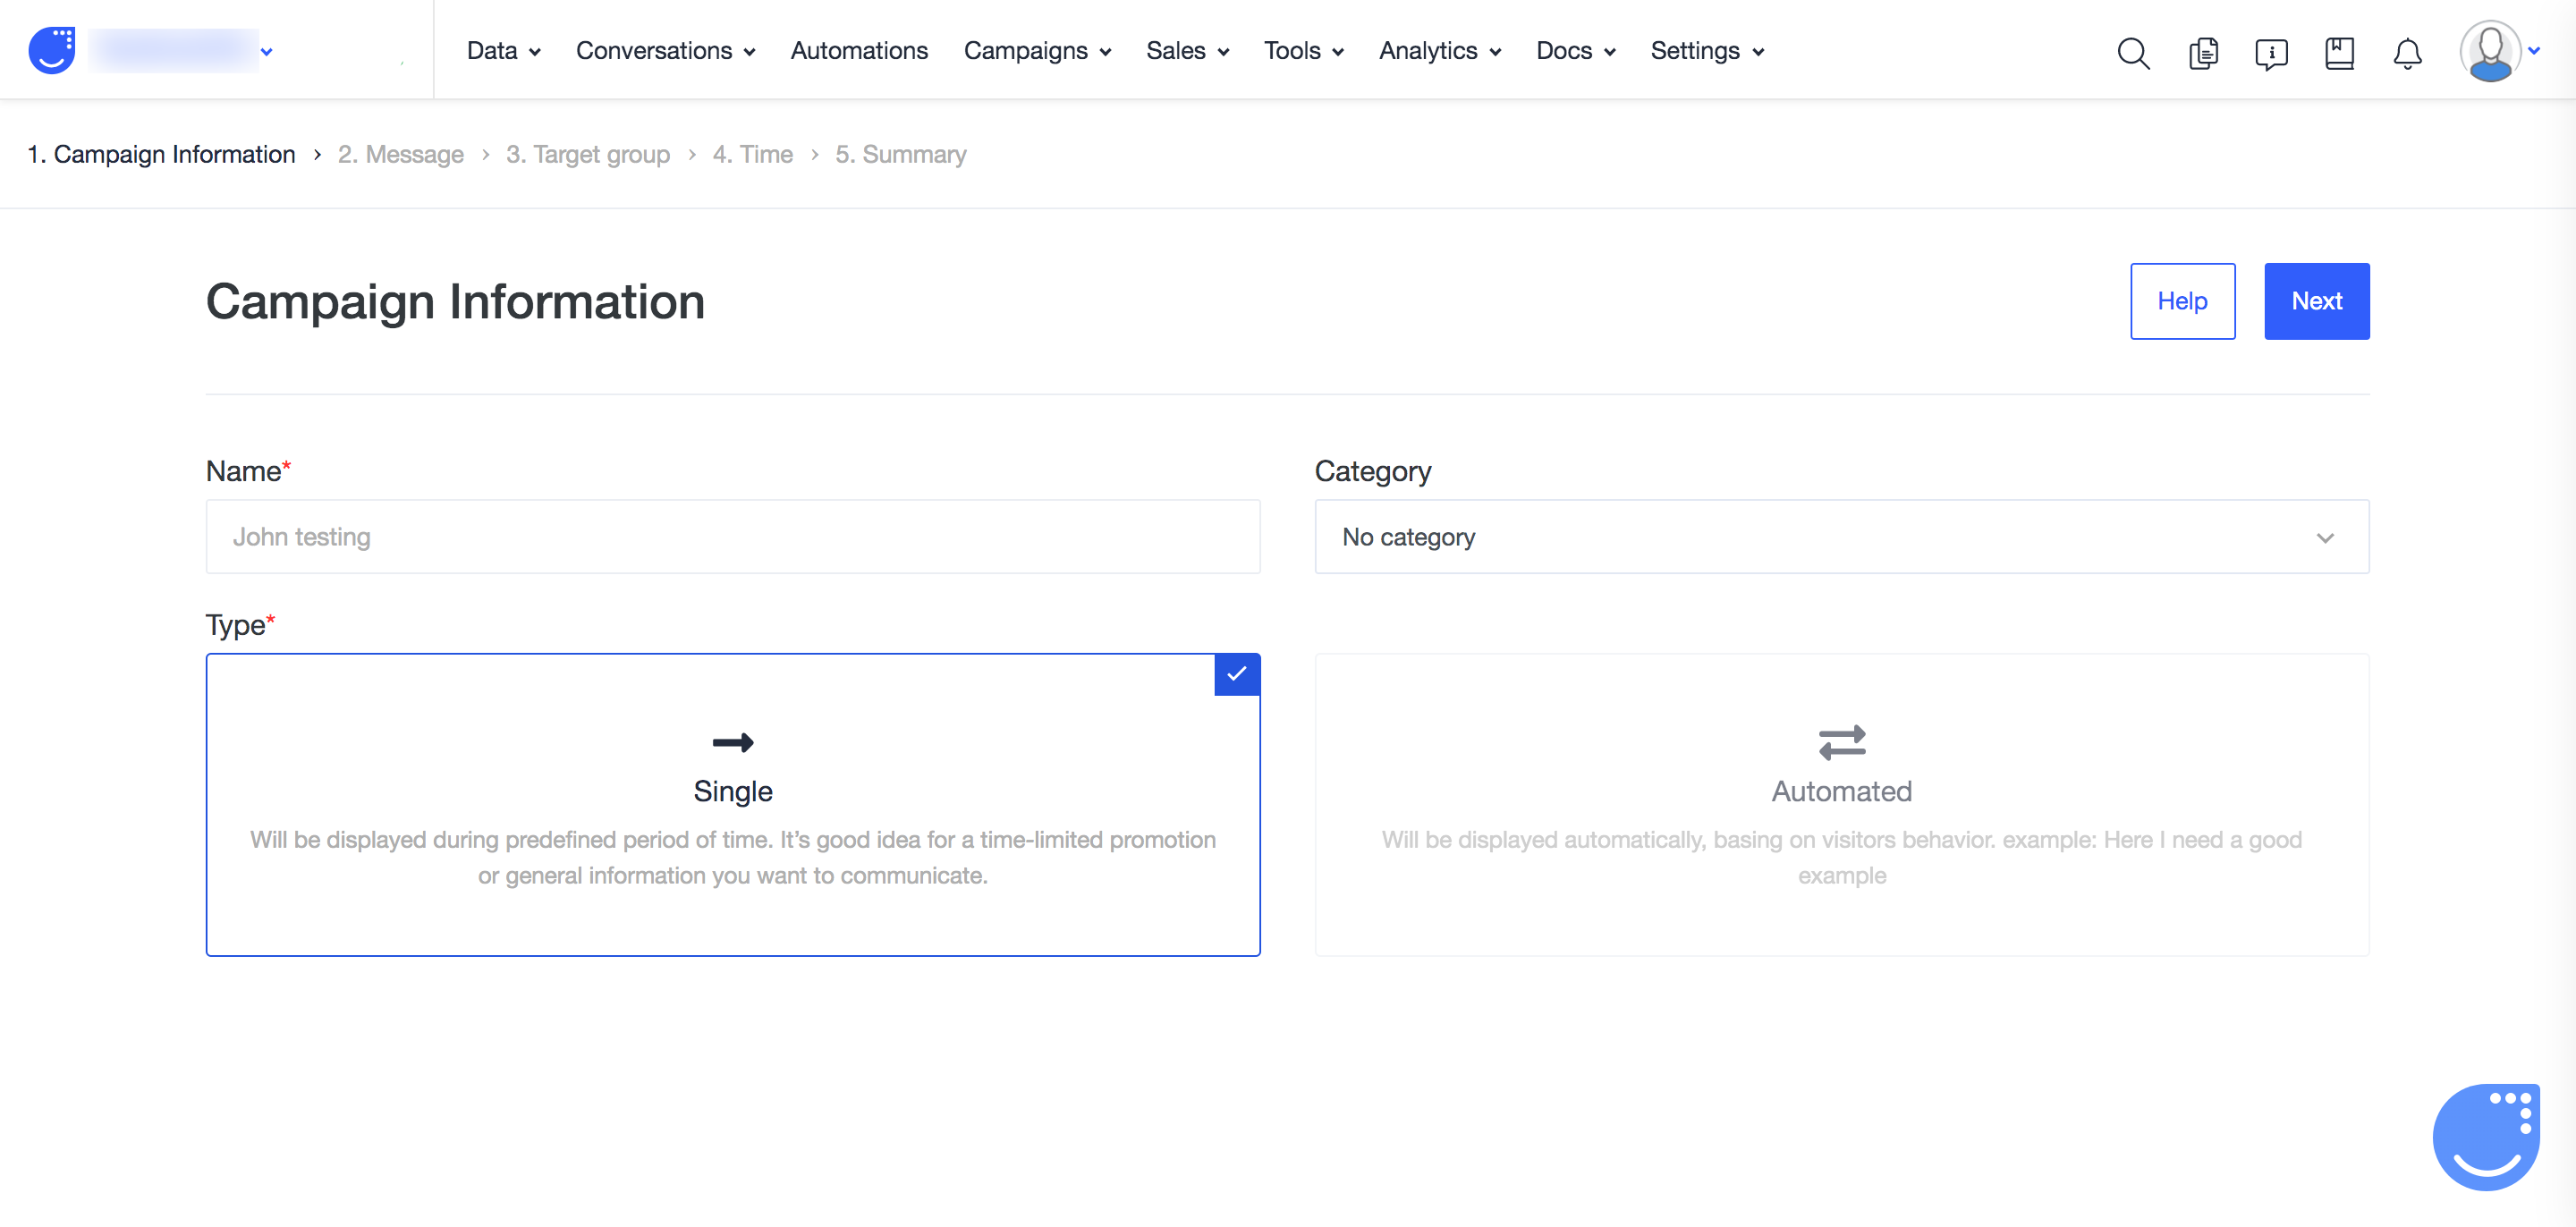
You need to define the name of the campaign and choose the category if you already have the categories for your web push campaigns created (E.g.: promotions, alerts, etc..)
Also you need to choose the type of the campaign:
Single campaigns require the list of recipients to be defined. They will be sent straight away or planned for a specific moment in the future.
Automated web push campaigns do not require the recipients to be defined while the creation process. You will be able to us this kind of campaigns in your automations to show the notifications to user on the basis of their behaviour or characteristics.
Step 2: Message
Here comes the time of content!
You can create one message or add several ones to go with A/B tests.
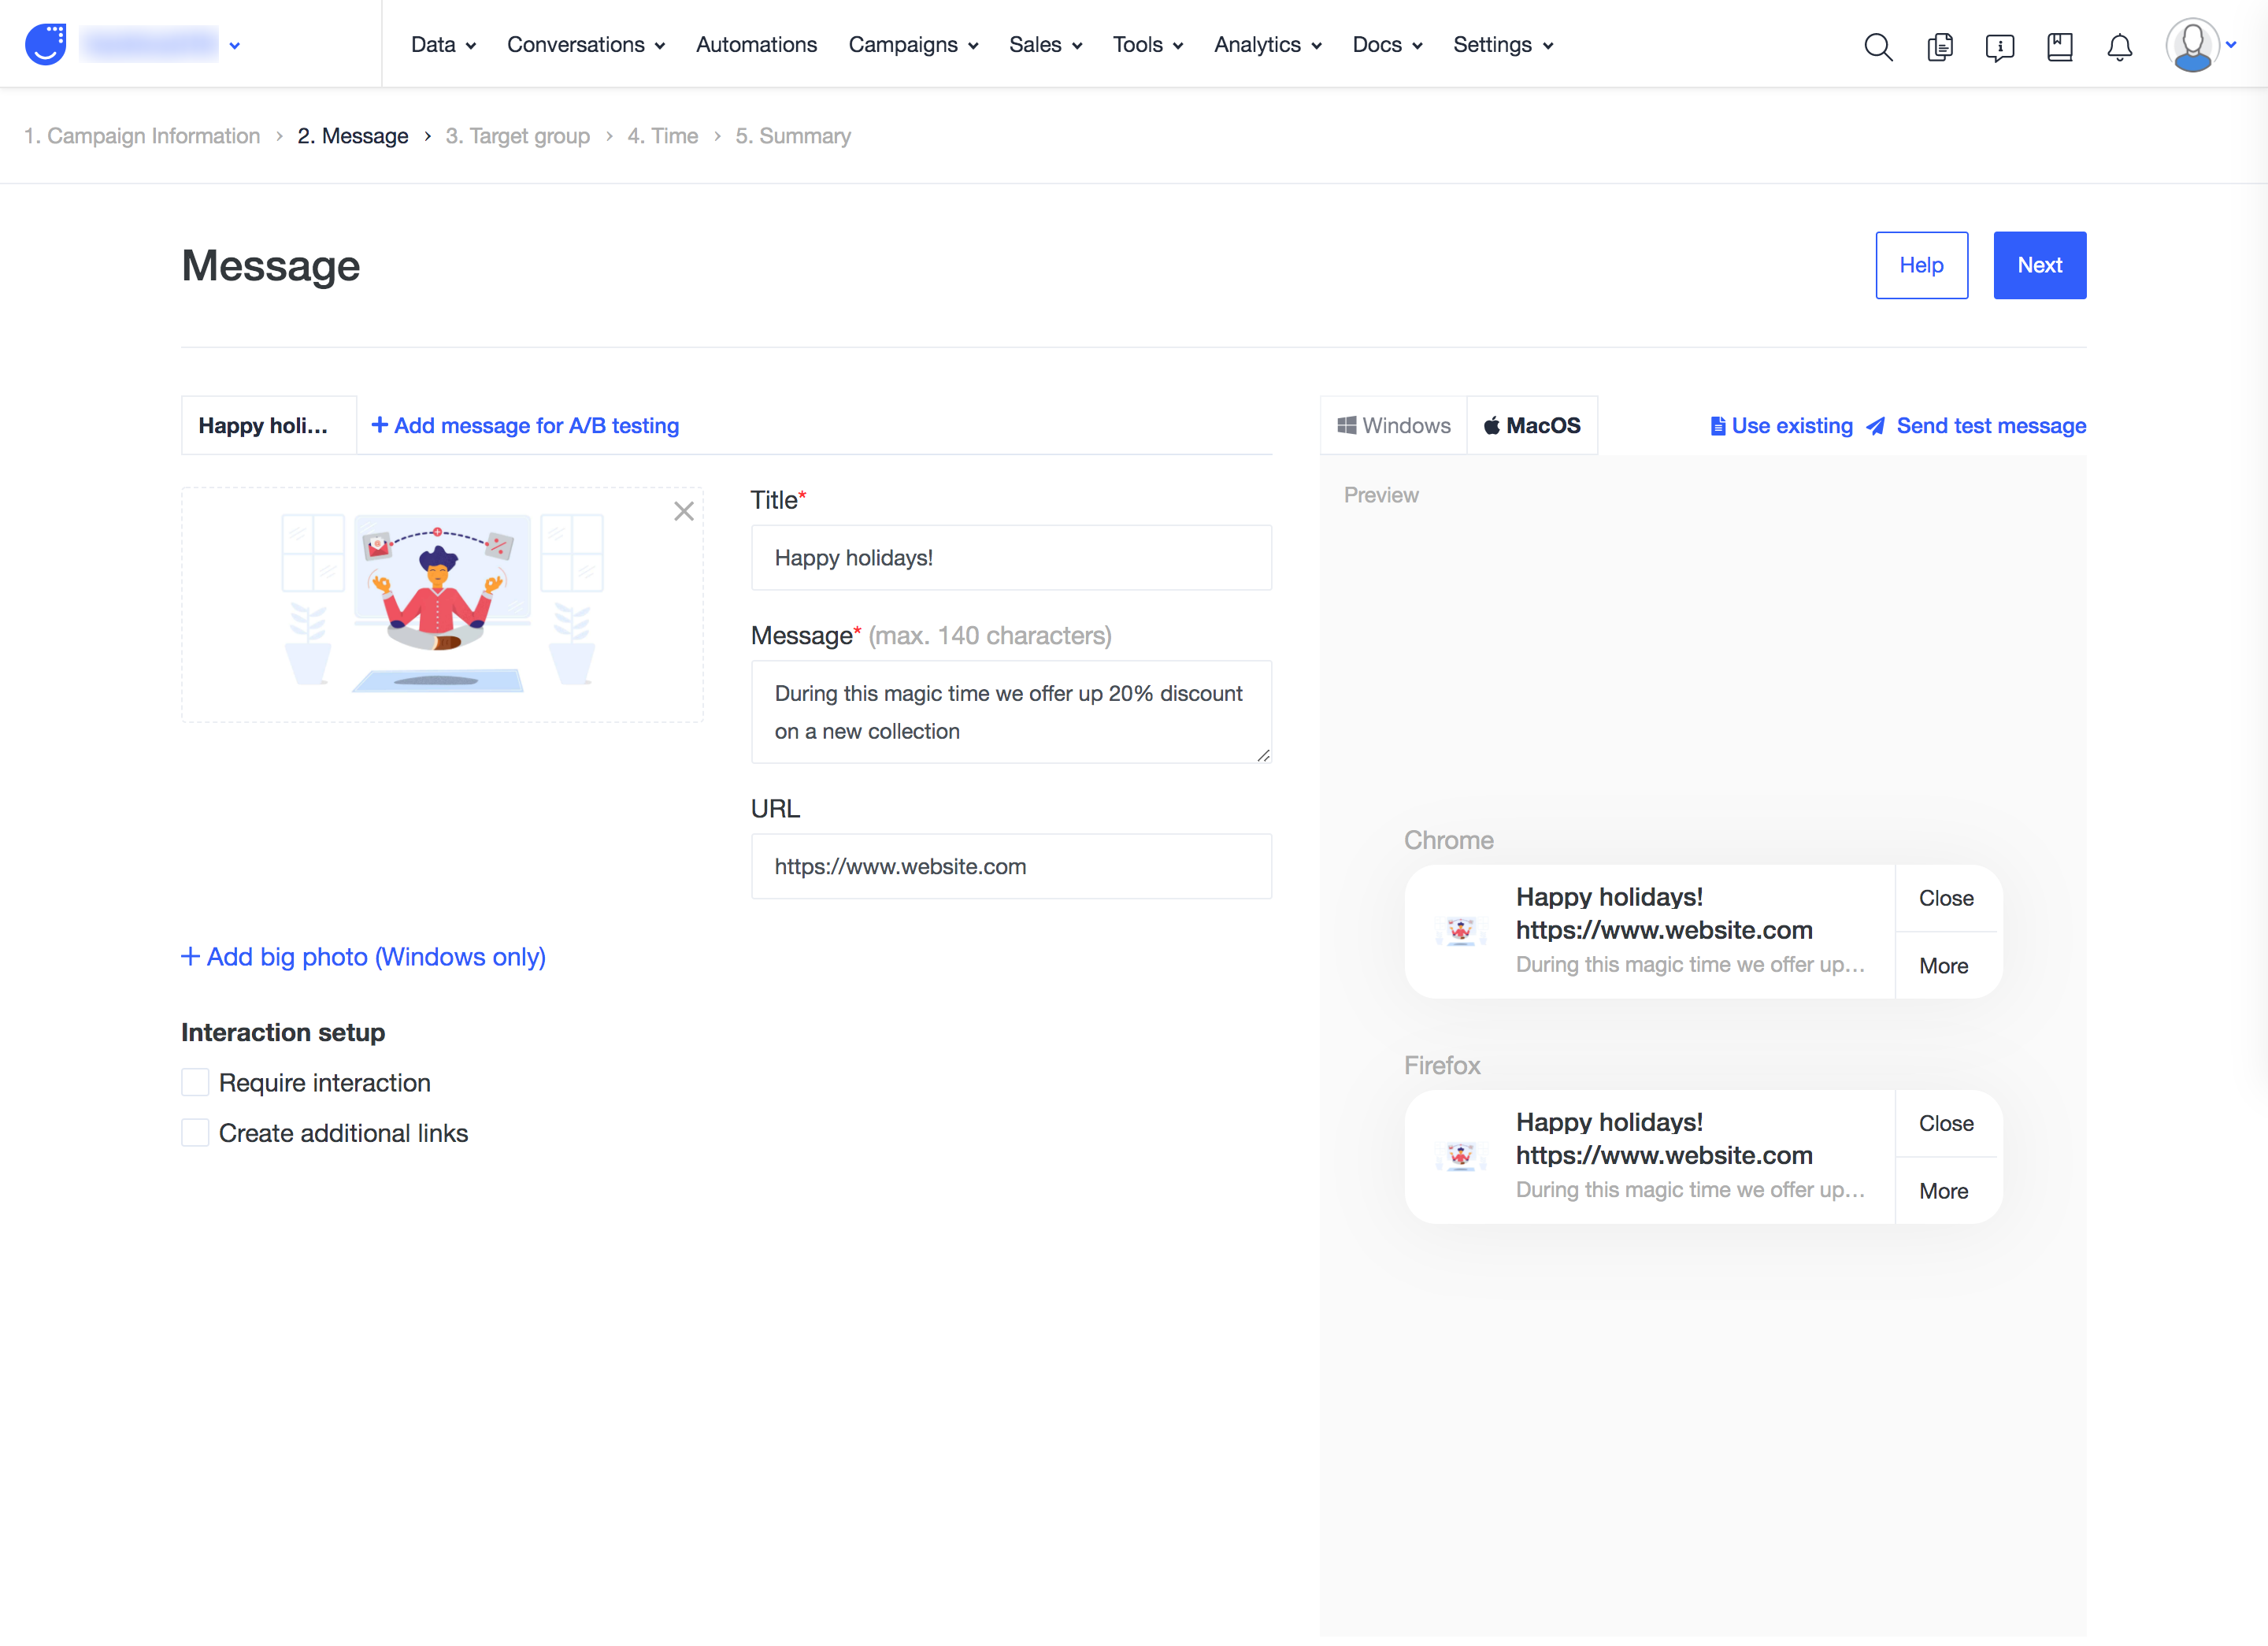
Title: this text will be shown of the top of the notification.
Message: the content of your web push.
URL: the link to redirect the user to a particular place of the website.
Image: here you can upload your logo or any engaging image. For the better display please pay attention on the ratio of the image. The recommended one is 1:1. Max. size is 3Mb
From additional settings you can also configure:
Big picture (Please, remember it is supported only by Windows OS). For the better display please pay attention on the ratio of the image. The recommended one is 2:1 (additional recommendation for Windows: 360x180). Max. size is 3Mb
Require interaction: to make the user interact with the web push notification.
Create additional links: we support up to 2 additional links per notification.

Moreover, from this step you can send a test notification and show it yourself.
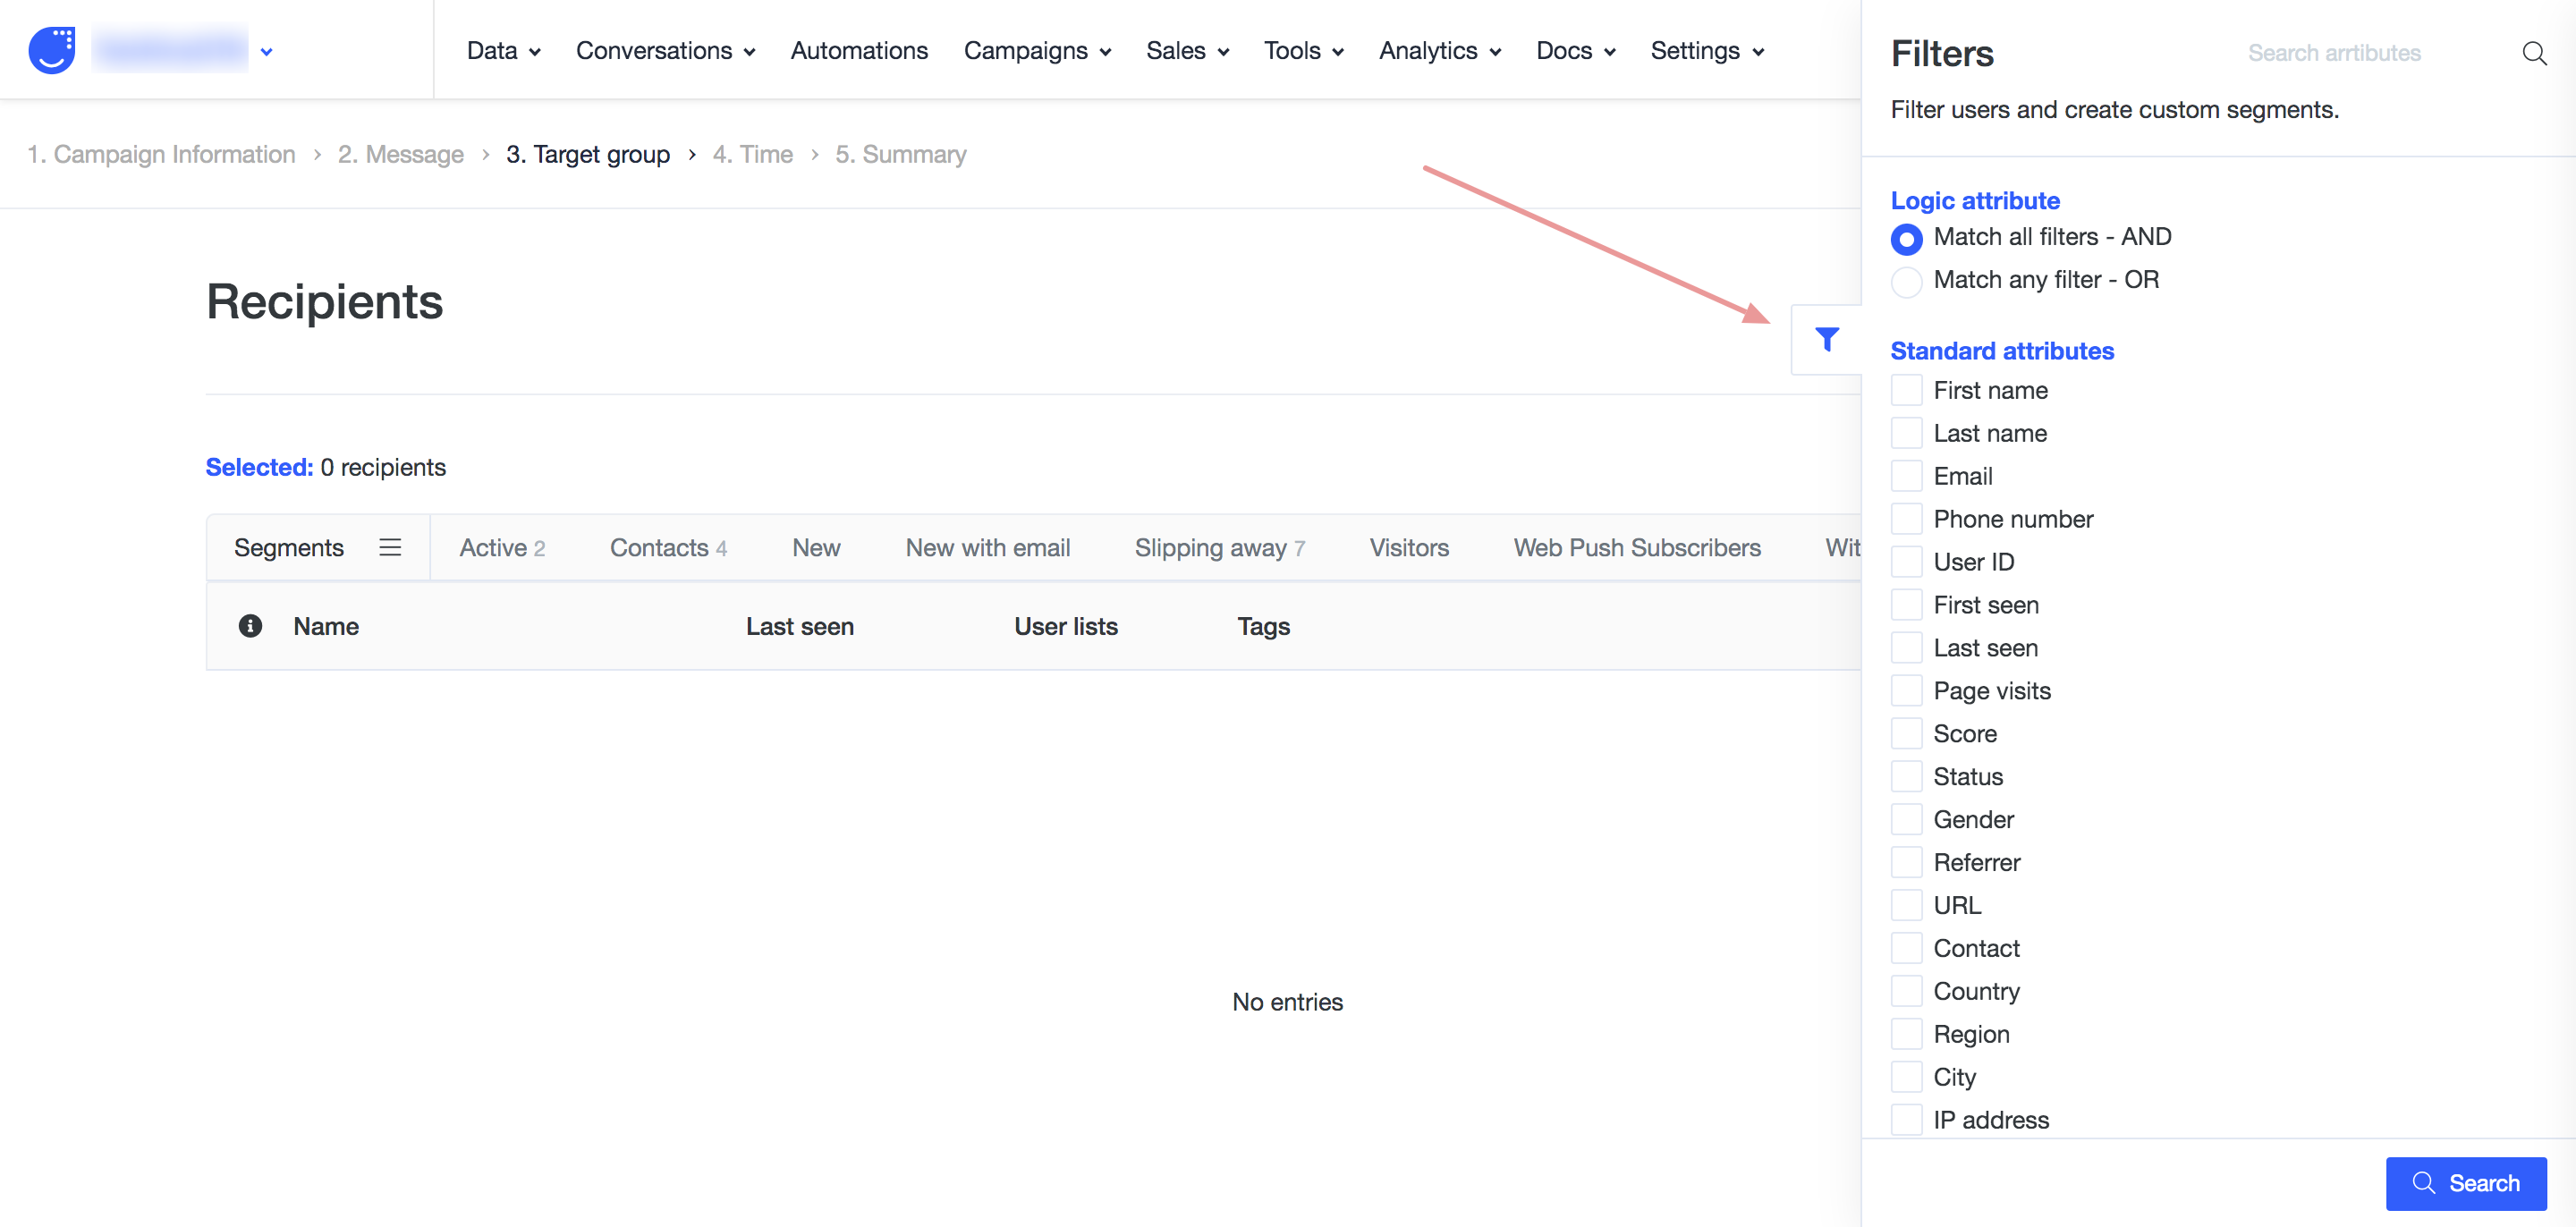
Step 3: Target group
This step appears only of you choose the single type of the campaign at the beginning.
So, here you need to use filters and define who will receive your campaign.
Please, remember that only users with web push subscription will get it.
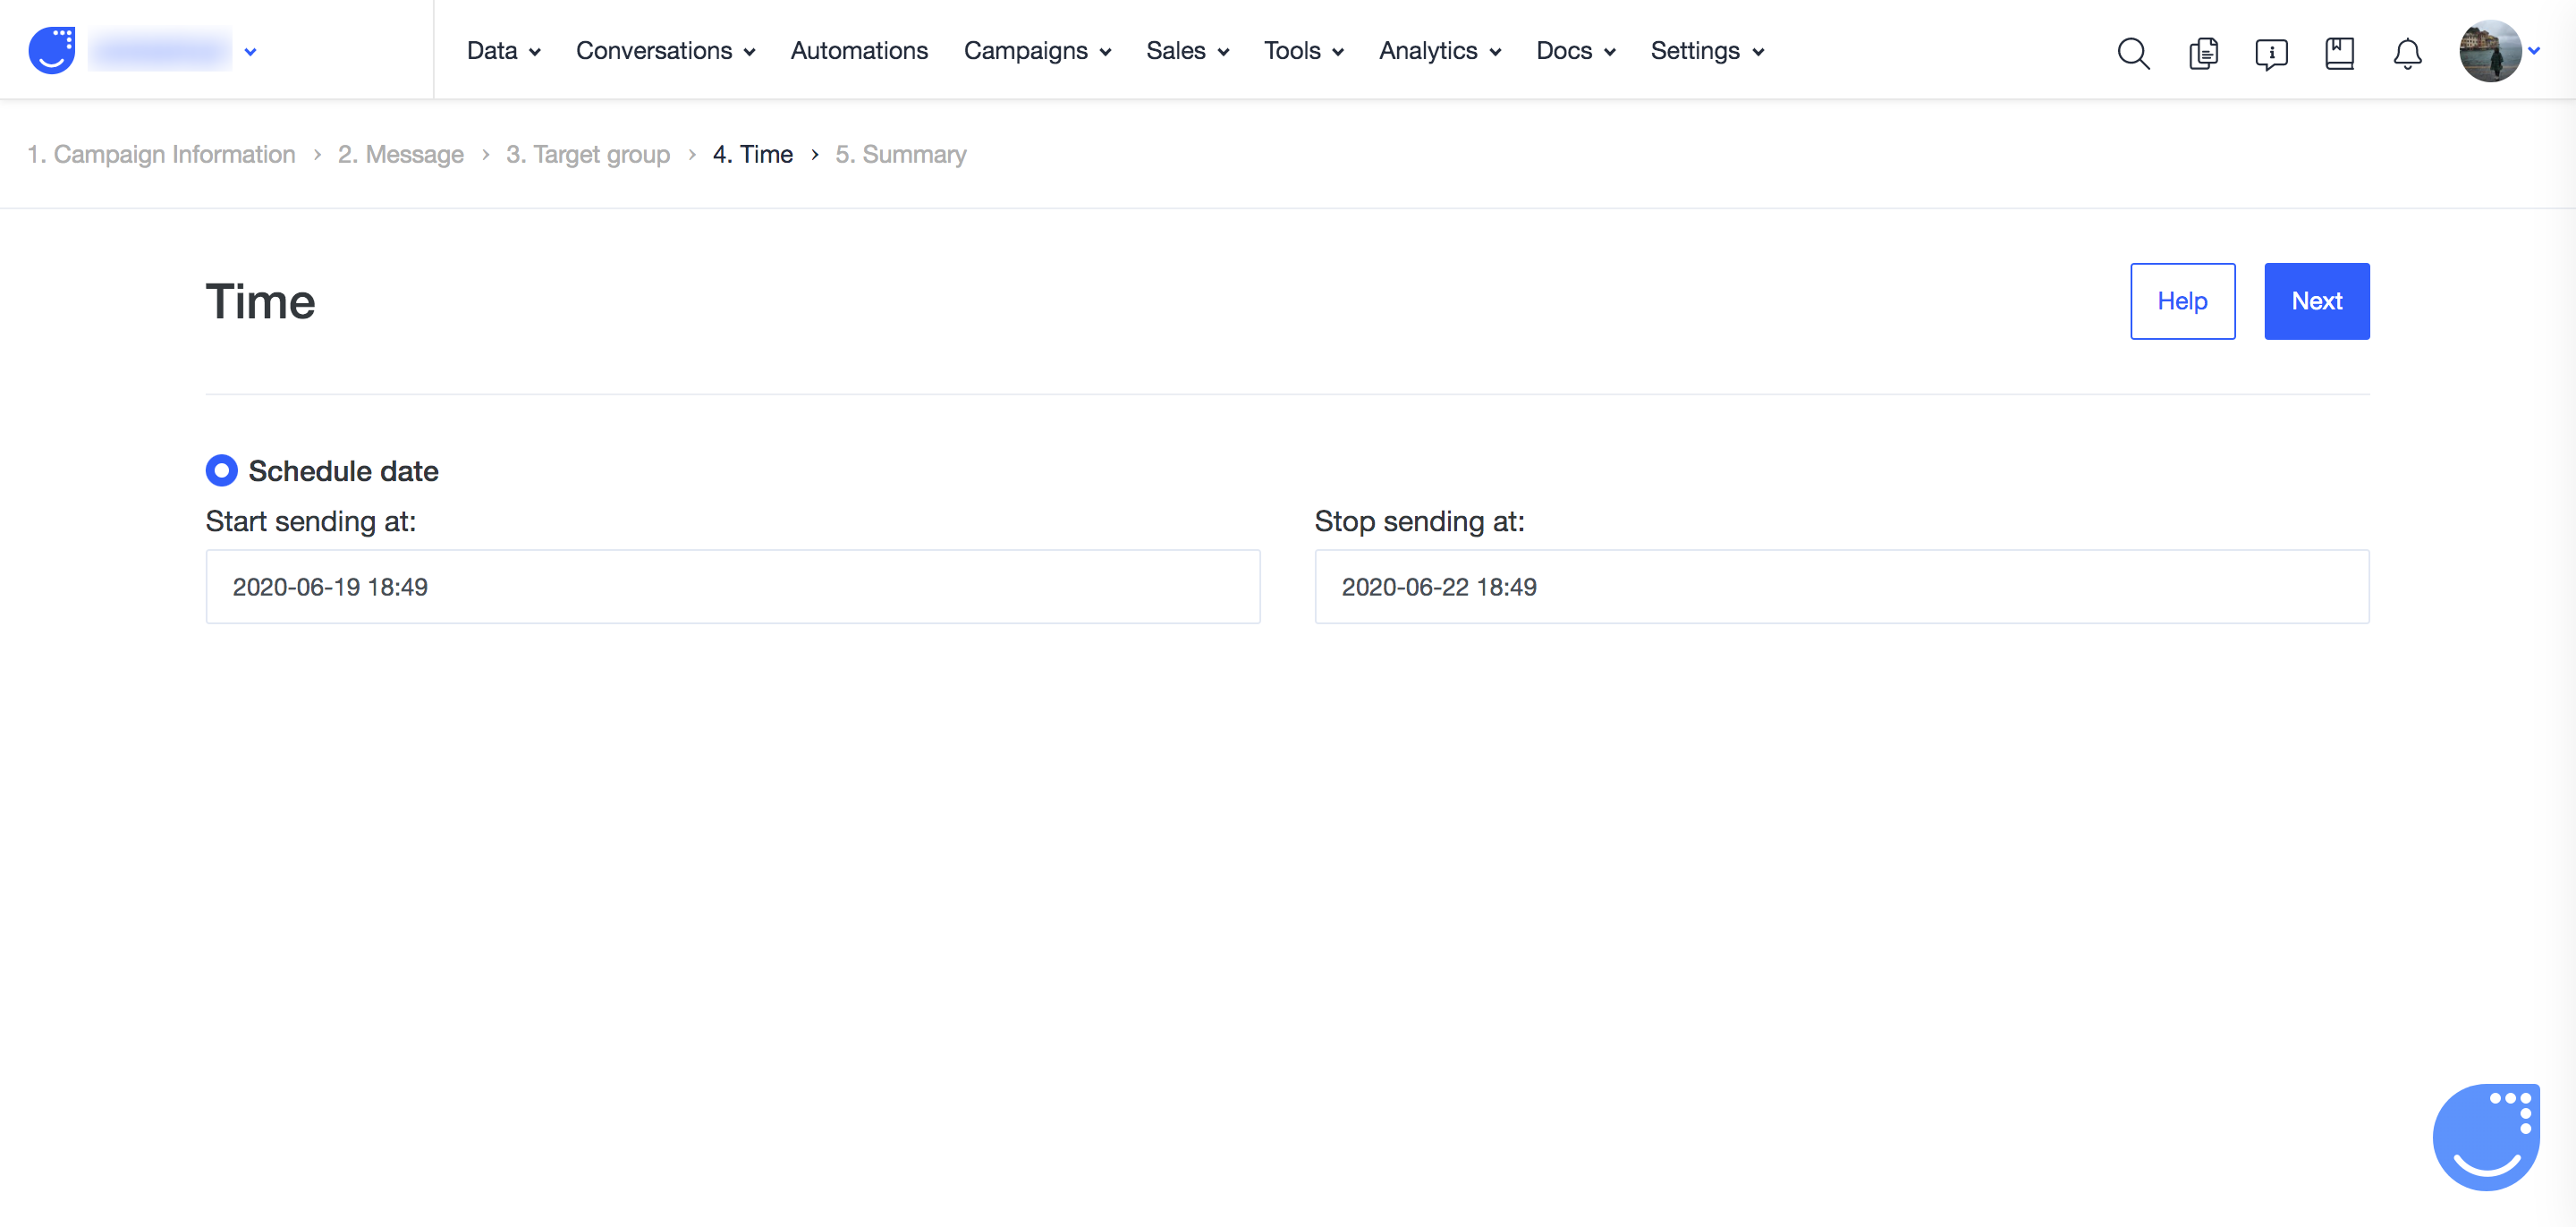
Step 4: Time
This is a quick but important step, where you set the time period your web push campaign will be active.
What does it mean?
If you set the campaign to be active from now till tomorrow afternoon, it means that if the user is offline today, but will visit your website tomorrow morning he will get the notification.
It's very convenient for season announcements or time-limited offers.
Remember, that the time zone at this step is taken from your Agent's profile.
Step 5: Summary
The last step where you can confirm all your setting or make a step back and provide corrections and changes.
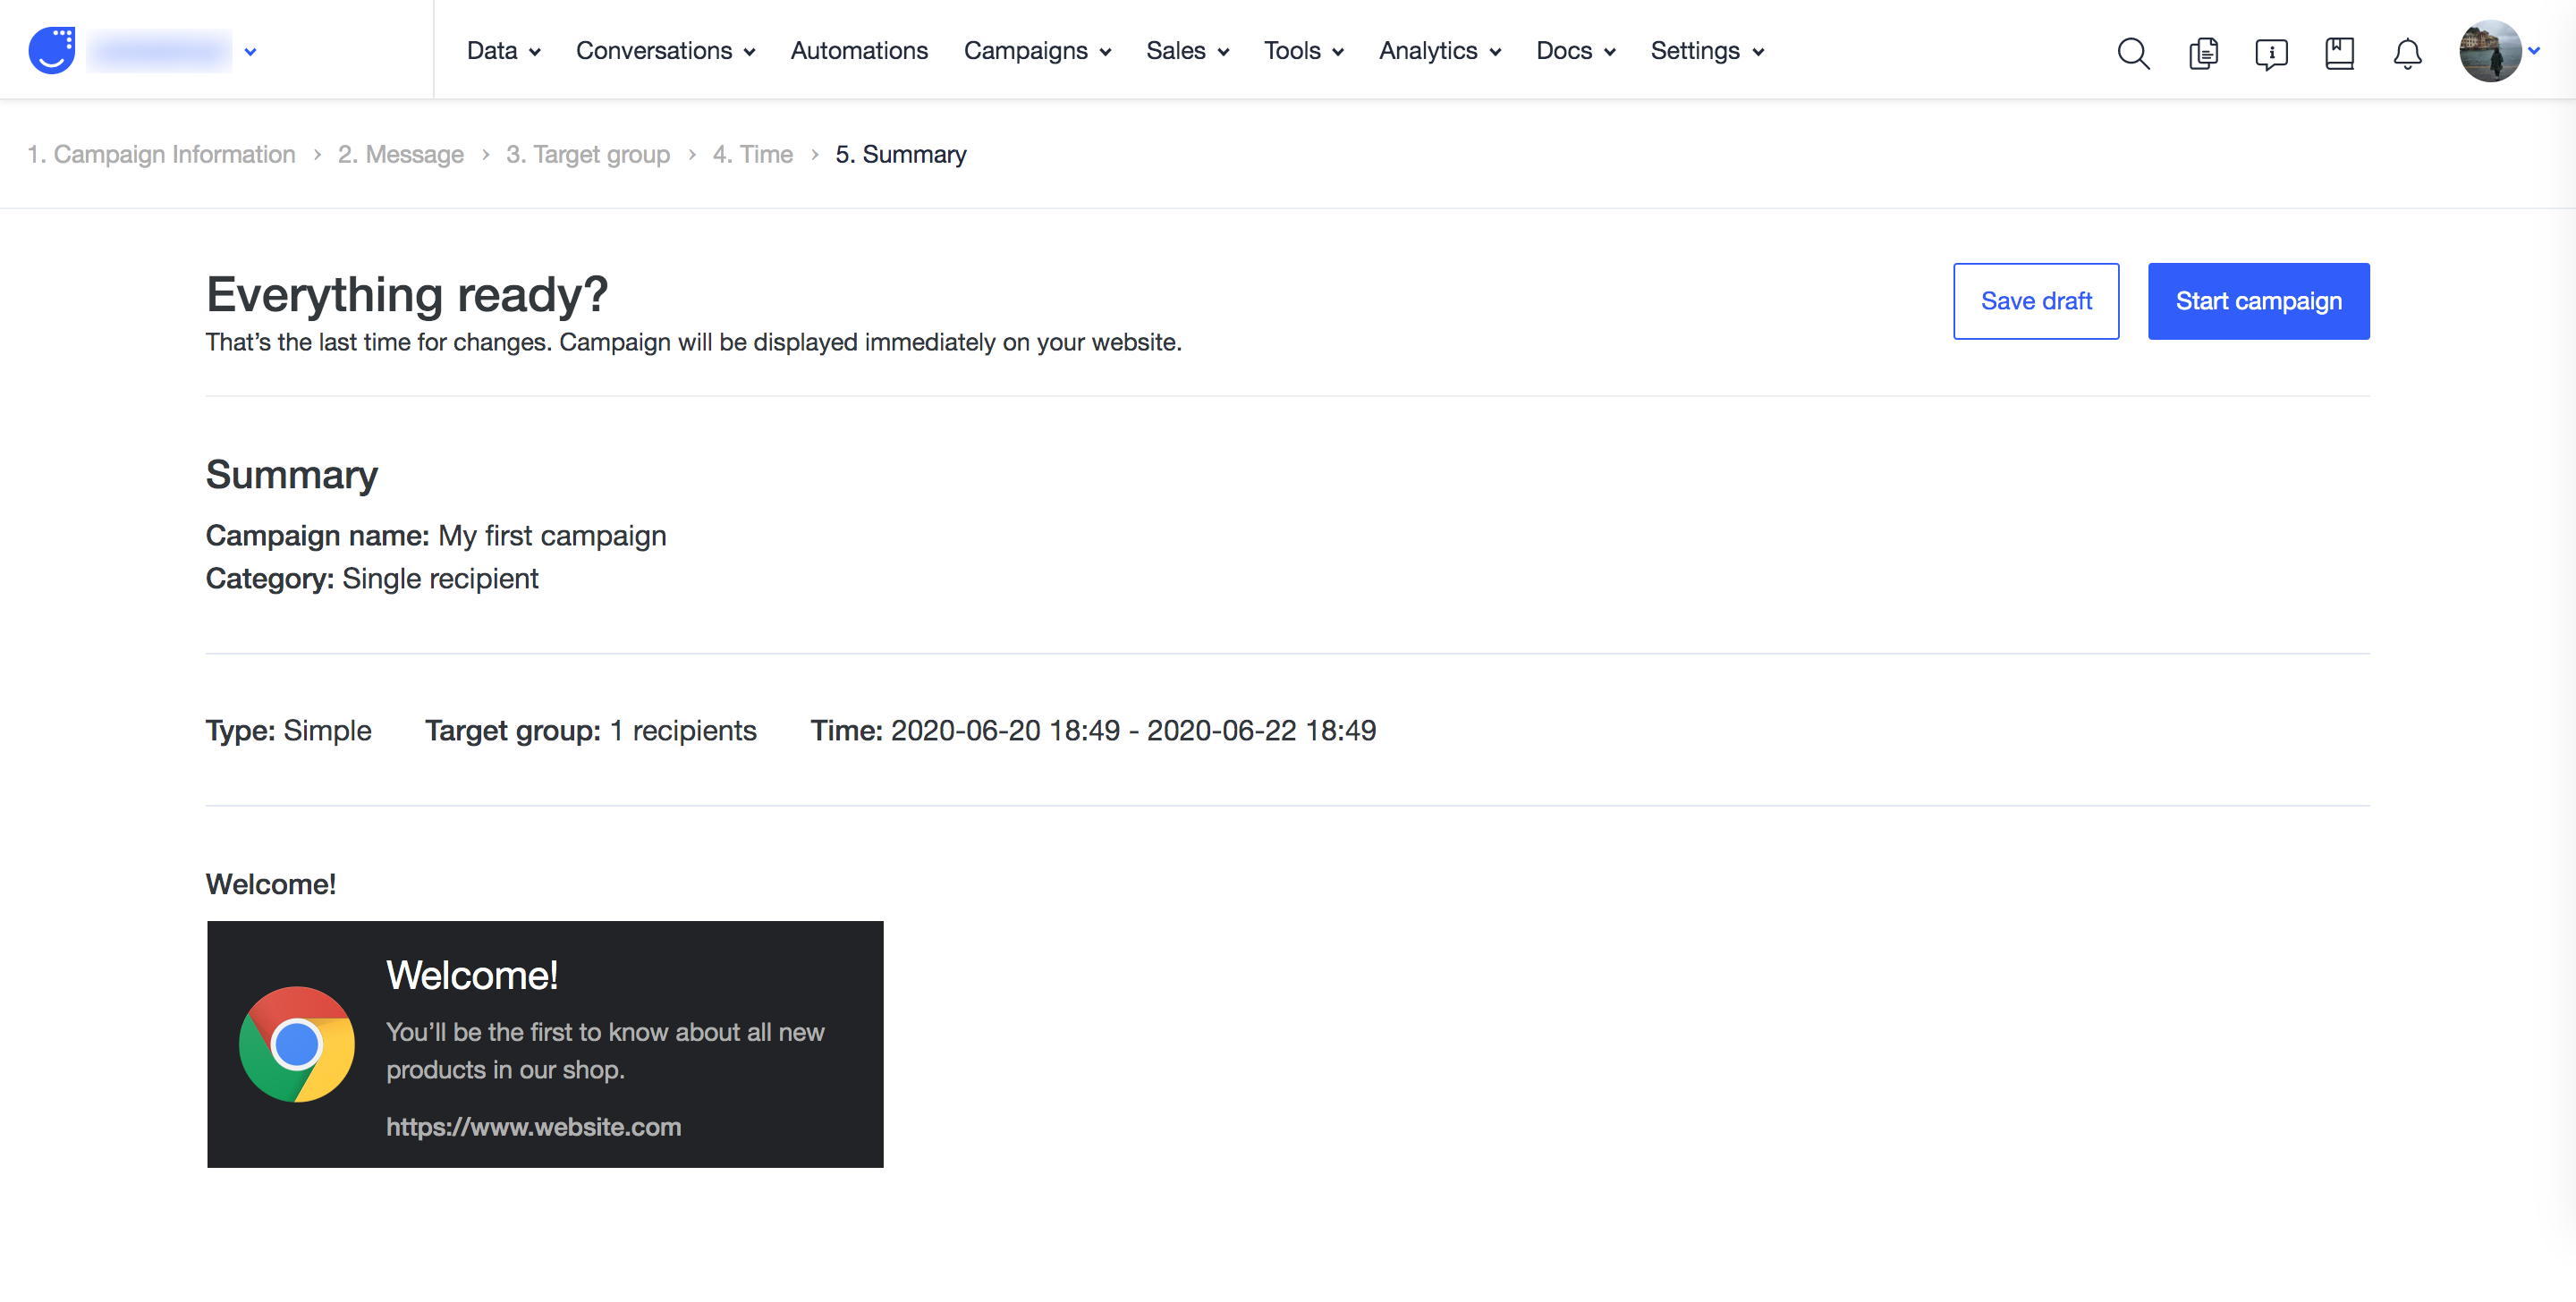
Clicking on "Start campaign" you activate it and make the campaign live.
In case of automated web push campaigns it means that you can choose in in "Send web push campaign" module in Automations now.