How to use App email to redirect clients' emails to Inbox

Redirect your clients' emails to a chat window
Introduction
Your clients contact with you either on chat or by emails. Thanks to App email module, you can see all emails you received, in the chat window. The answers from the chat window will be sent straight to your client's email address.
Email used on chat is a unique address, generated by your app. Emails sent to this address will appear in the chat panel in Inbox section. You can answer them using chat panel. You can also use this address to redirect customers' emails from your company's email address.
If your clinet has opened conversation, the system will add a sent message to it automatically. Otherwise, a new conversation will be created.
How to set it up?
Go to Settings -> App settings -> Chat emails.
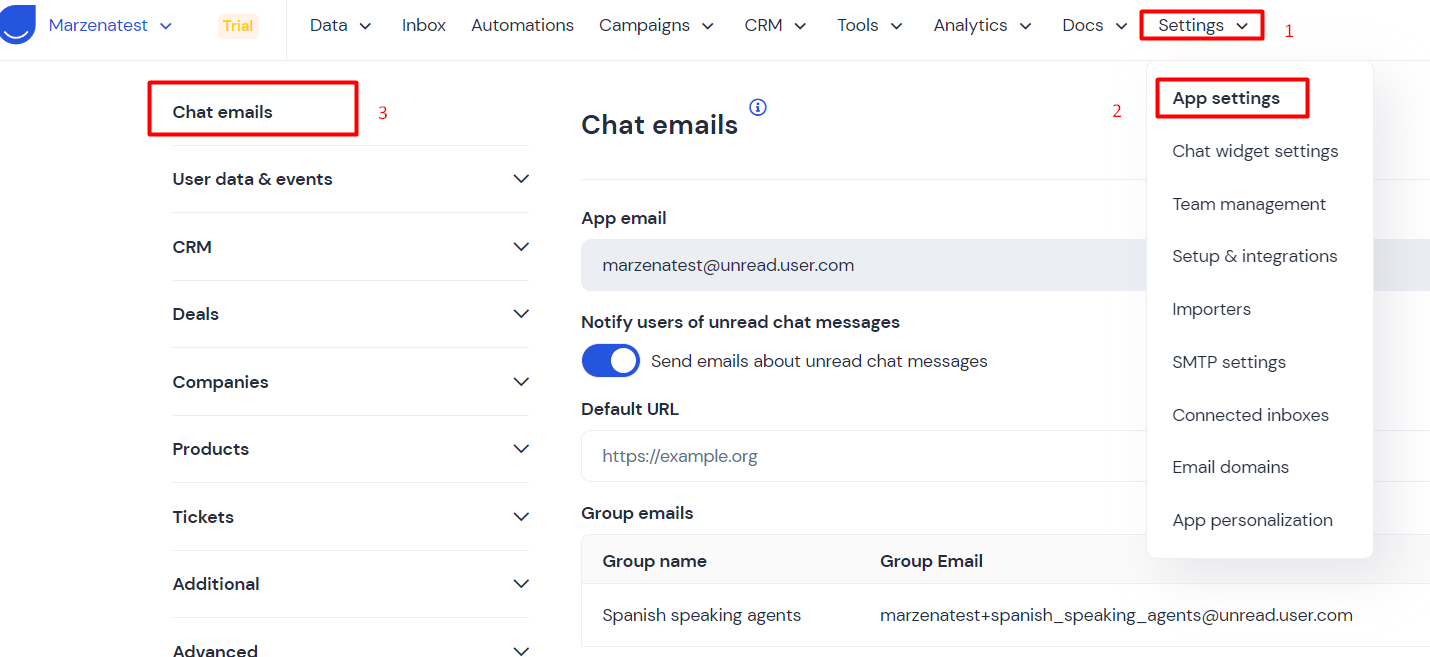
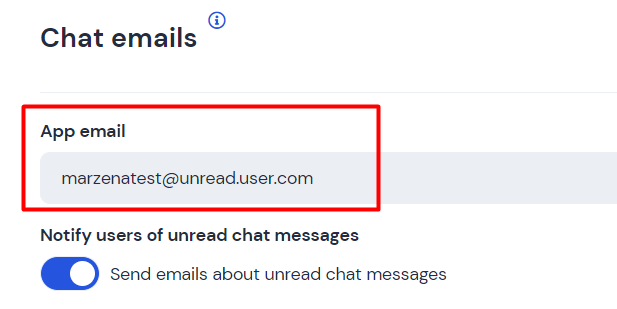
You will find here your unique App email. It will be needed later for SMTP settings.
You can also decide here, wheter your clients shall be notified about unread messages on chat, or not.

Default URL
This is the default URL that will be attached to emails sent to users whom you've answered but who were no longer available on chat.

Practical ways to use App email
How this email can be used in SMTP settings
Go to Settings -> SMTP settings -> Create new.
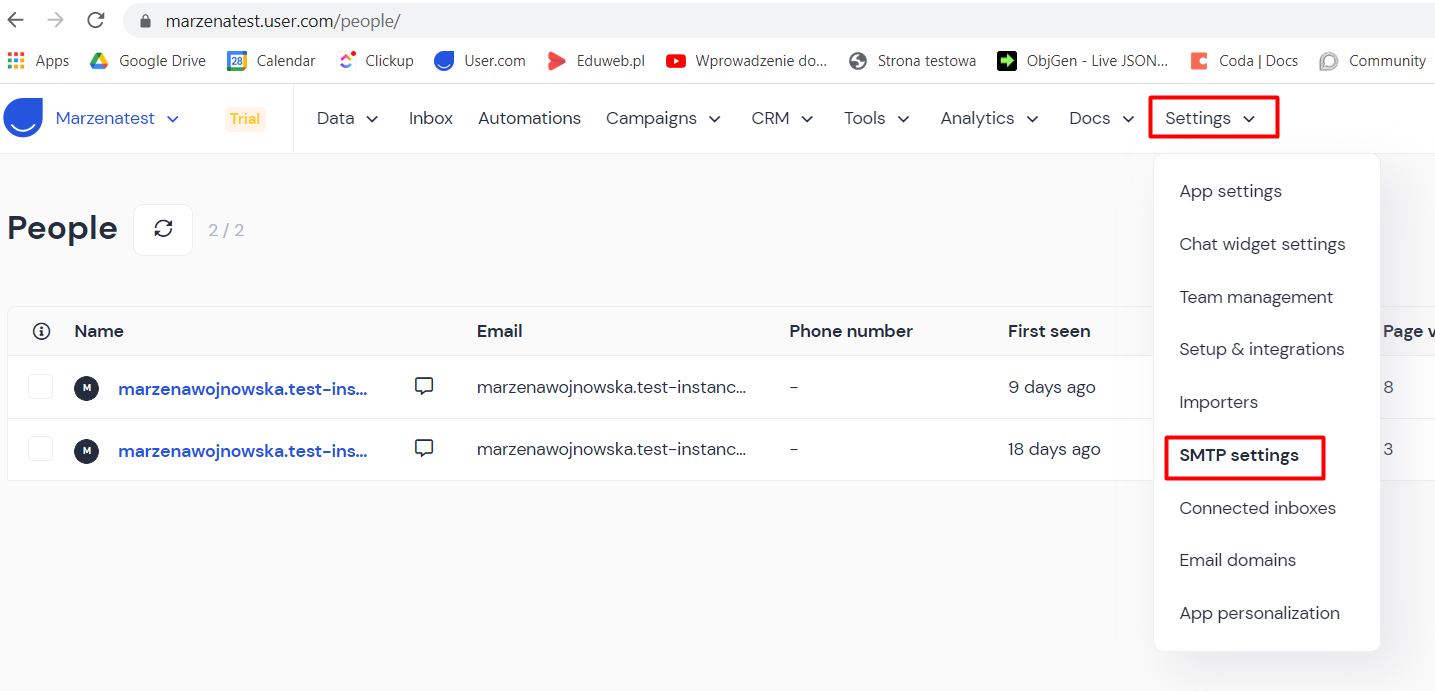
SMTP settings -> Create new

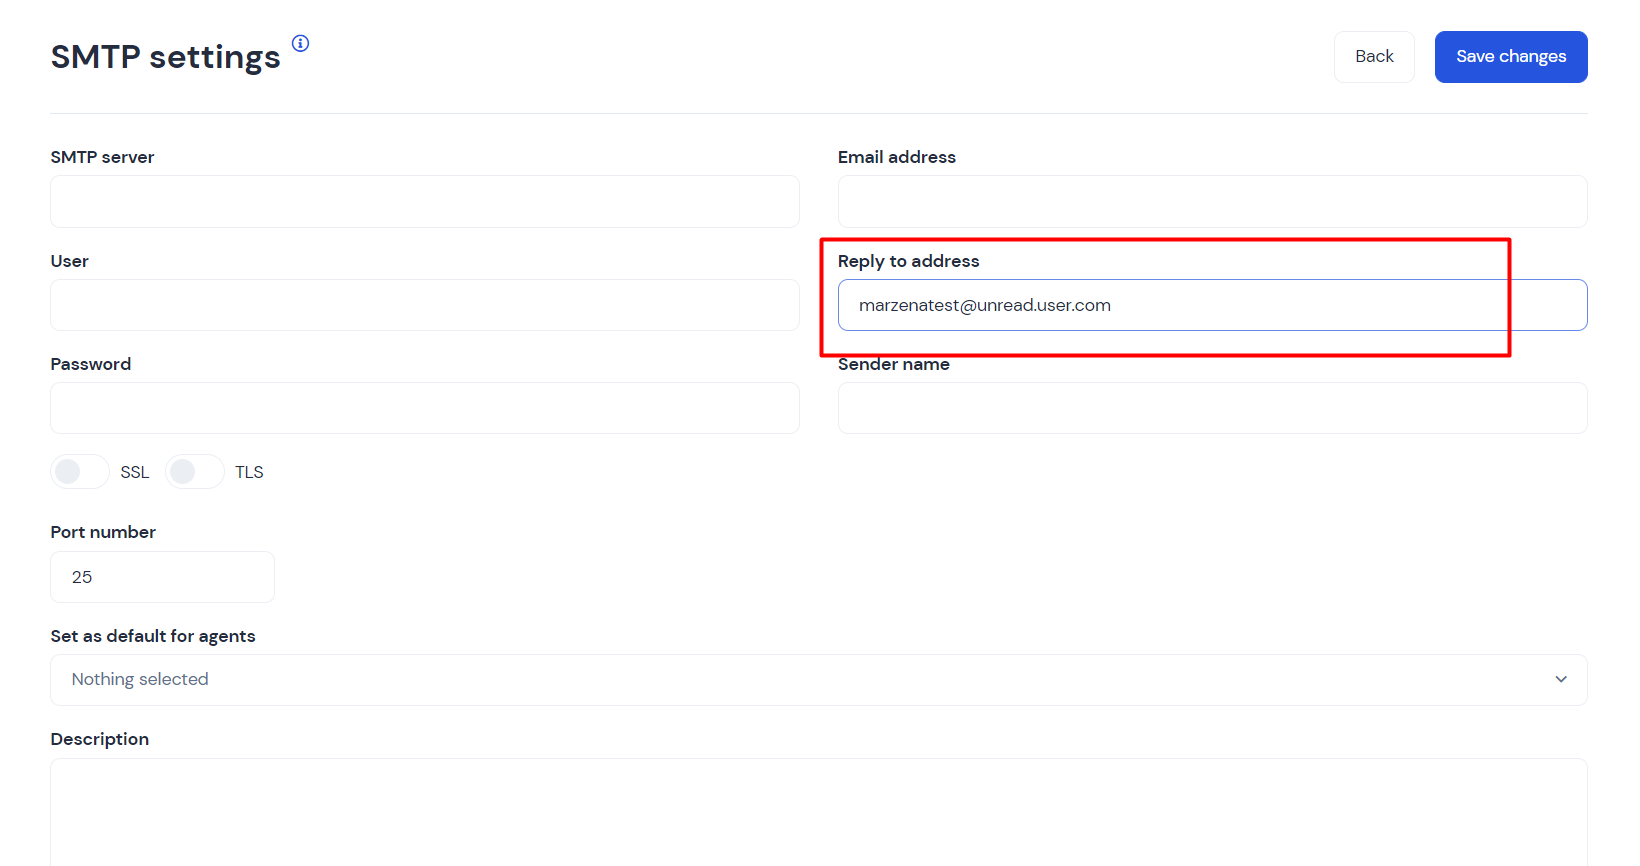
SMTP settings will open.
Fill in Replay to address with your App email. Now, you will receive all your responses to your campaigns sent from custom SMTP, to the chat, not to your email address. This will help you keep all your communication in one place
How this email can be used in inbox settings
If you synchronize your email inbox with the app's email, you will also receive all messages sent to the email address in chat. To do this, you need to set Redirection or Forwarding in your email settings.
How this email can be used in your own domain settings
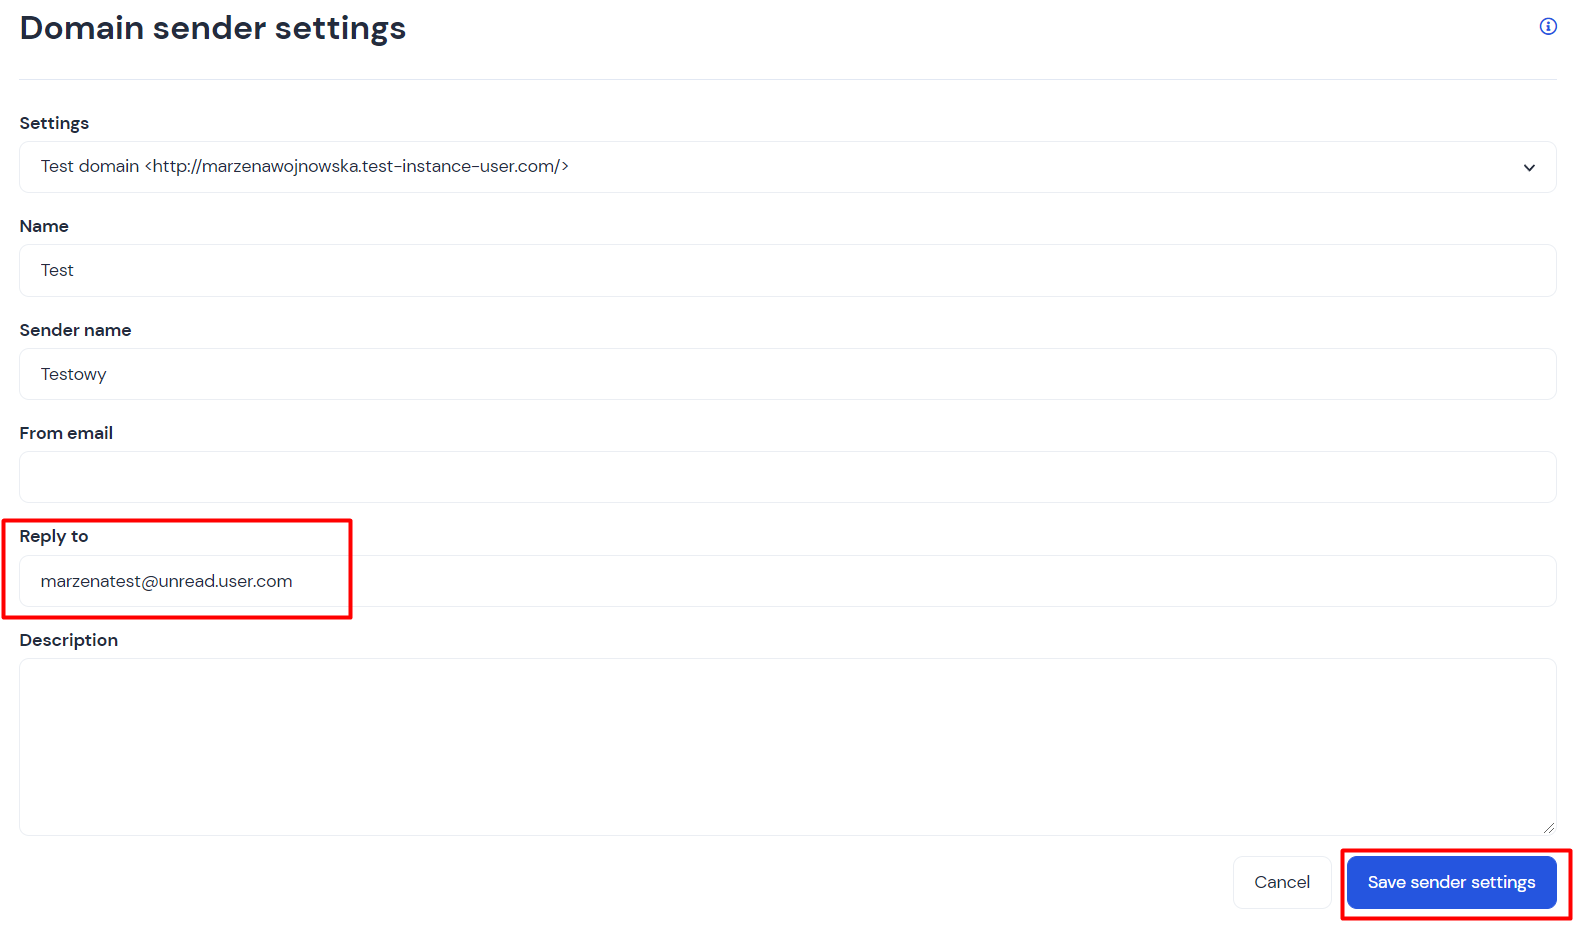
When creating a new sender in Settings -> Email domain -> Add new senders, you have the field called Reply-to.
Go to Settings -> Email domain
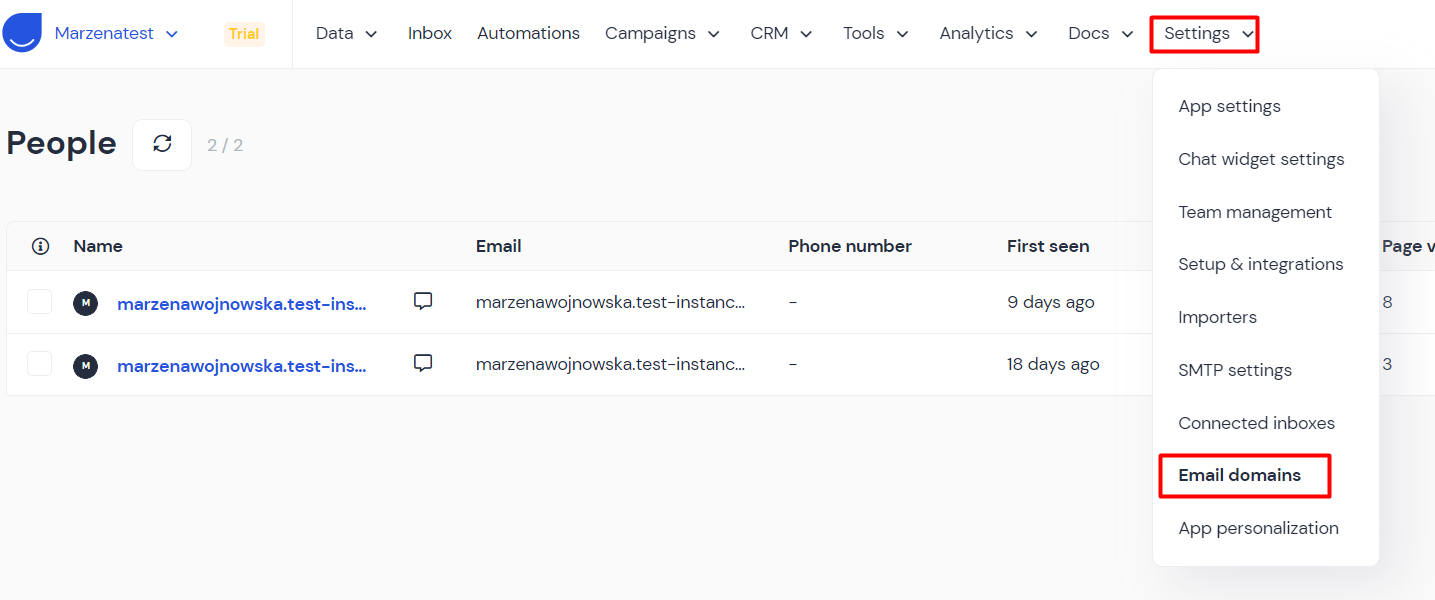
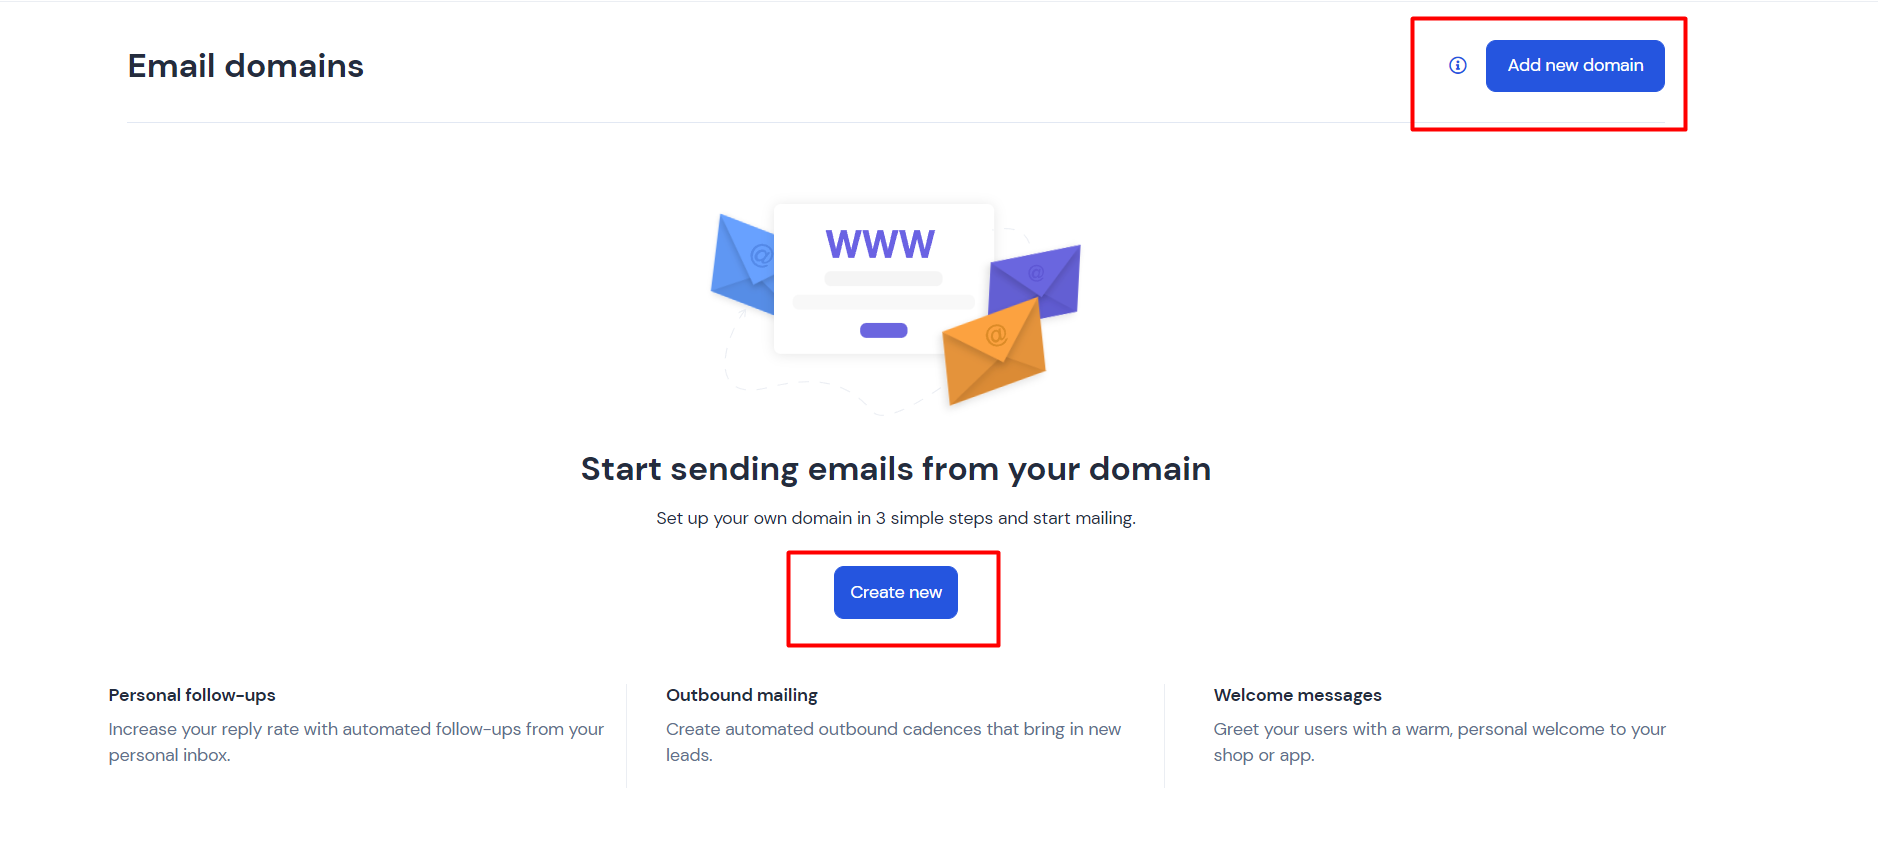
Email domains will open. Choose either Create new or Add new domain
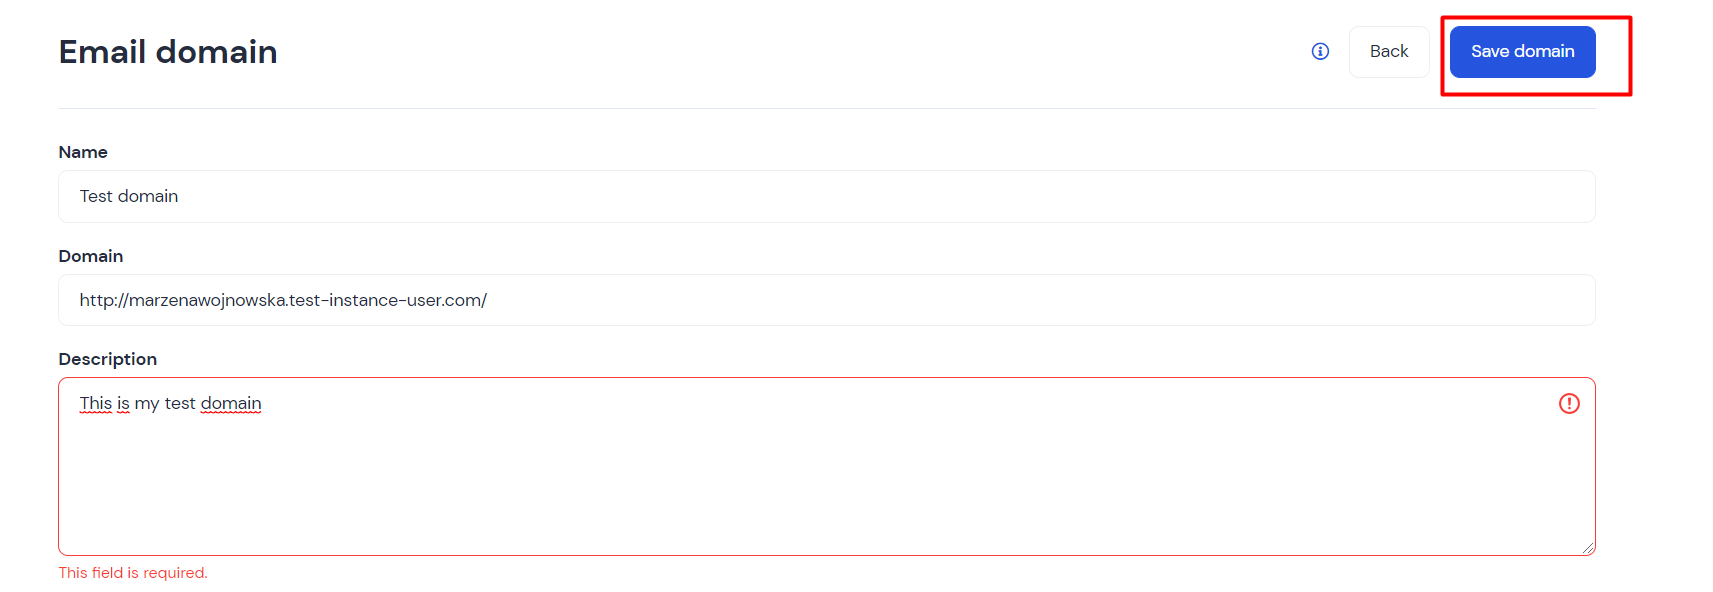
Below window will open:
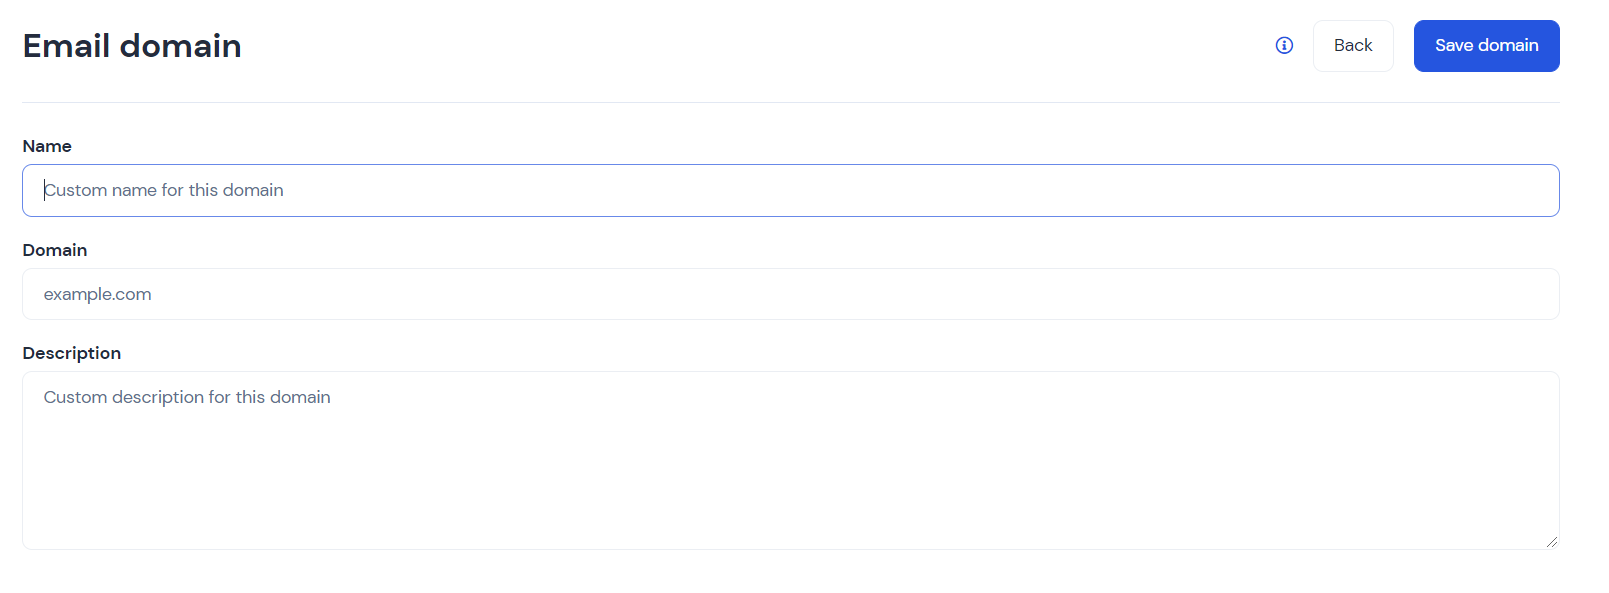
Fill in all fields, as they are obligatory and Save domain.
Added domain is now on the list. Of course, you need no veryfy it to make it work.
Next, go to Senders list

and Add new sender

Fill in Reply to with your app email and all required filelds. Next, Save sender settings.