How to add Description Text in Automations

Learn how to provide the description about your Automation Modules purpose!
To make it easier for your Agents to navigate through automation flow or to provide the explanations about your flow for the future we introduced the special Description Text module, here is how it works.
Let's Begin
You can find this module on the very bottom of the modules list while creating new Automation or editing an existing one.
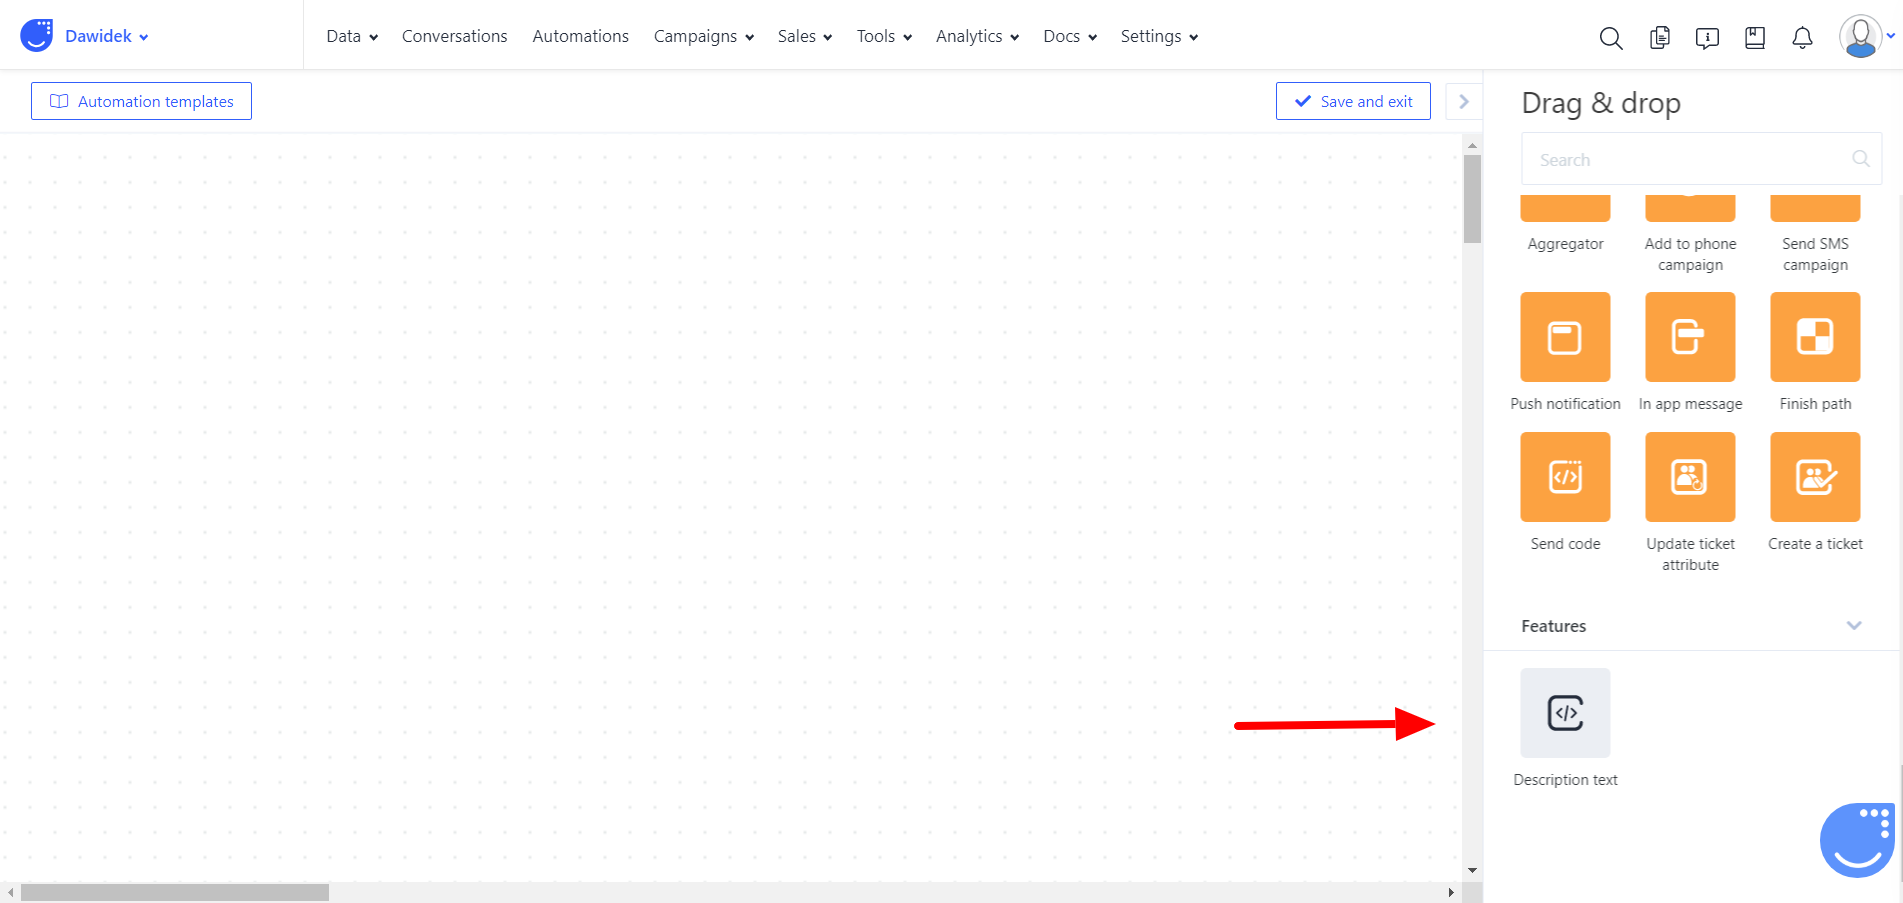
If you want to use use, just drag it to the main window like any other module.
How to use it
When you drag it to the main window, click on it and you will see the text edit fields.
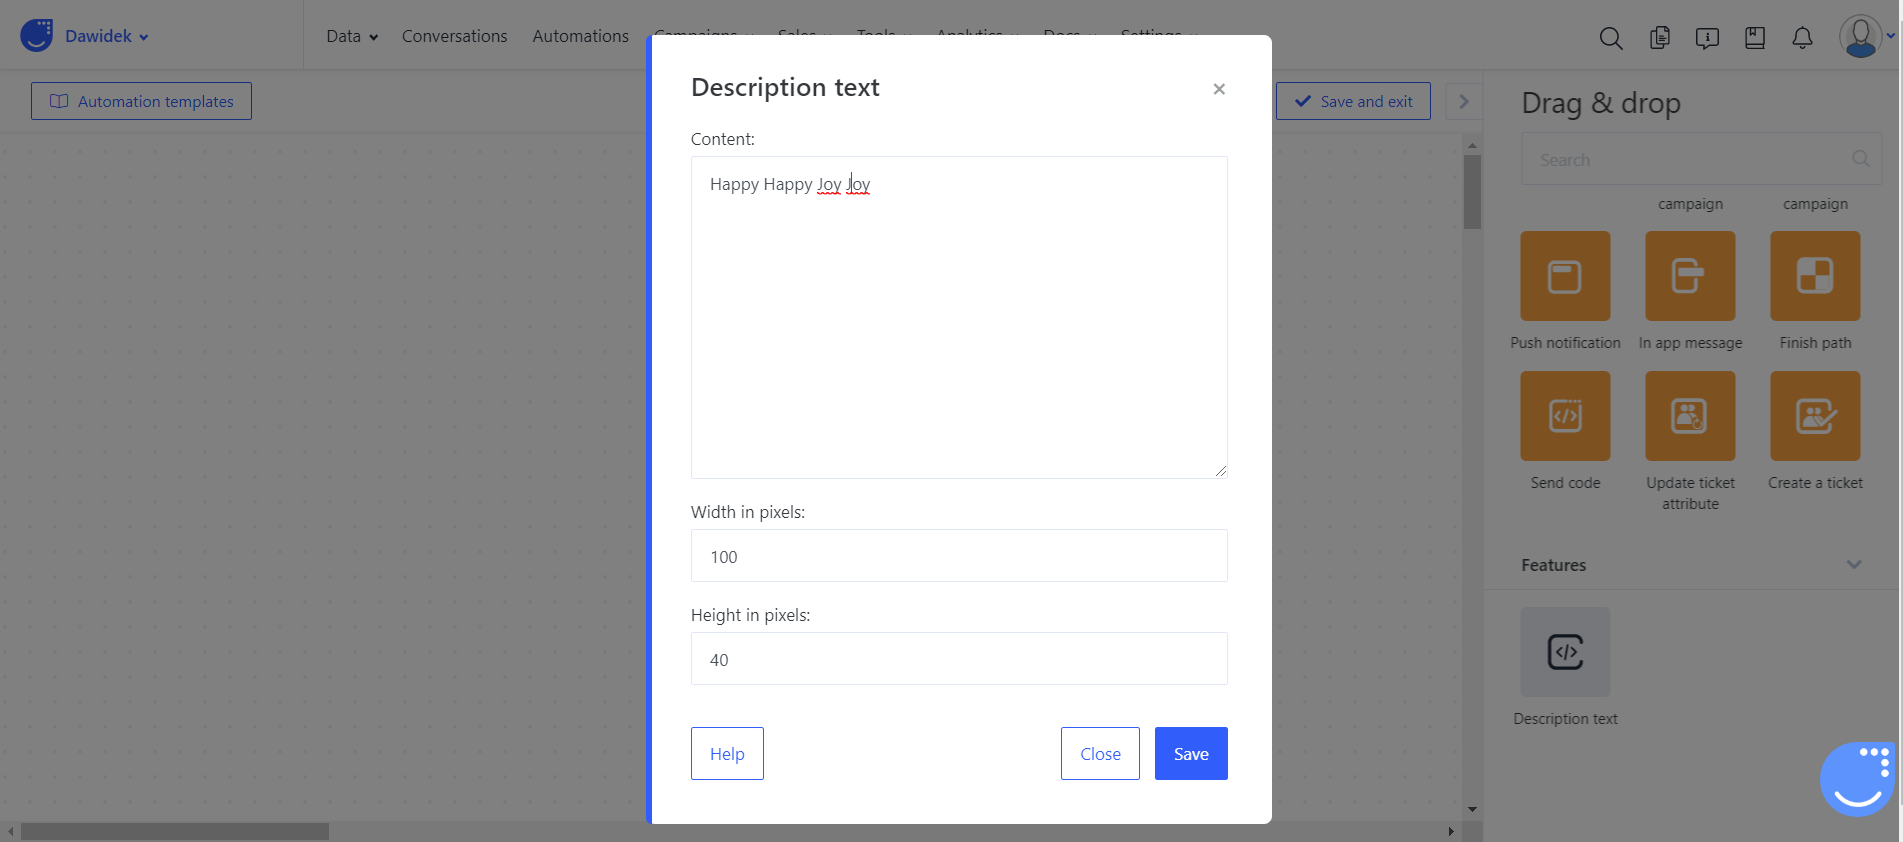
Content - Here you the text with which you want to describe specific module's purpose.
Width - Here you set the width(default is 100) of the space that your description box will take.
Height - Here you set the height(default is 40) of the space that your description box will take.
You are free to set any dimensions but the default values would be enough for two lines of text.
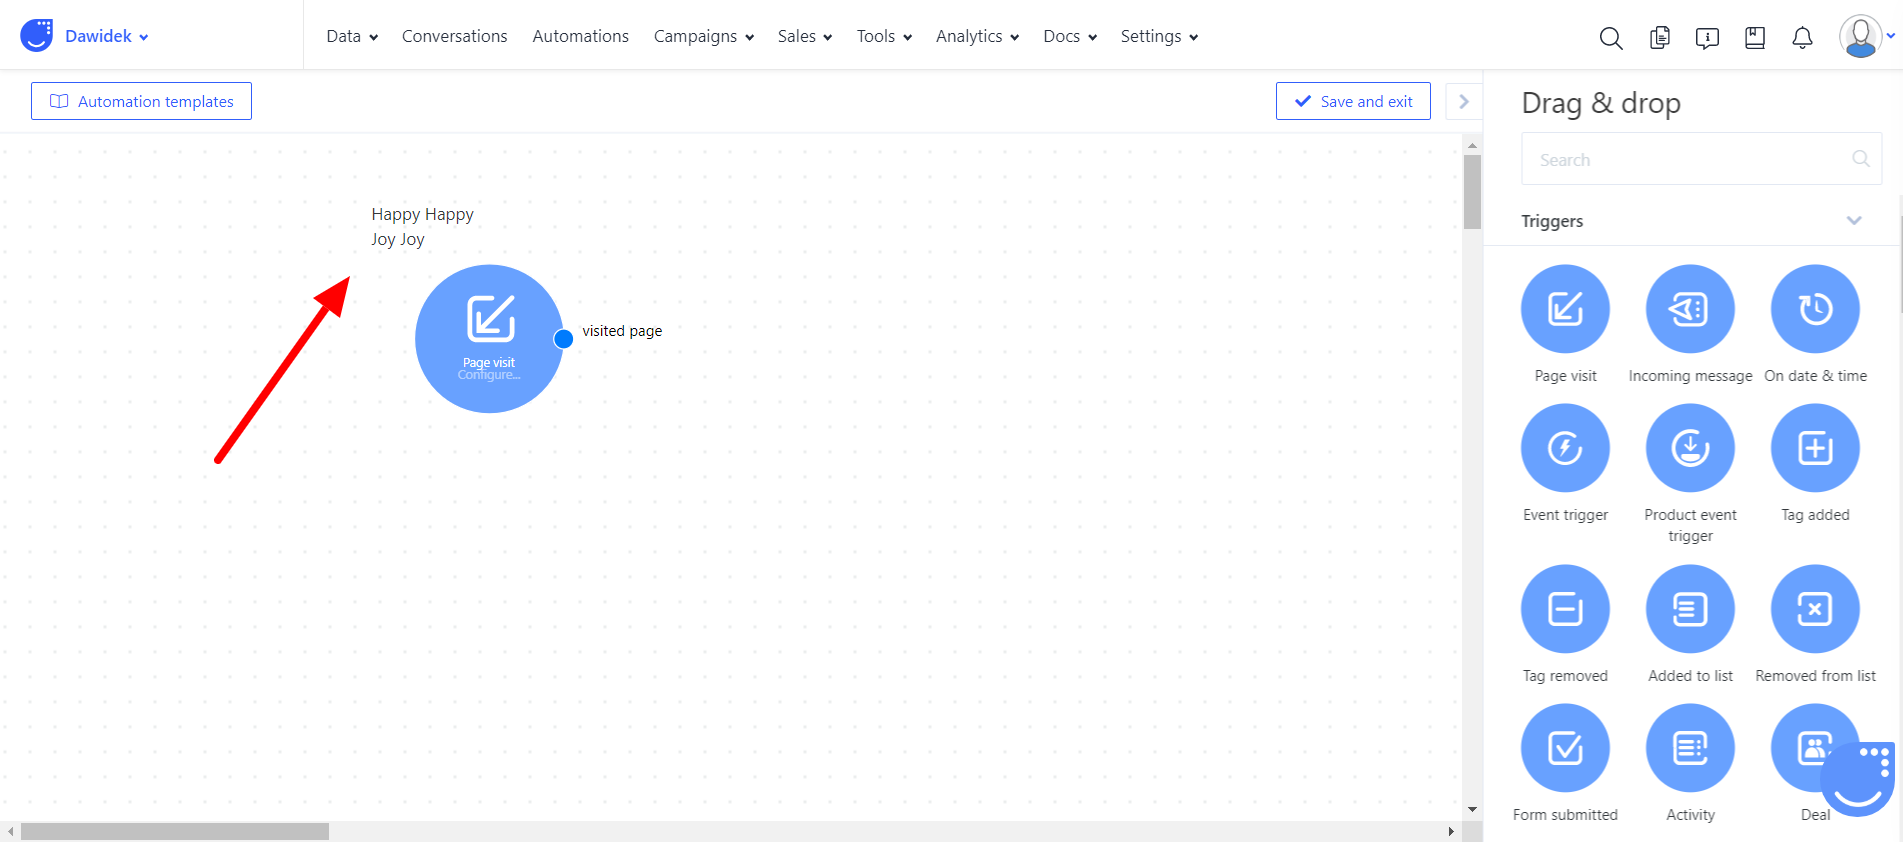
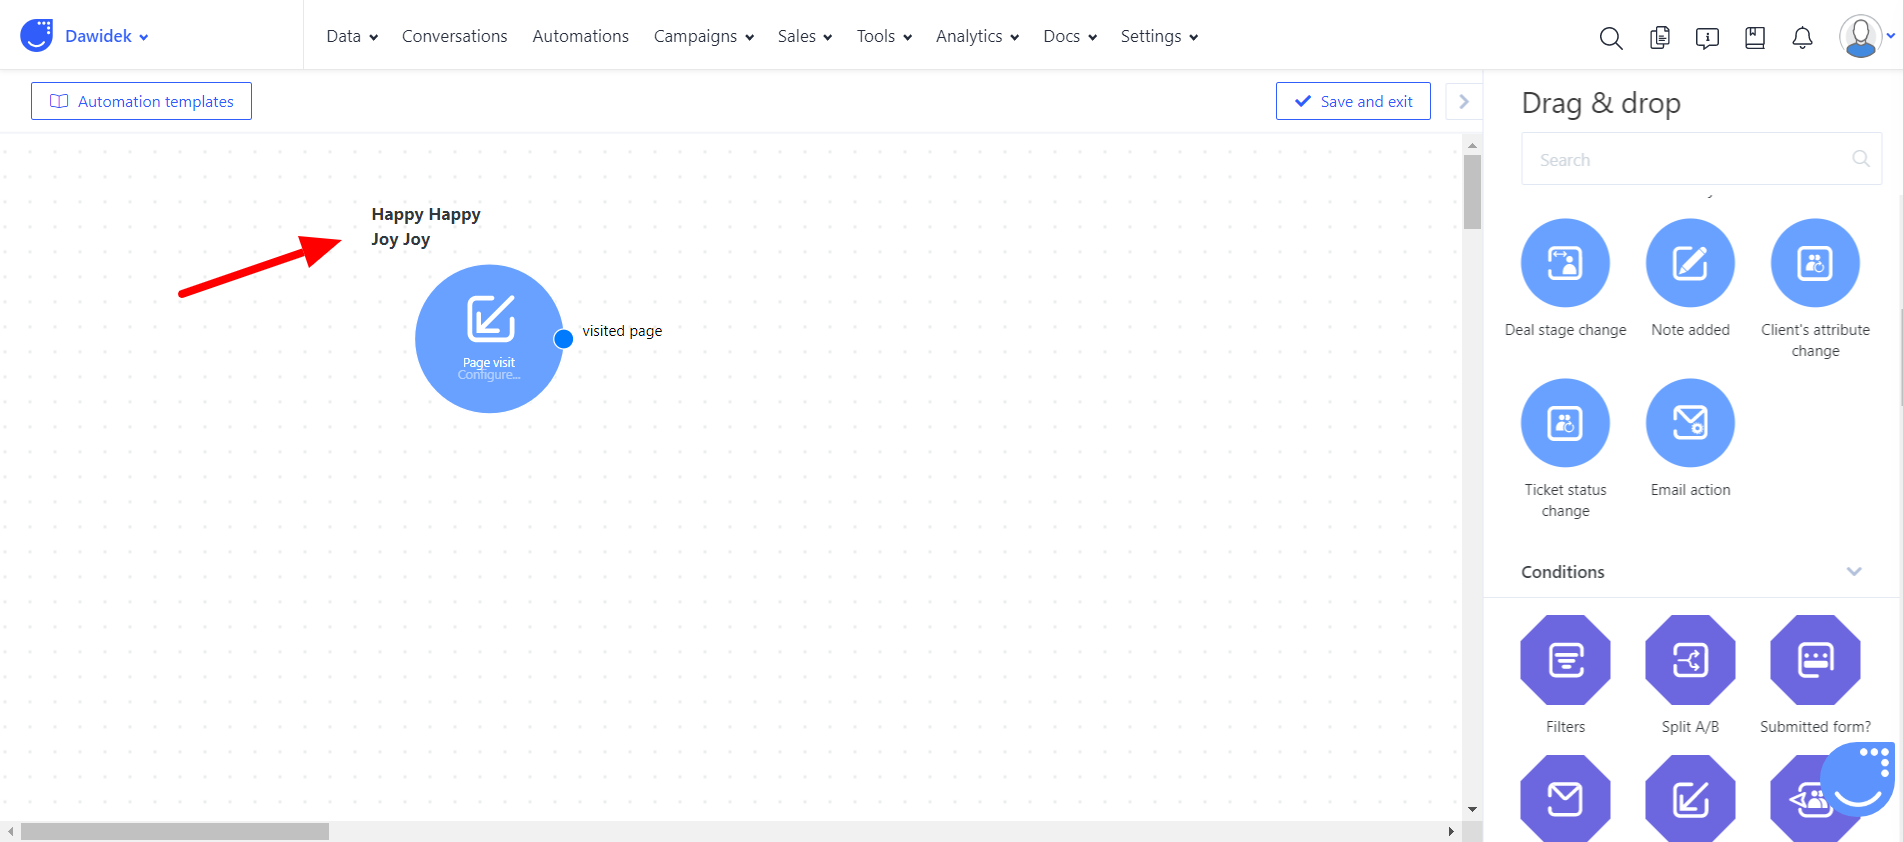
Here is how it looks on screen:
You can do even more with that module! Inside the edit field you are free to use html tags to style your description however you want. Here is a list of simple elements to enrich your description:
- <b> - Bold text.
- <i> - Italic text.
- <mark> - Marked text.
- <small> - Small text.
- <del> - Deleted text.
- <ins> - Inserted text.
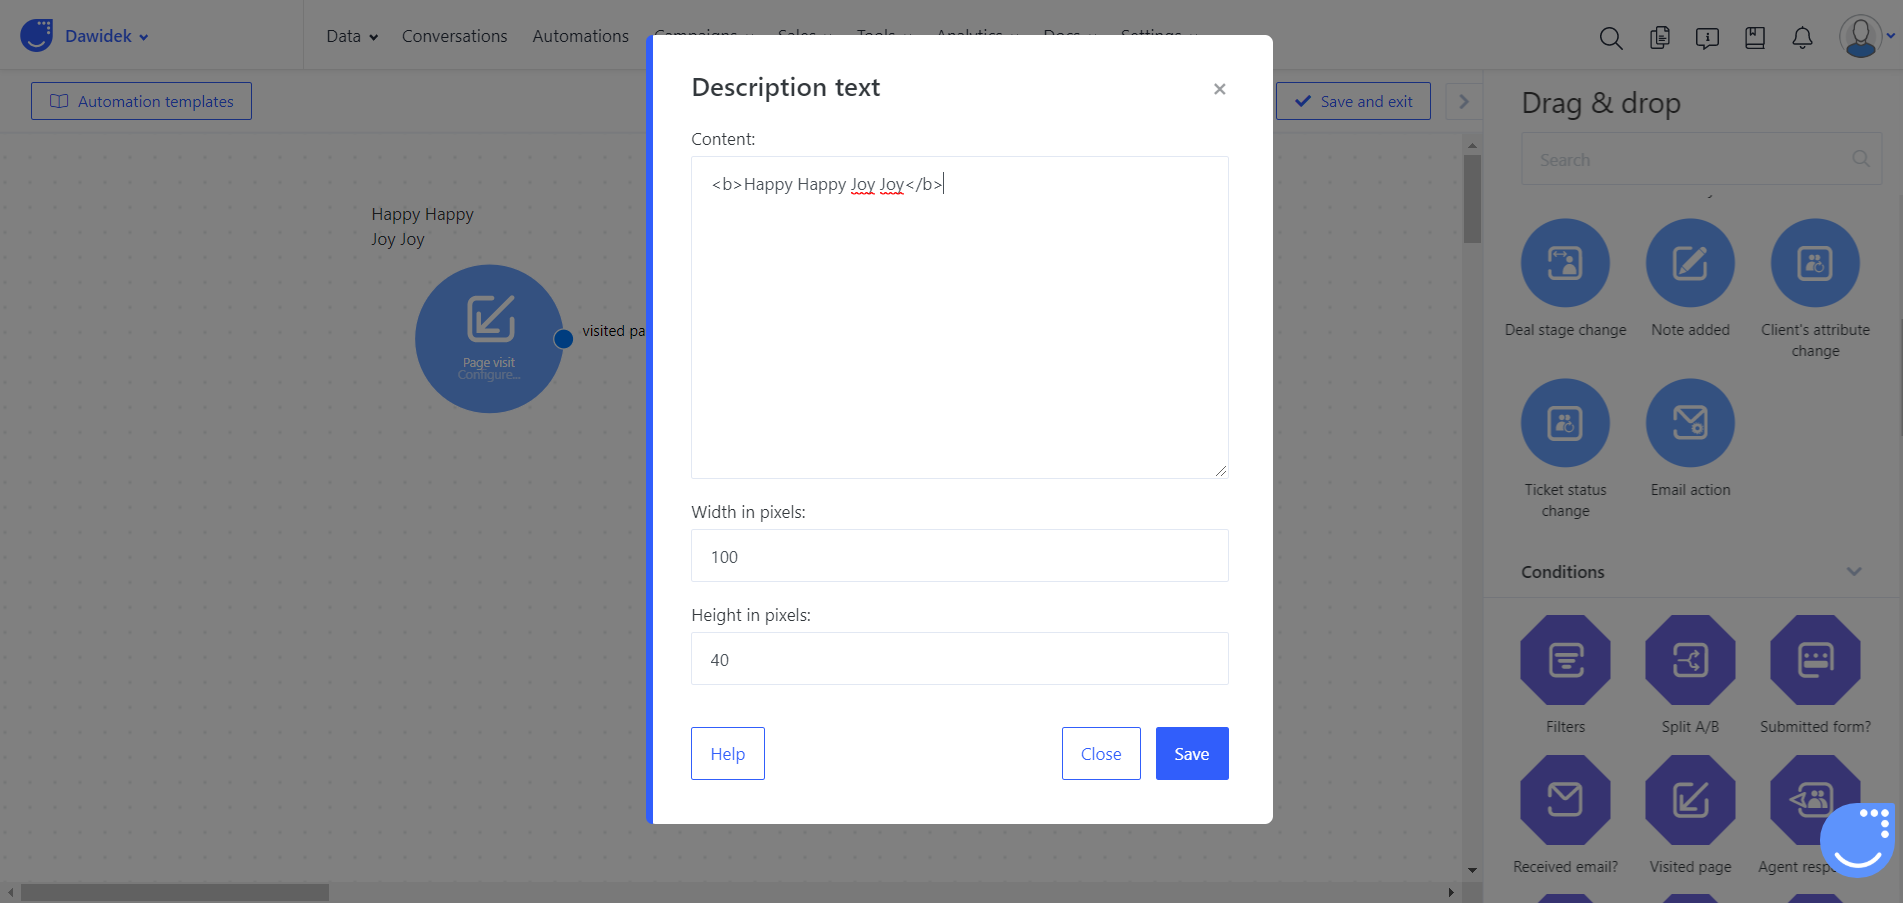
That's how the text within <b> </b> elements looks like on screen:
Note: Your Description Text field will attach itself to the module it is near so when you move/reposition your modules, the Description box will follow making it even more convenient for you.